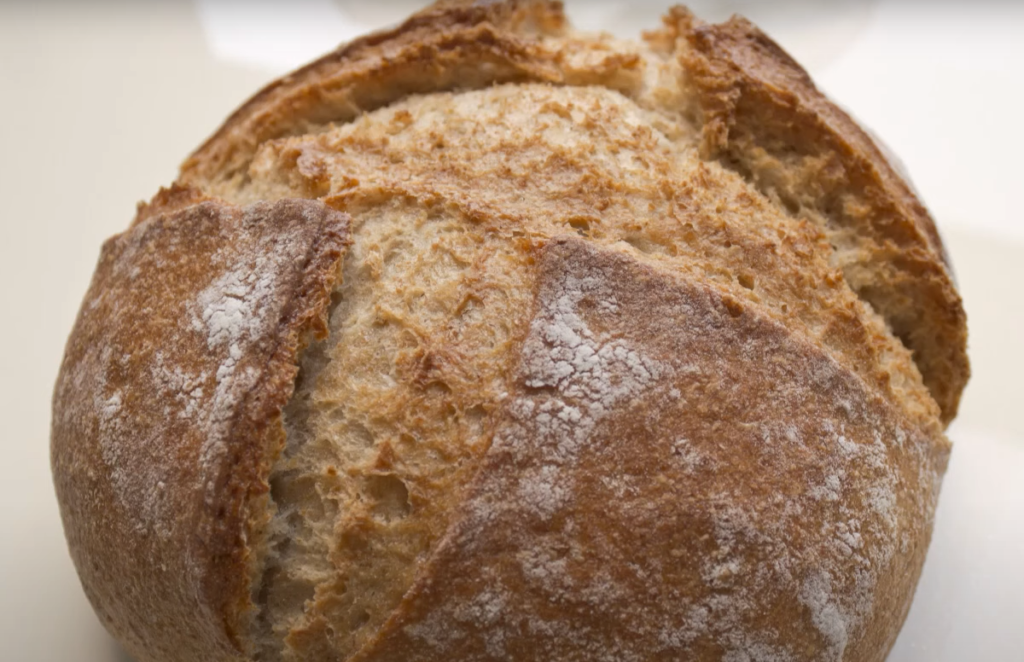
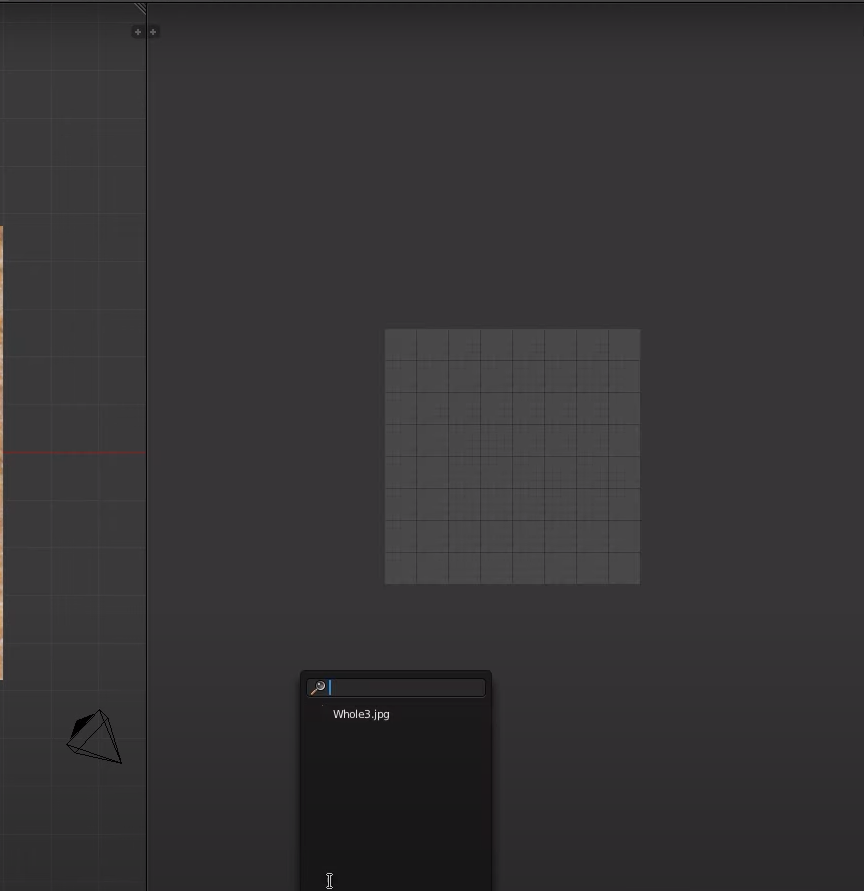
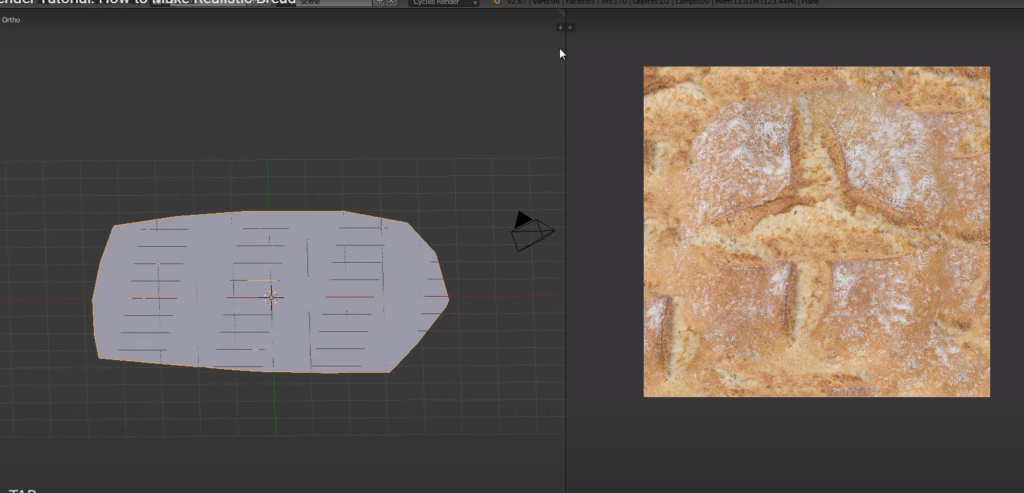
import the image ref and start with a plane
extrude the edges to stretch the shape of the plane
we can add loop cuts to add more geometries
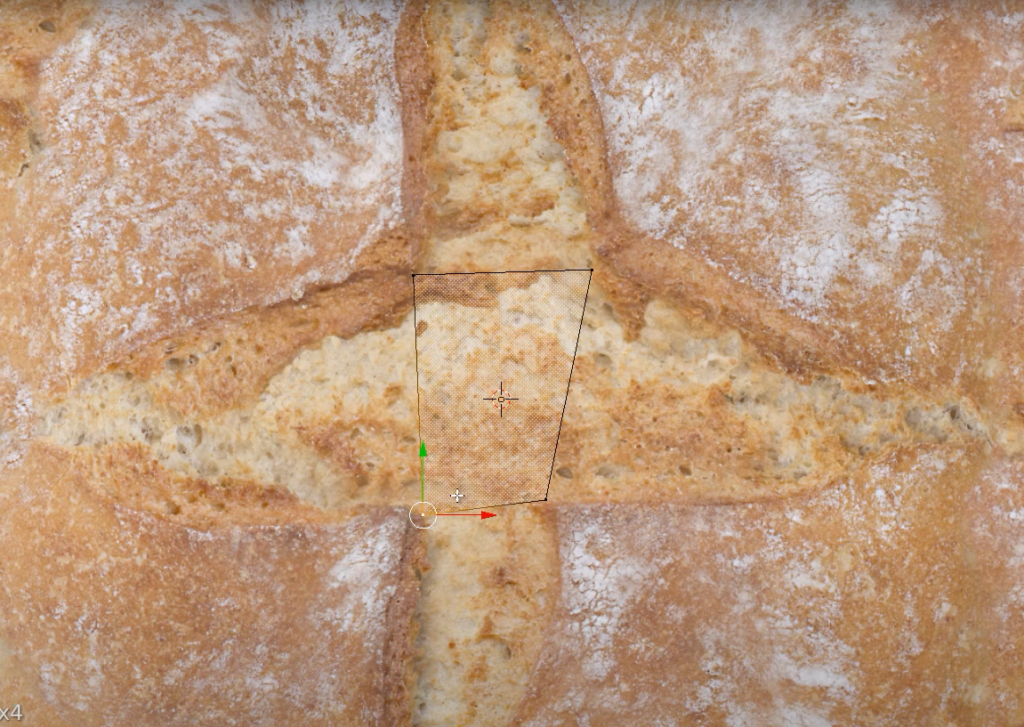
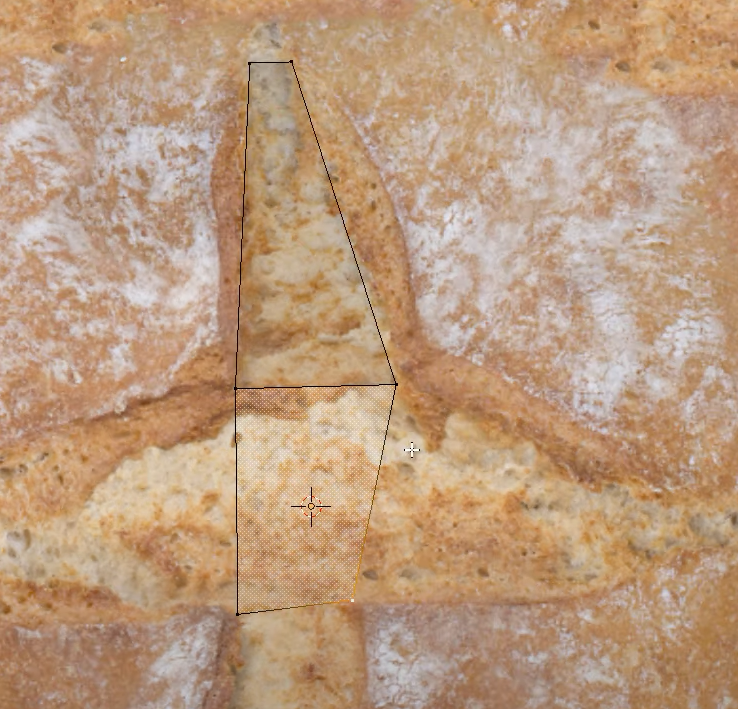
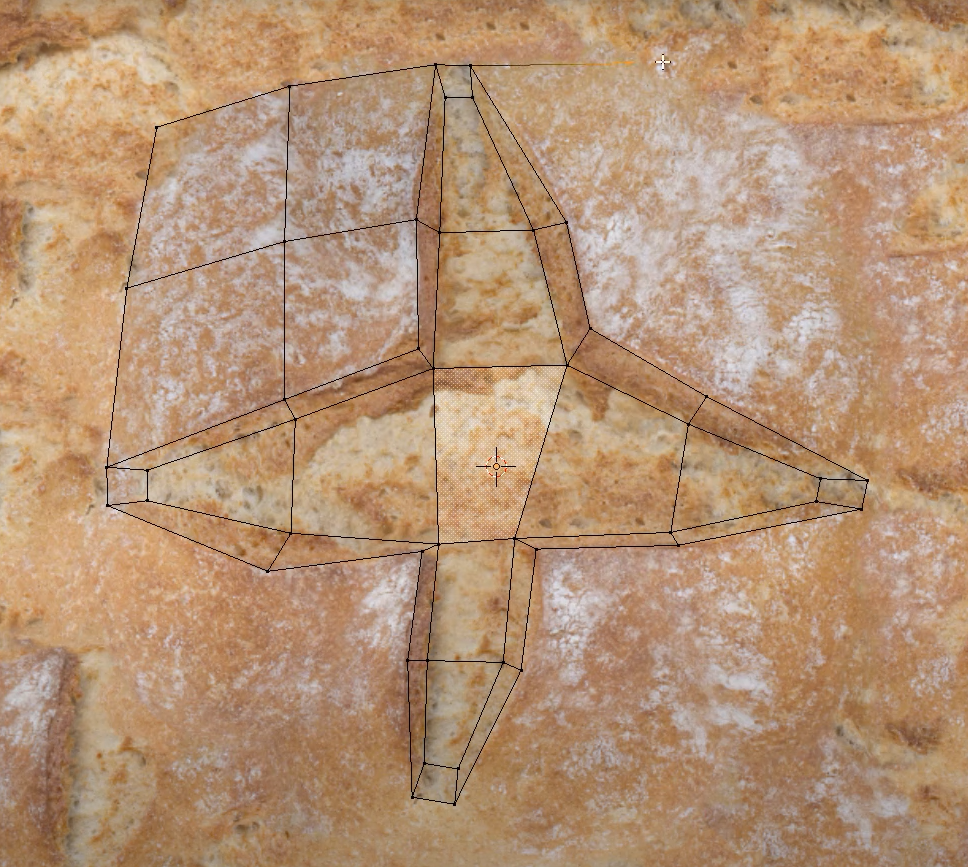
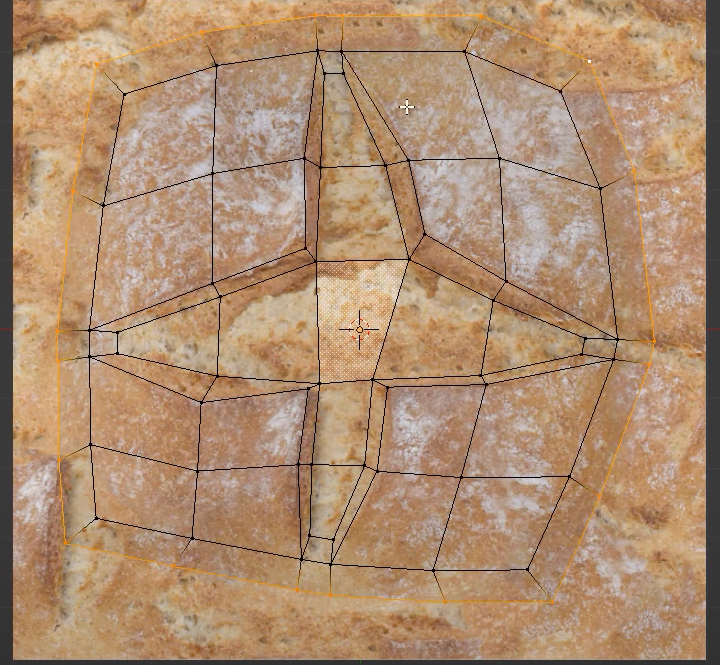
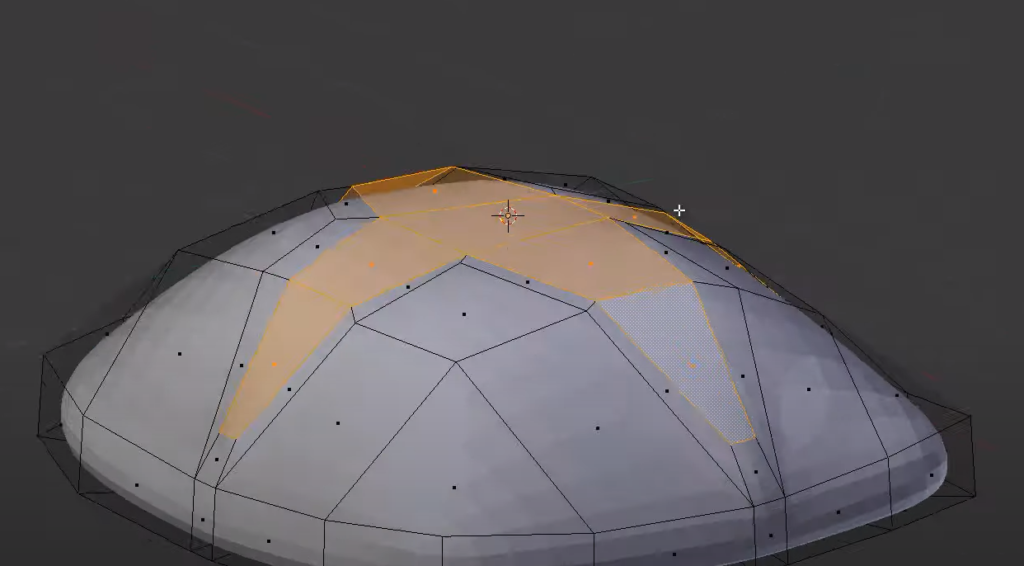
we now want to create the raised area of the crust
we select the edges of the cross
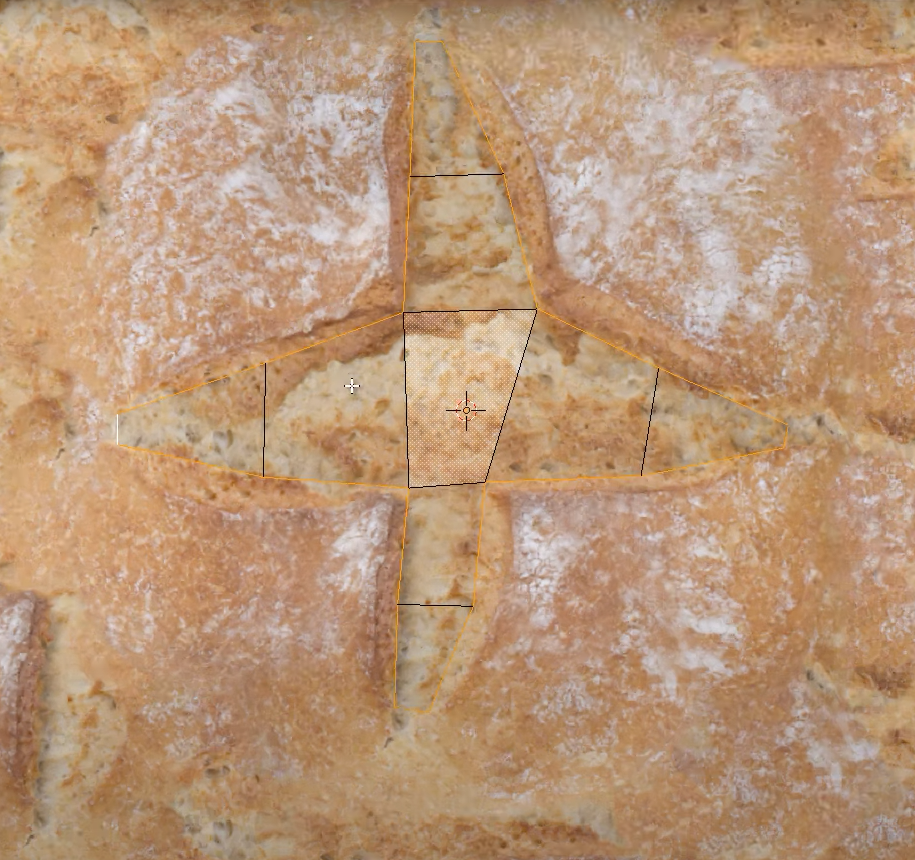
extrude, then press ESC and then scale
edit the vertexes to shape the crust
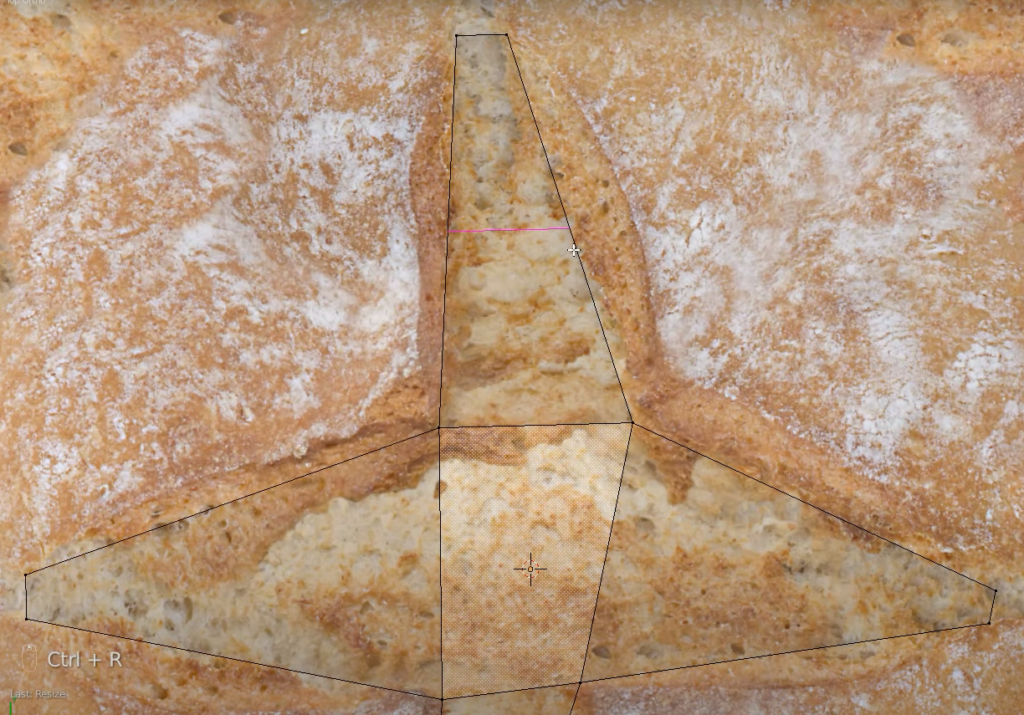
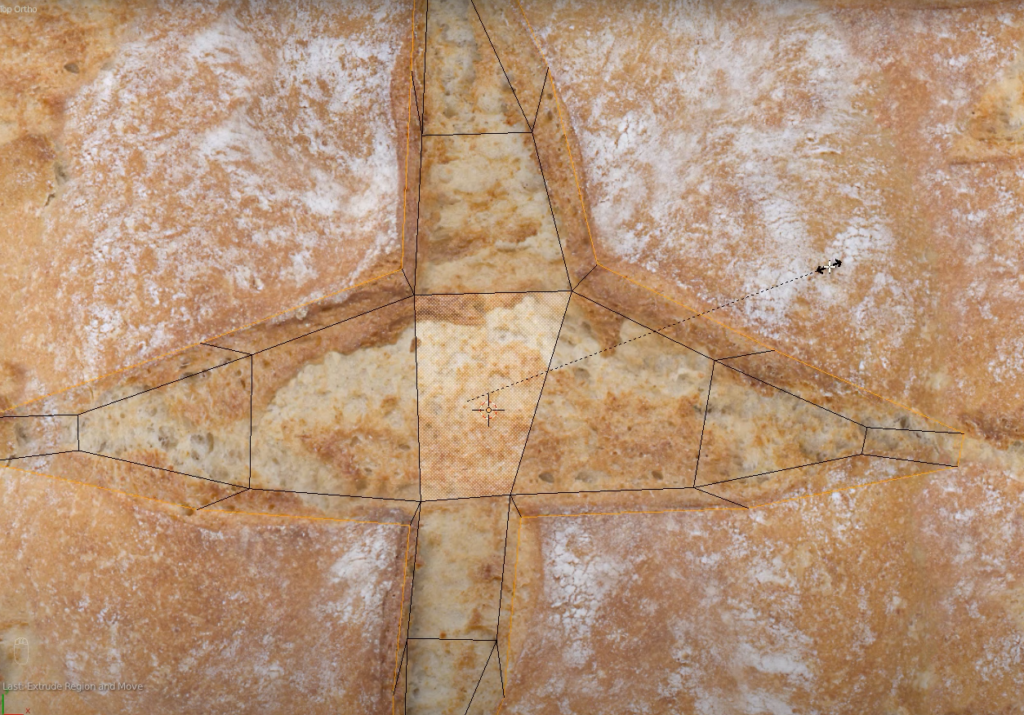
now we create faces.
extrude the vertex in the image, select them and F to form a face
continue doing that for the rest of the shape
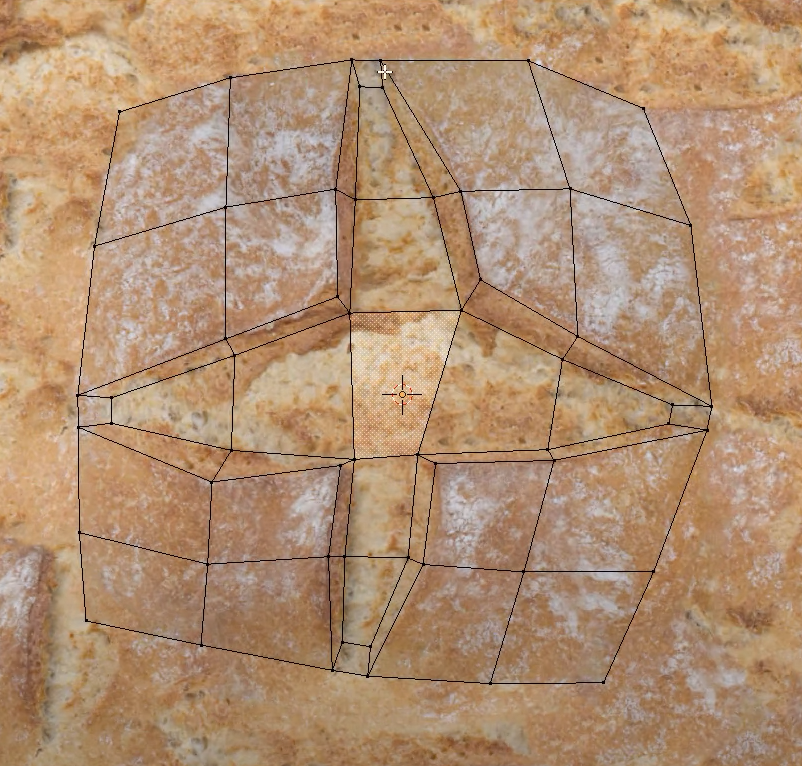
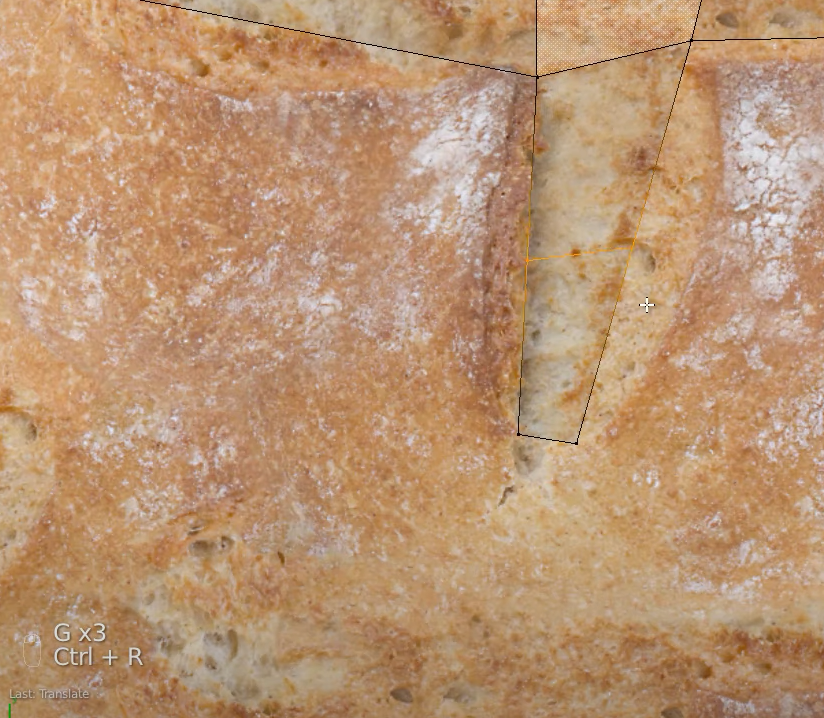
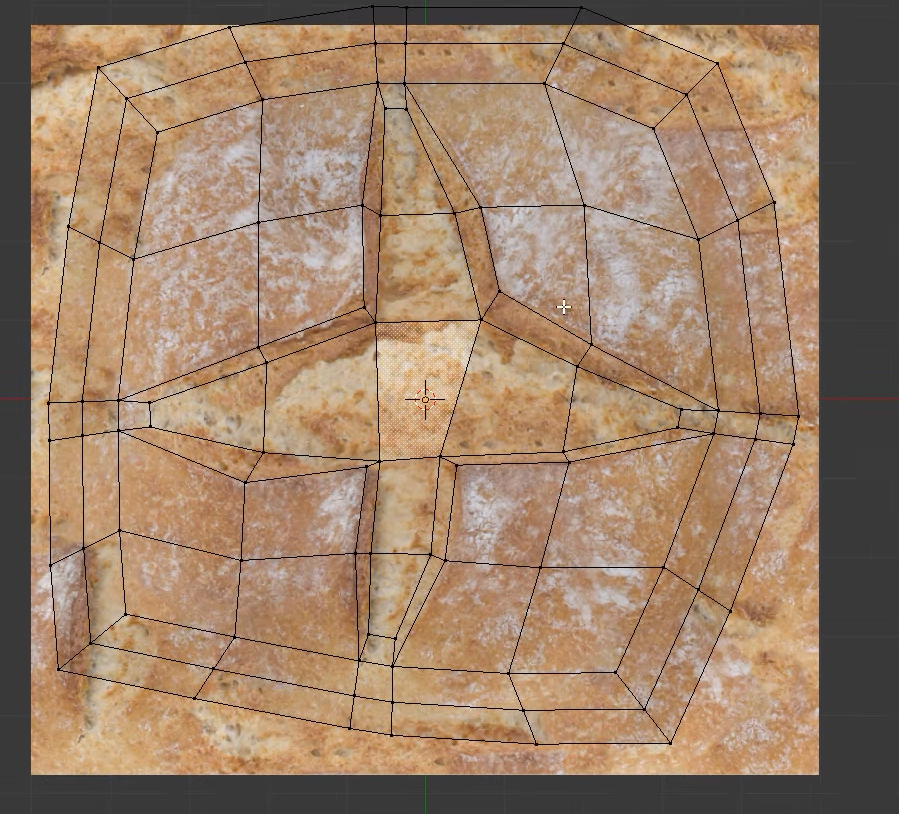
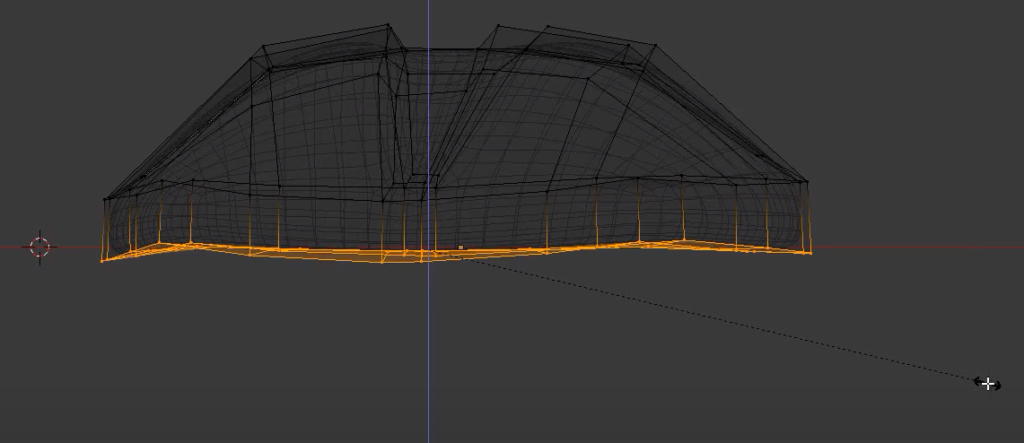
select the external edges
again E + esc + scale
repeat another one
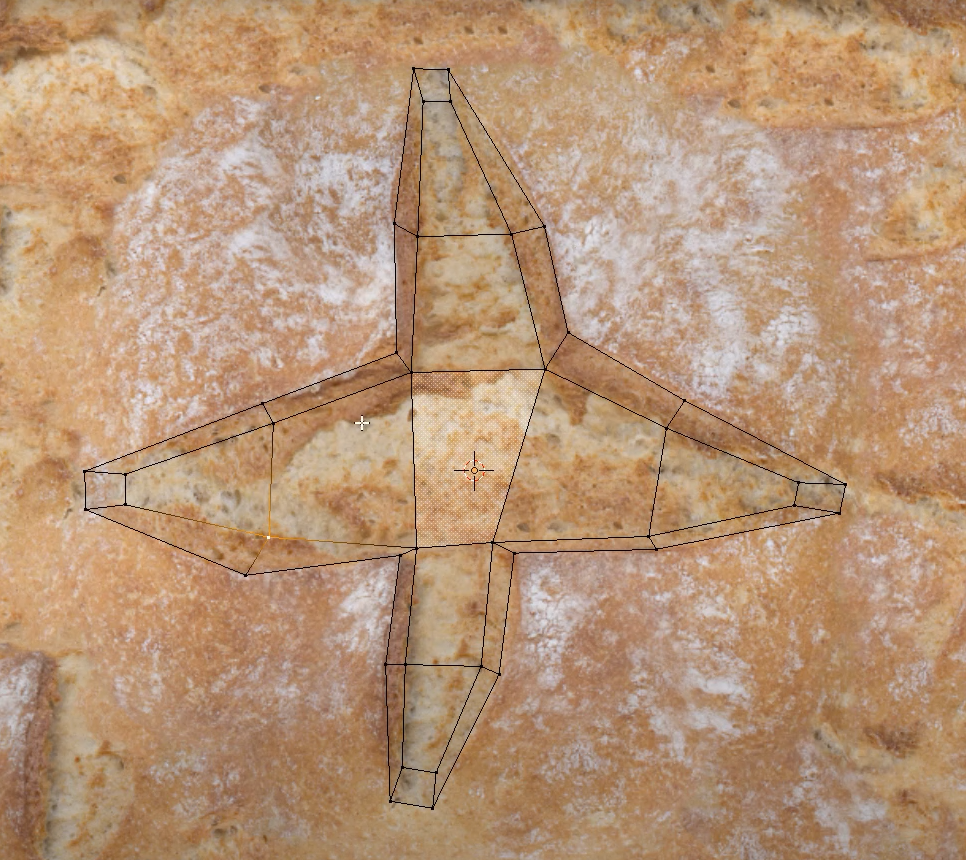
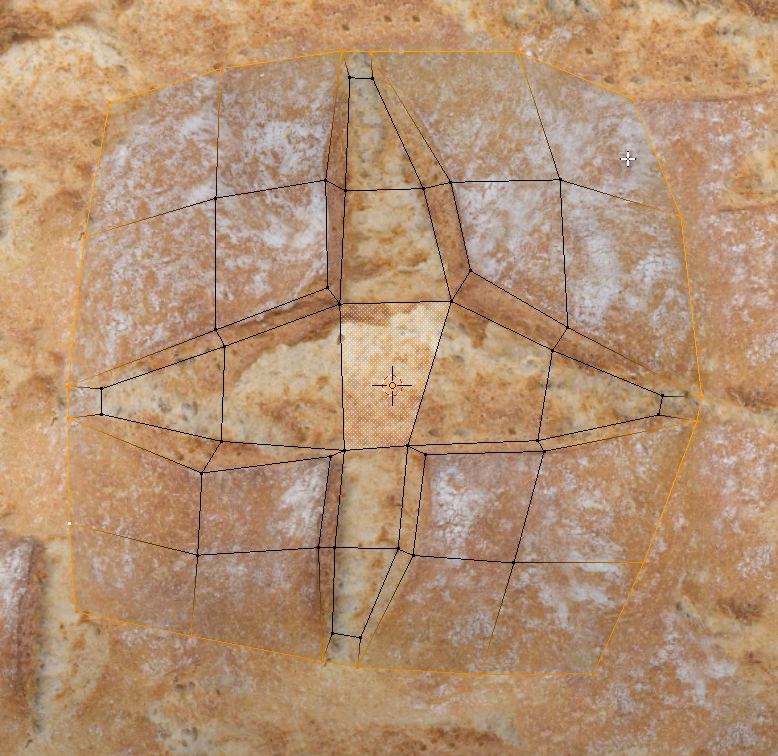
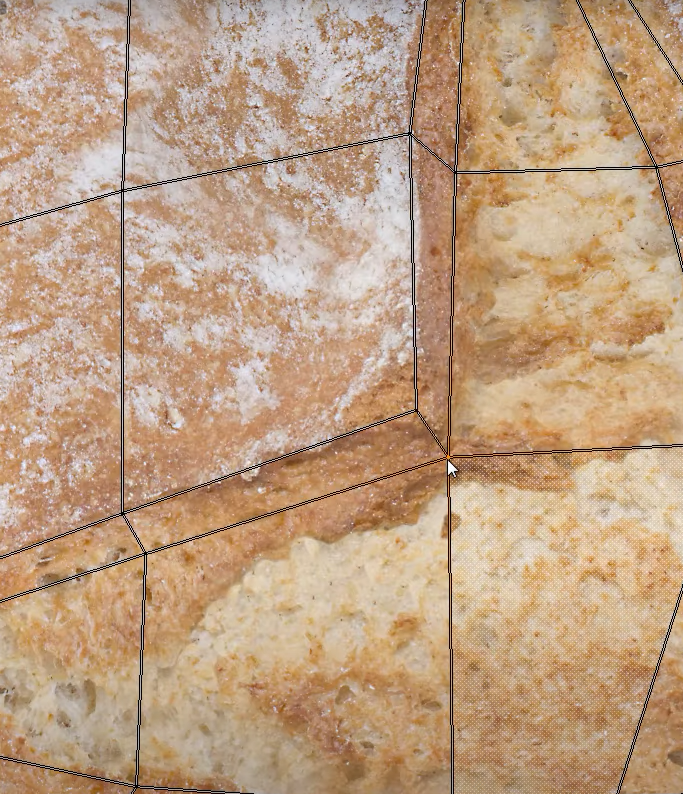
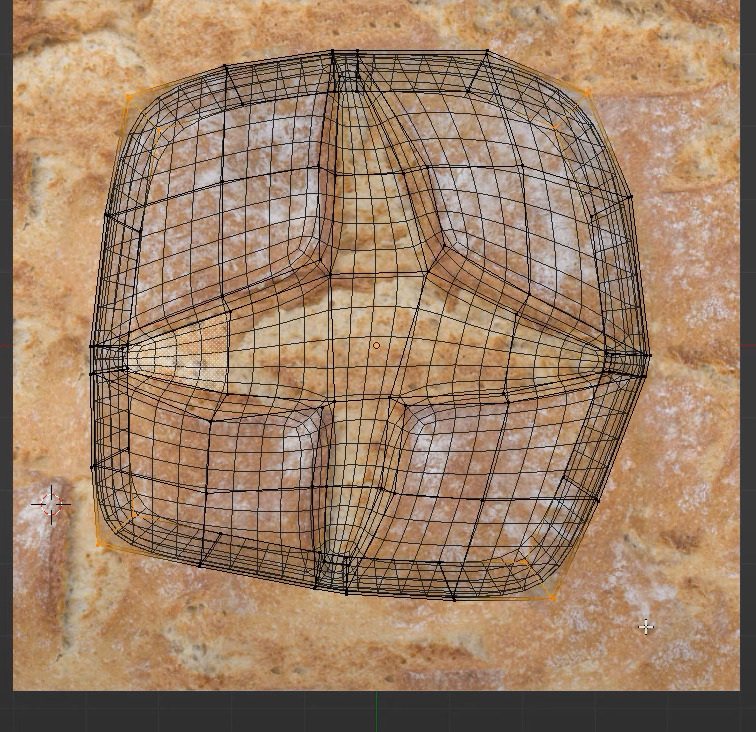
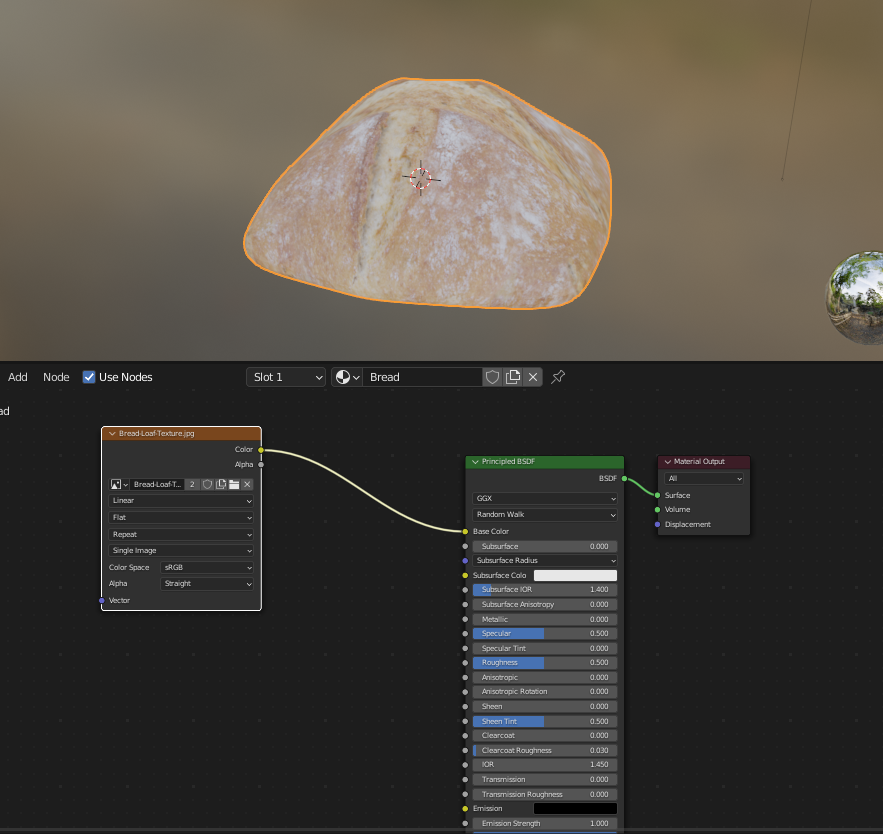
go to the UV image editor and load the texture of the loaf
click U and then project from view
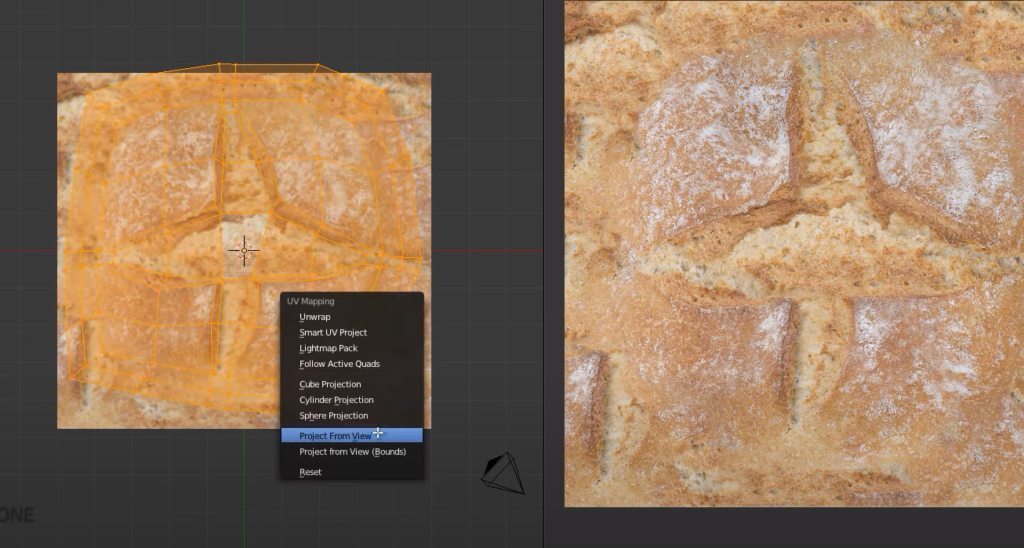
rescale the uv

edit the uv projection as needed
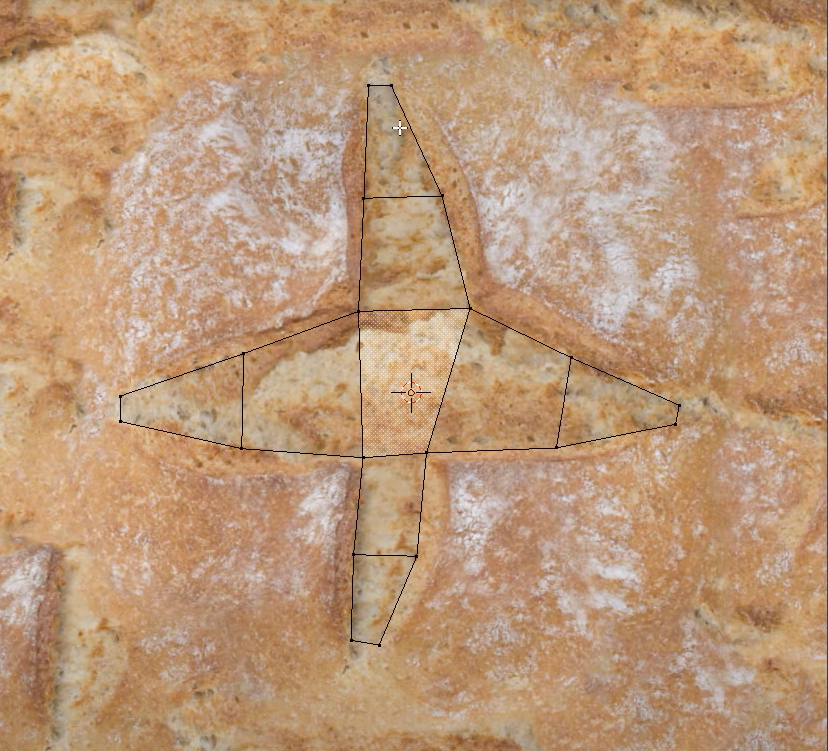
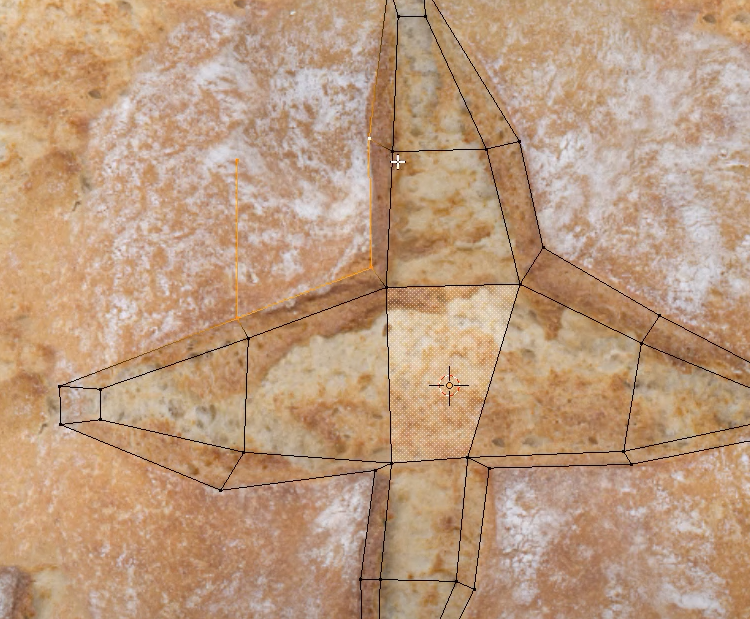
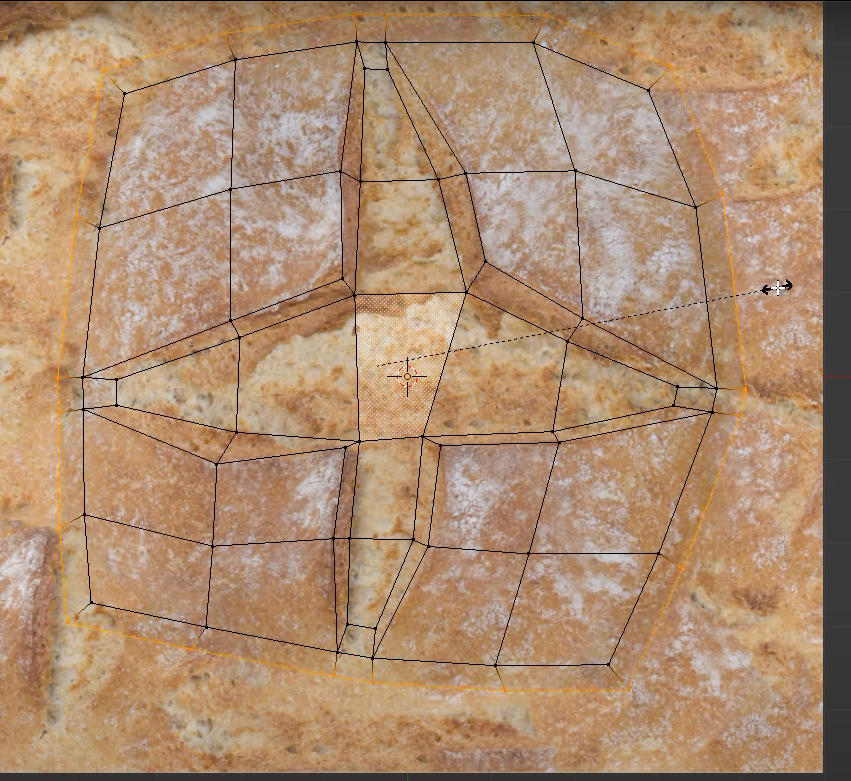
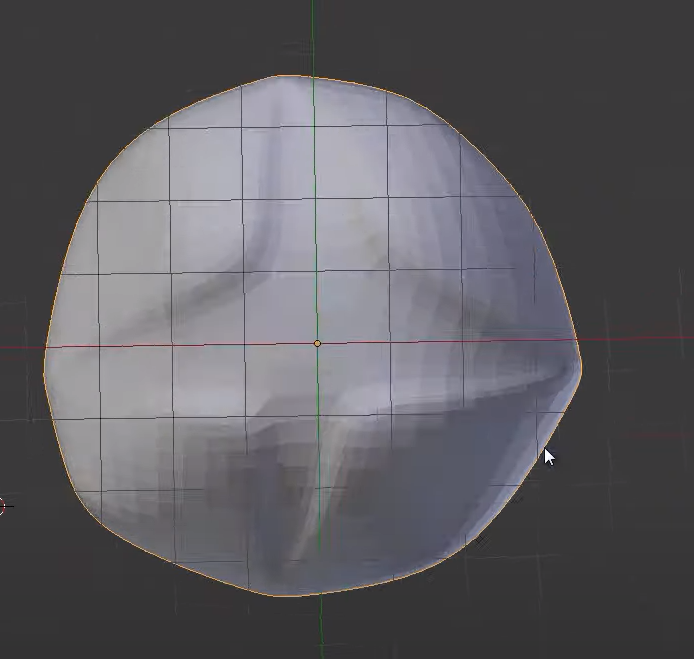
now we still have a flat plane
O to set proportional editing
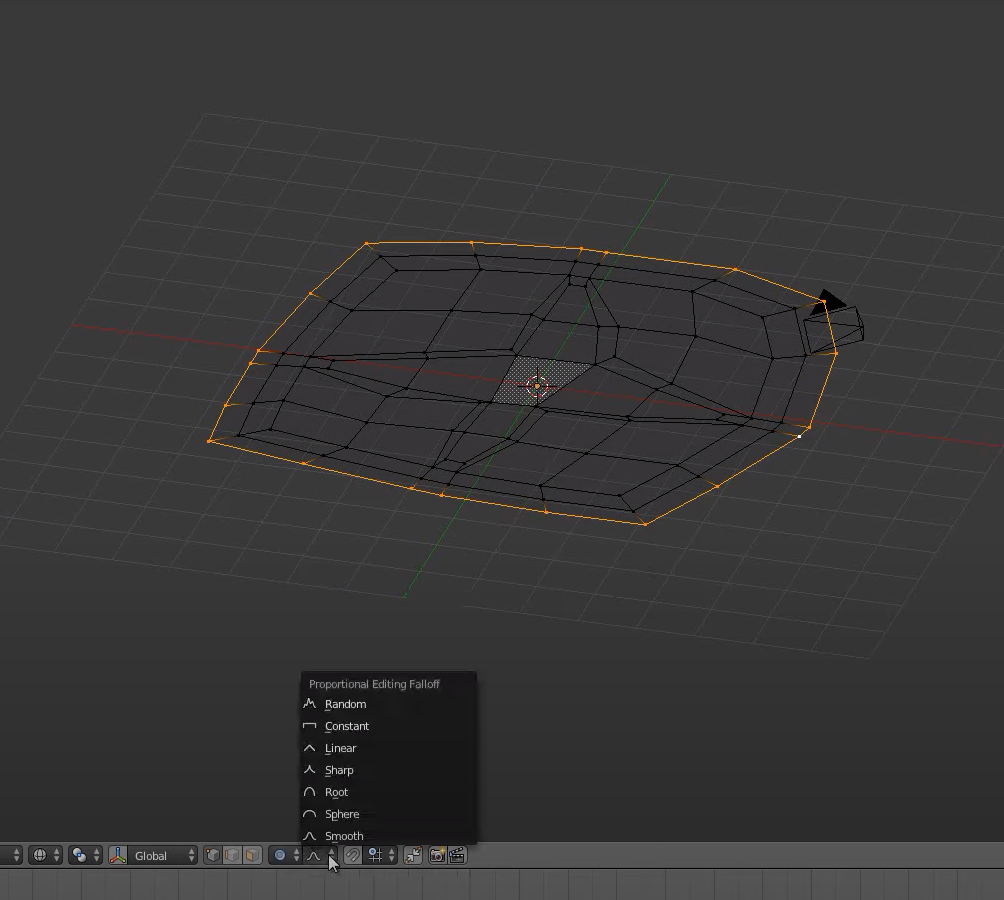
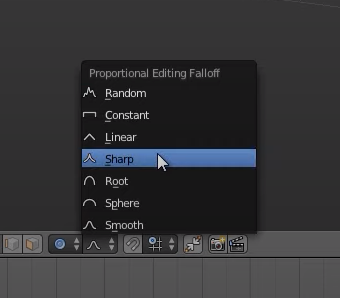
set editing to sharp
G + Z

scale the bottom edge in
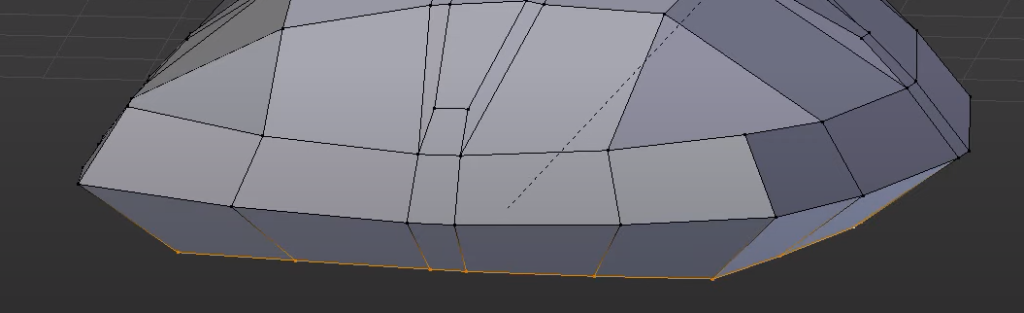
scale the other outer edge as well
add a surface mod
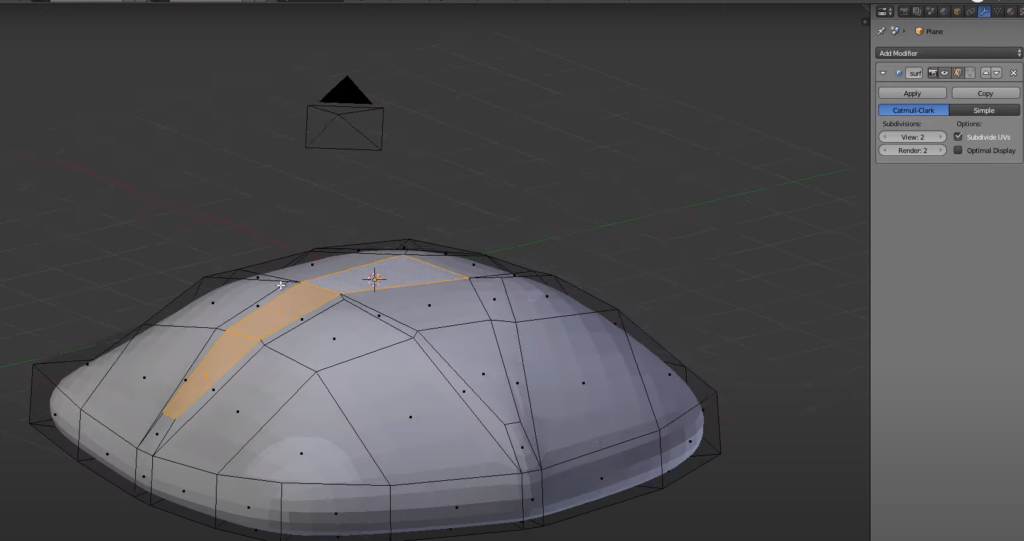
select the cross
drag it down

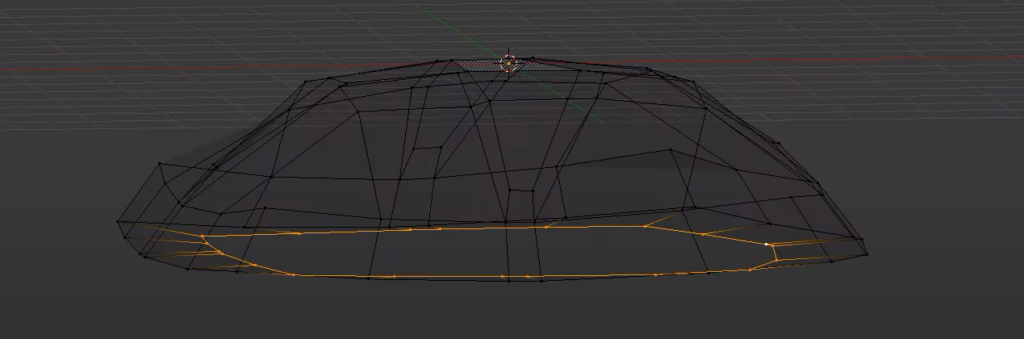
the shape is still too squared so let’s select the 4 outer vertexes
O + S

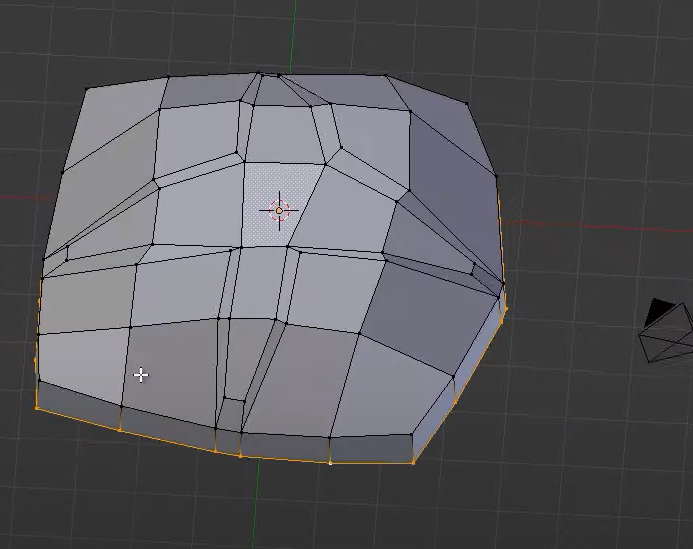
select the base
S + Z + 0
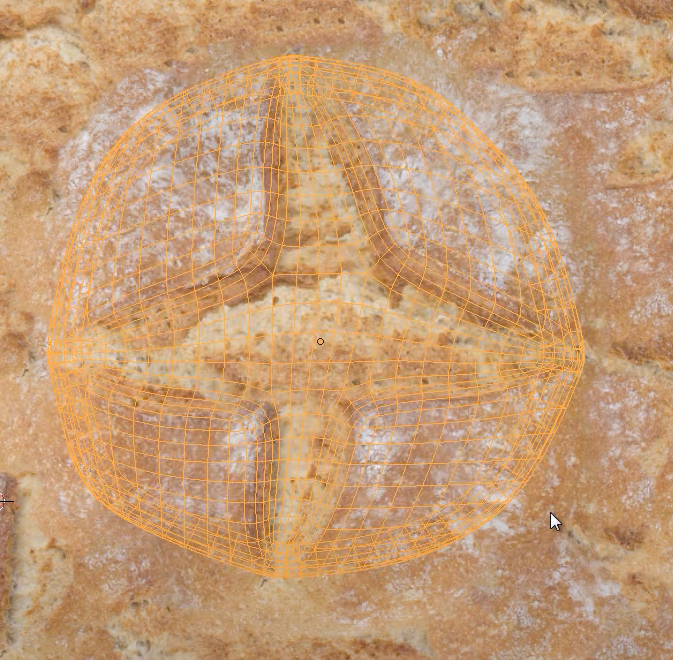
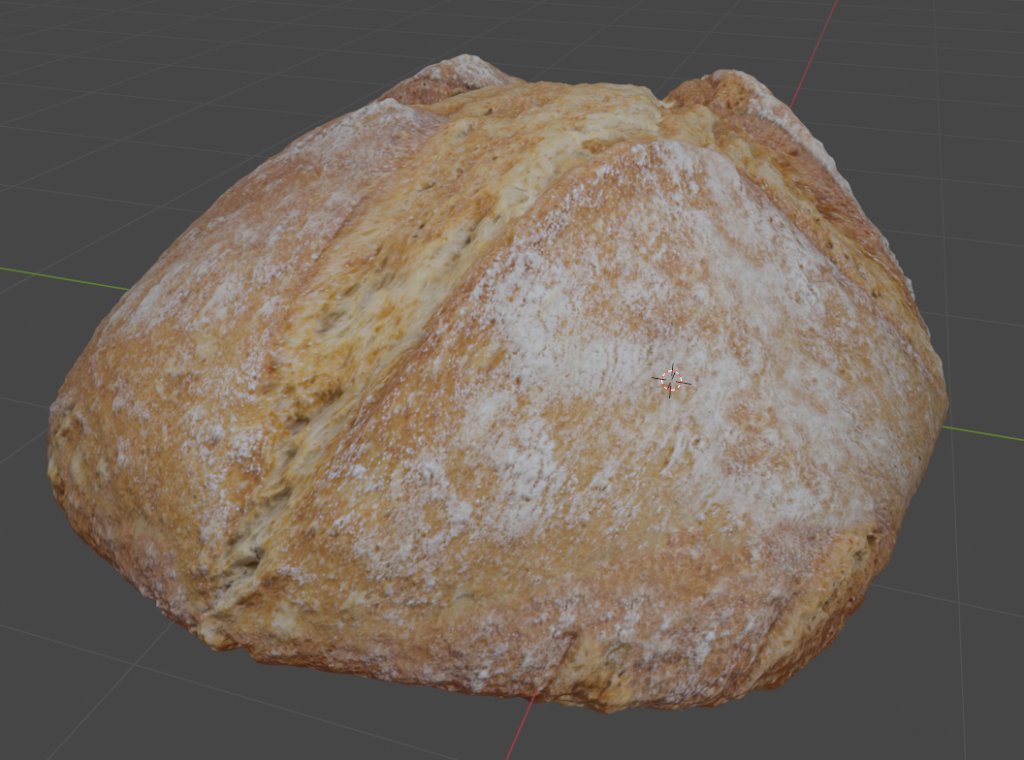
Add a material and image texture and we should already be able to see the texture
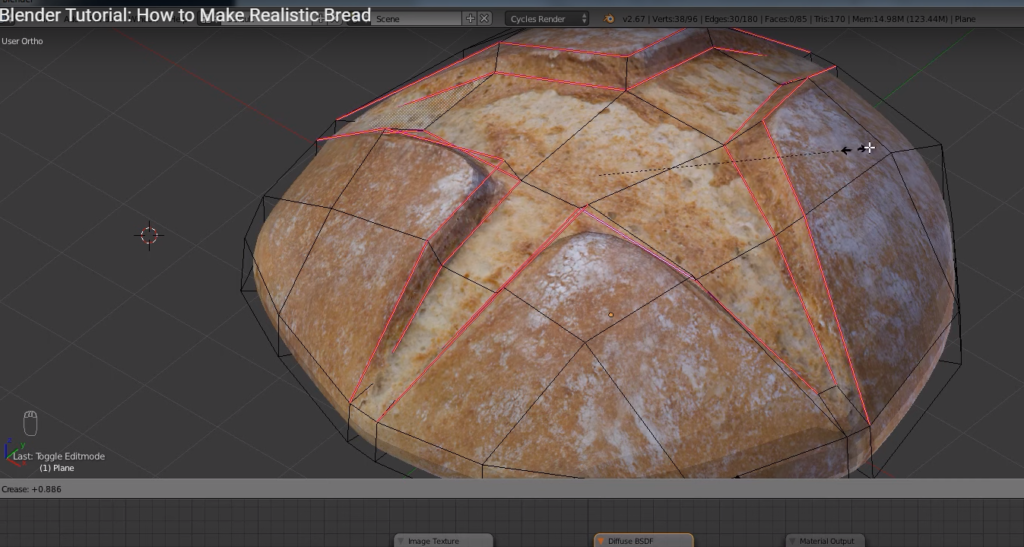
We can now improve the crease of the internal cross with shift + E
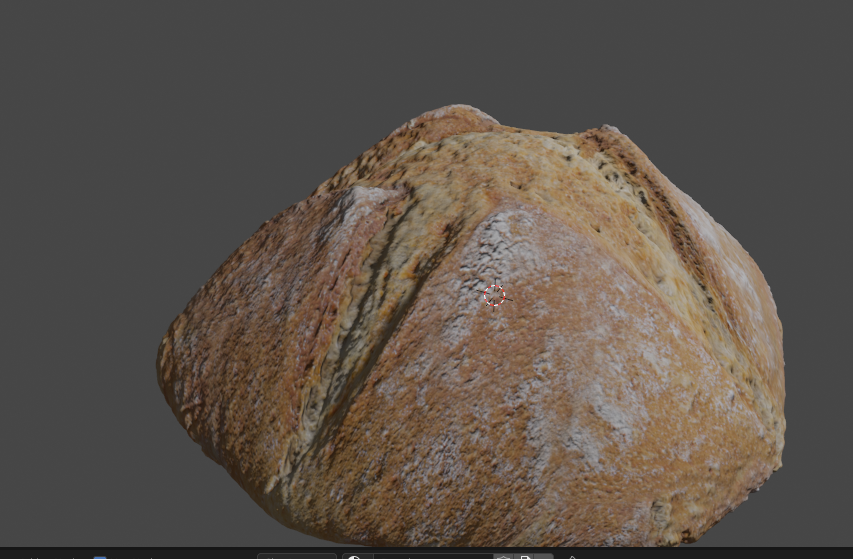
smooth shading

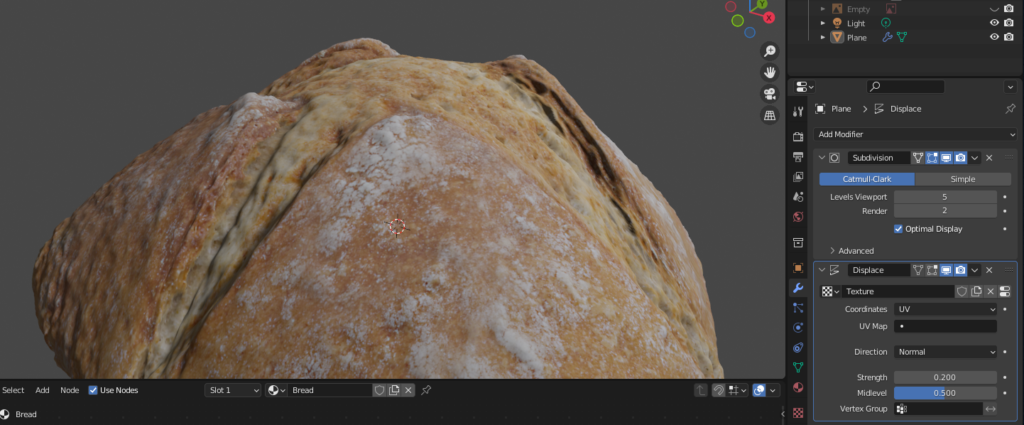
Now add displacement mod
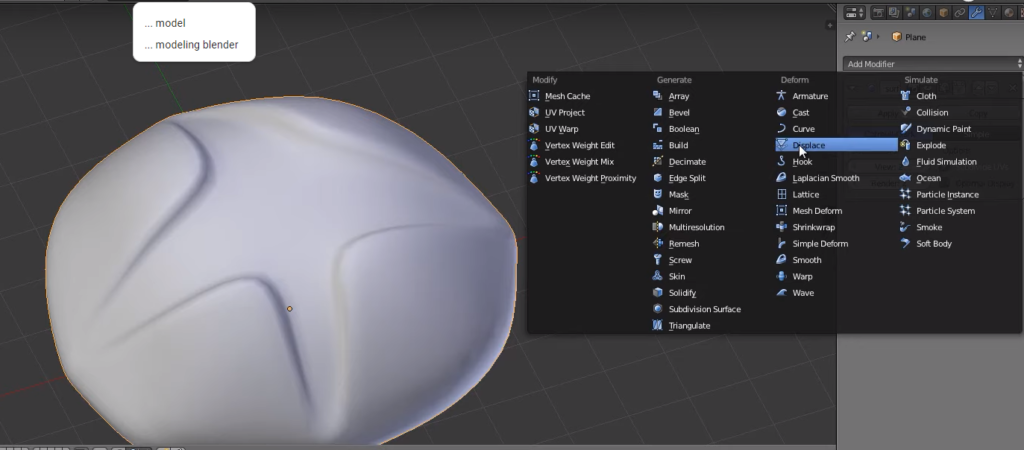
click on New
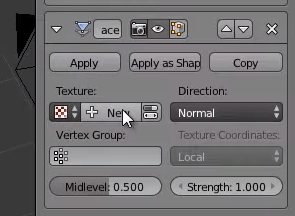
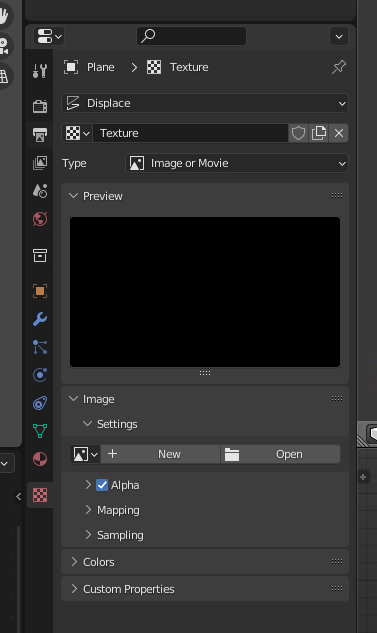
we need to add the image texture to the displacement modifier
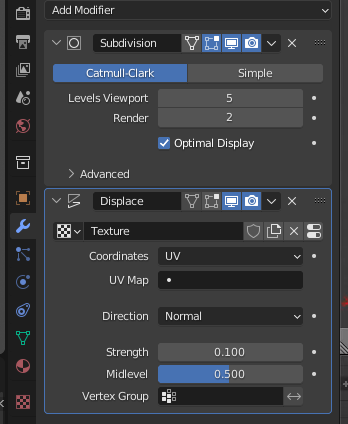
set the uv map in the displacement setup and then increase the sub surf amount
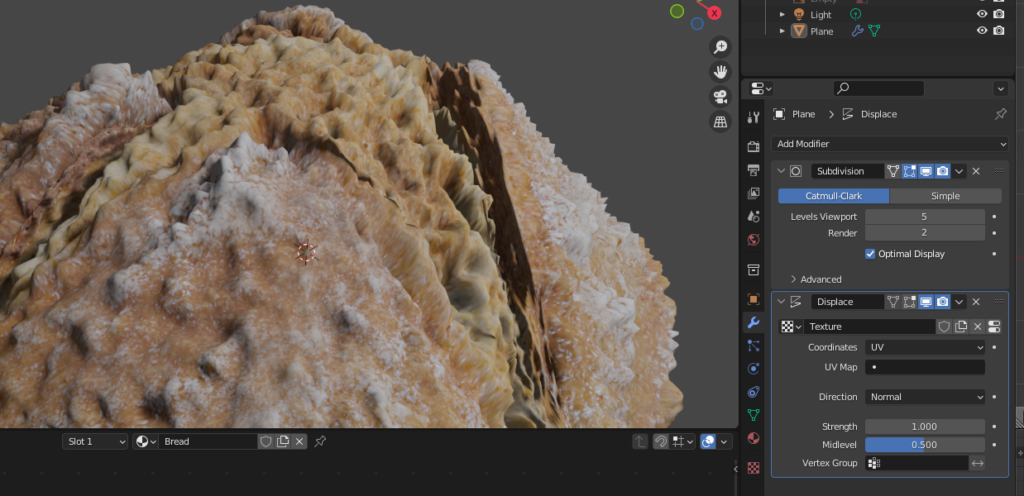
reduce the strength of the displacement
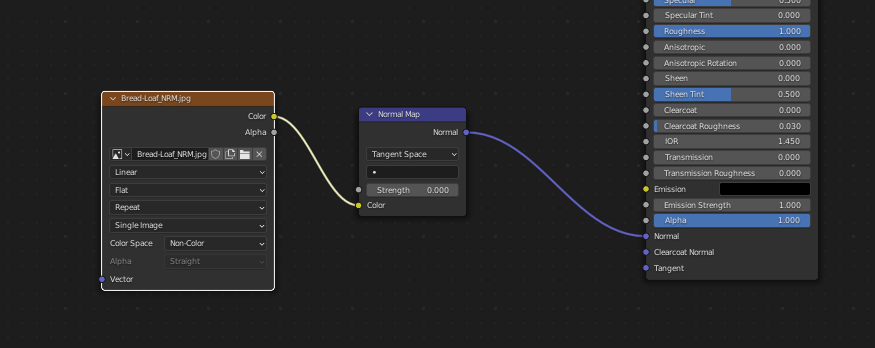
Note: the maps can be generated with Crazy bumps http://www.crazybump.com/
We now bring in the normal map
Now we need to make the materials organic. The light must be able to pass through the object. Sub surface scattering
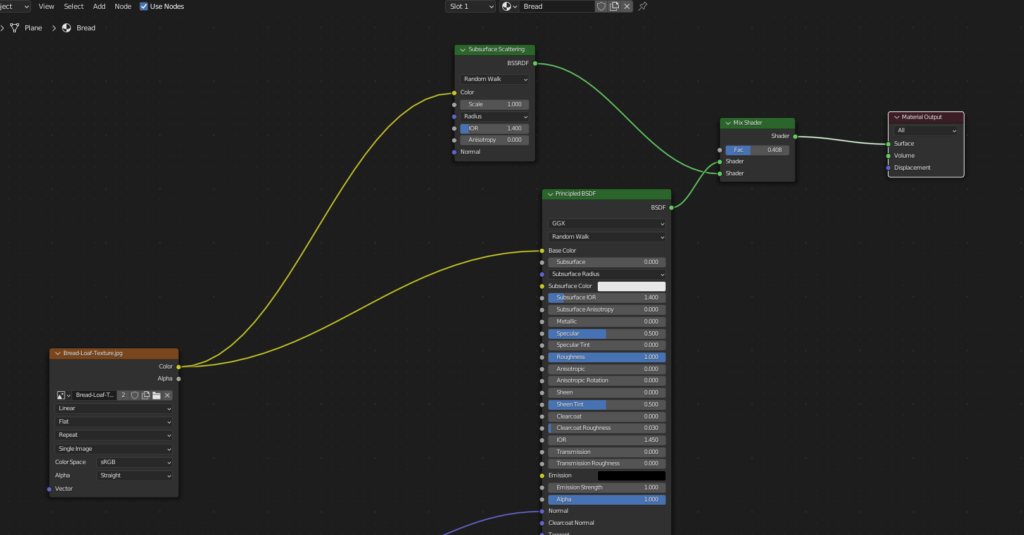
We can now add a glossy shader