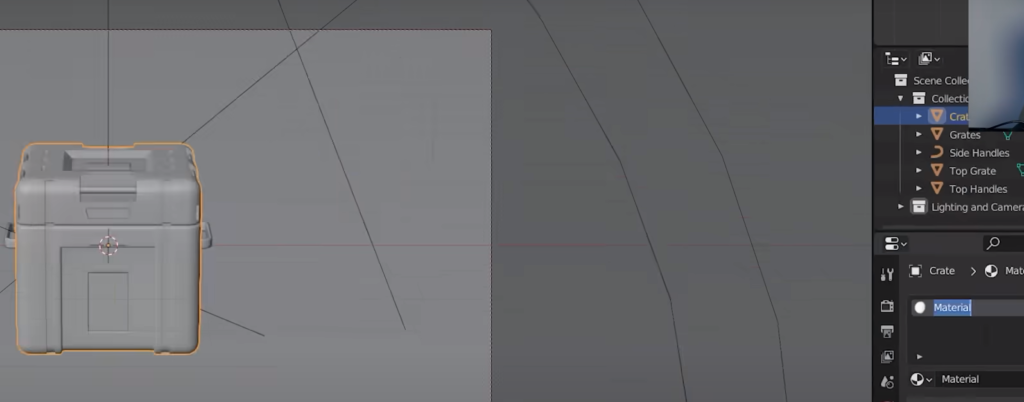
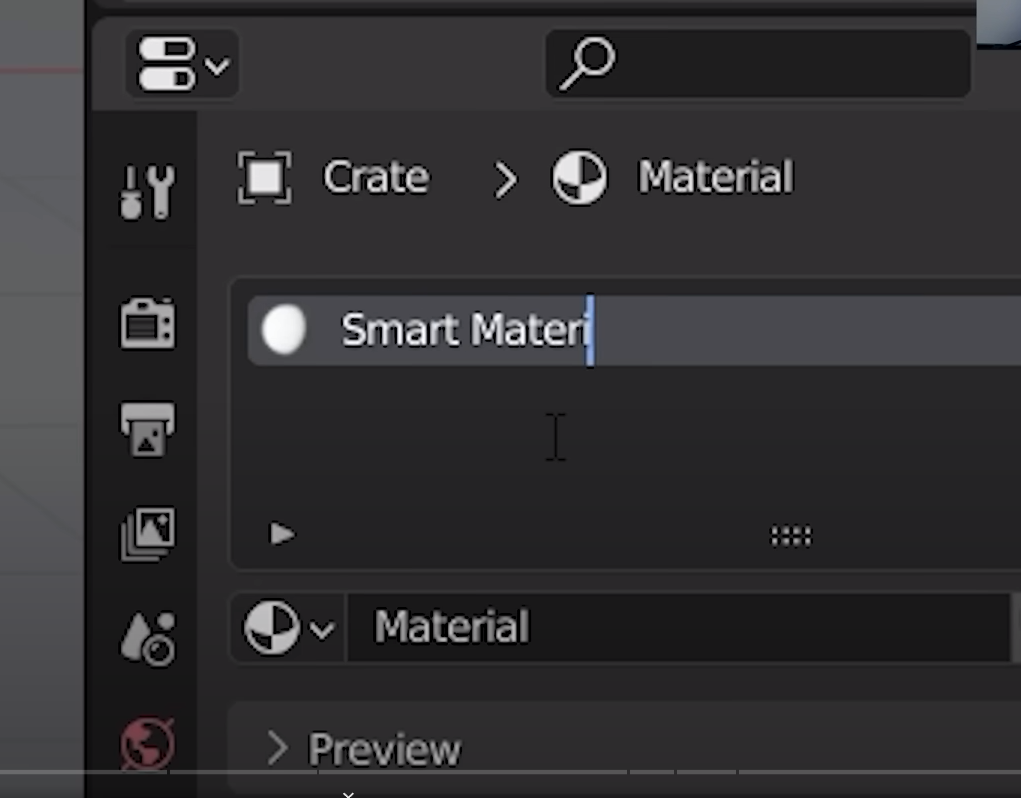
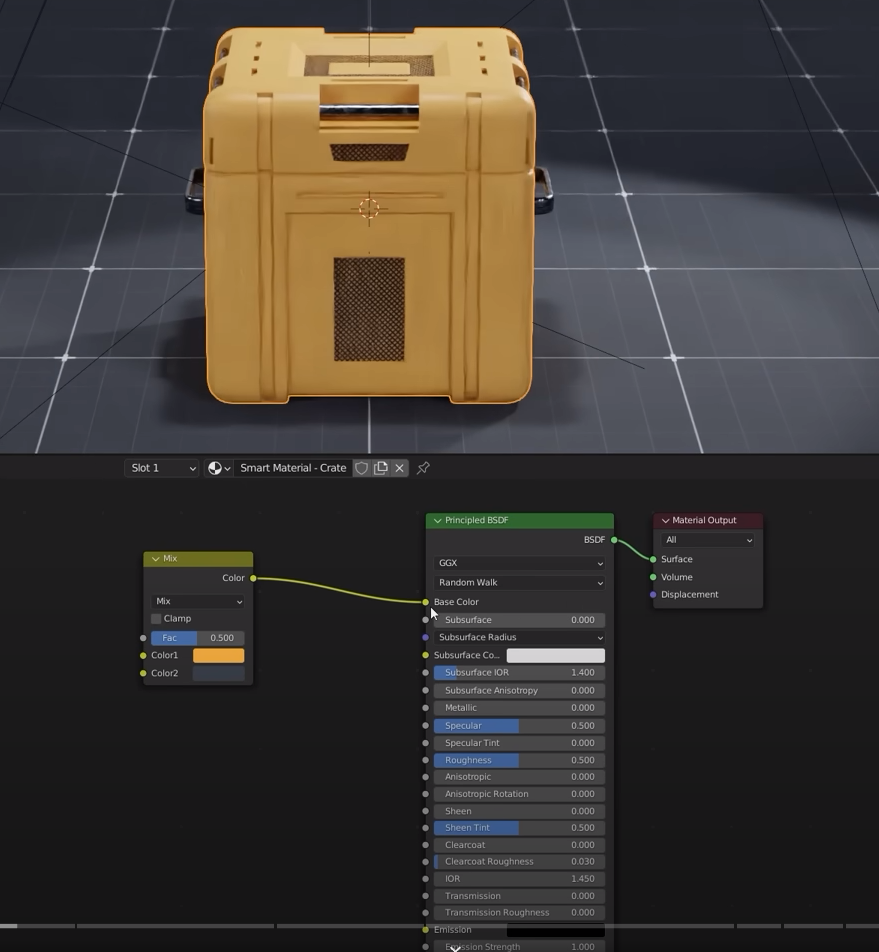
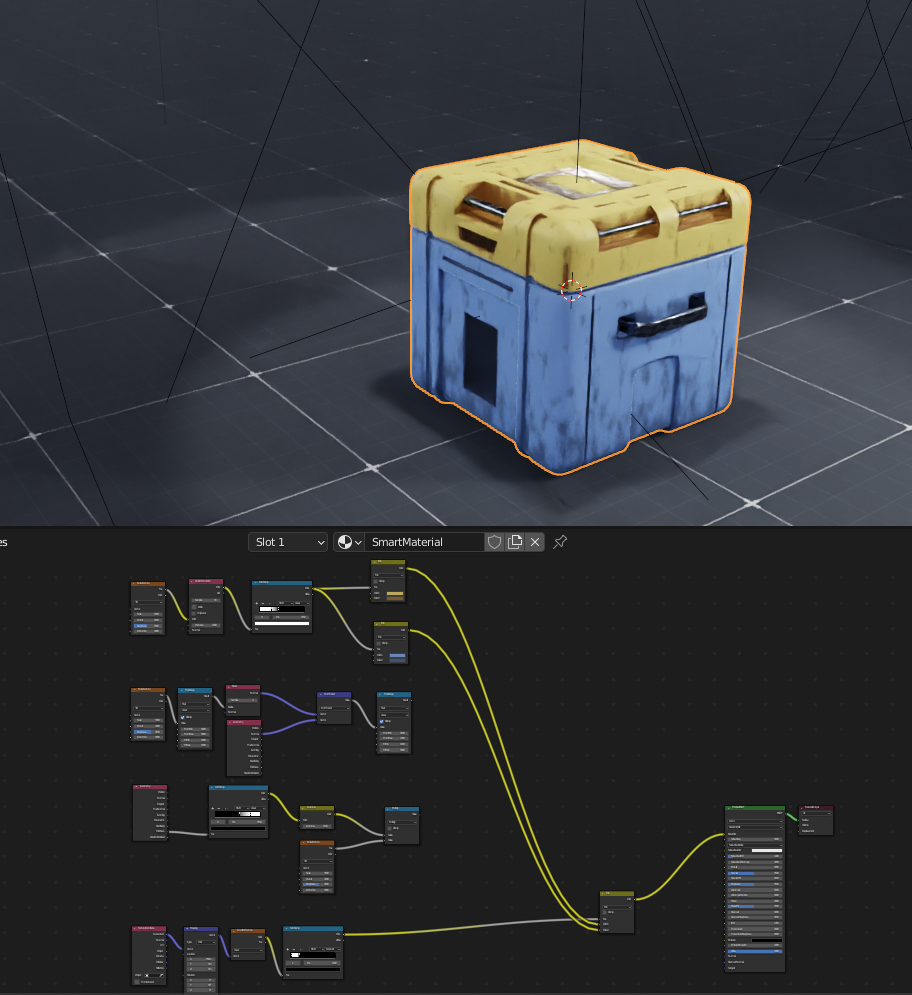
Select the model and add a new material to it
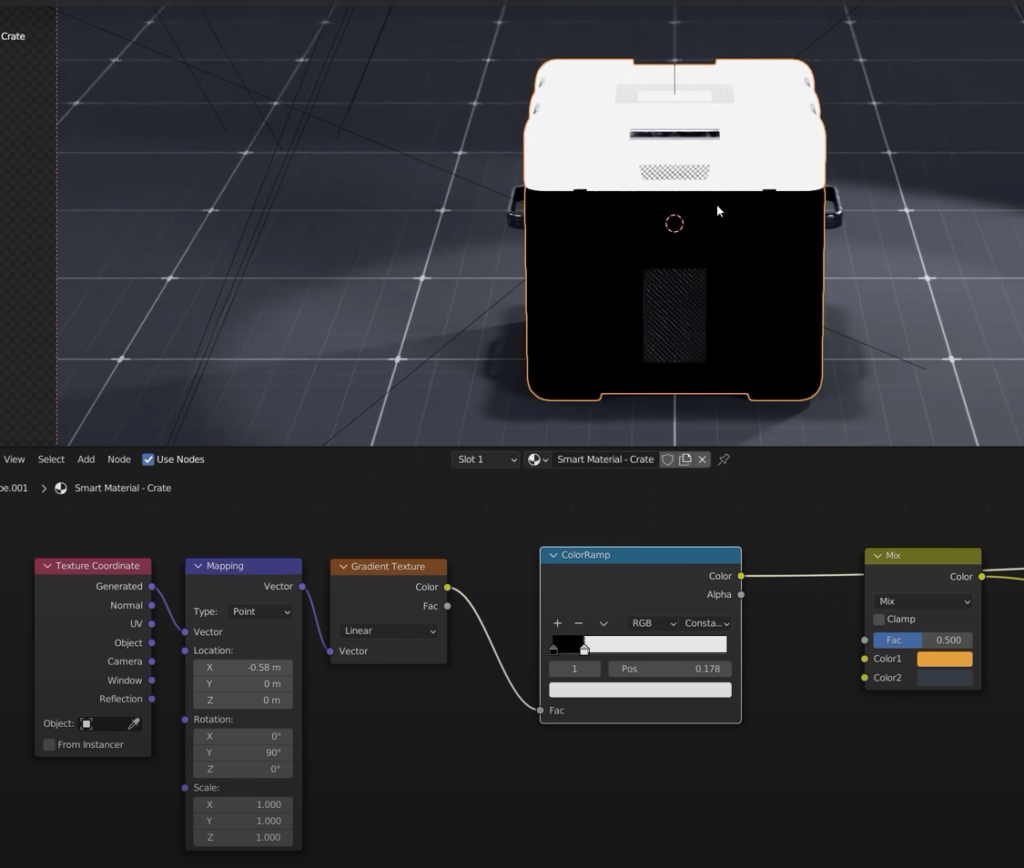
Let’s make a curvature map
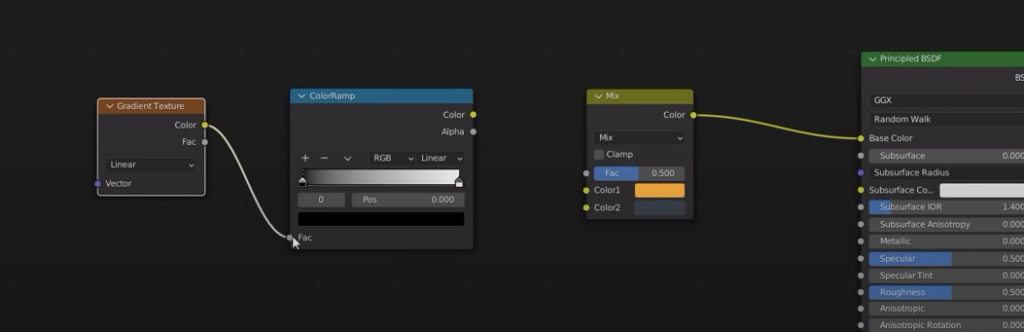
Add gradient texture and color ramp
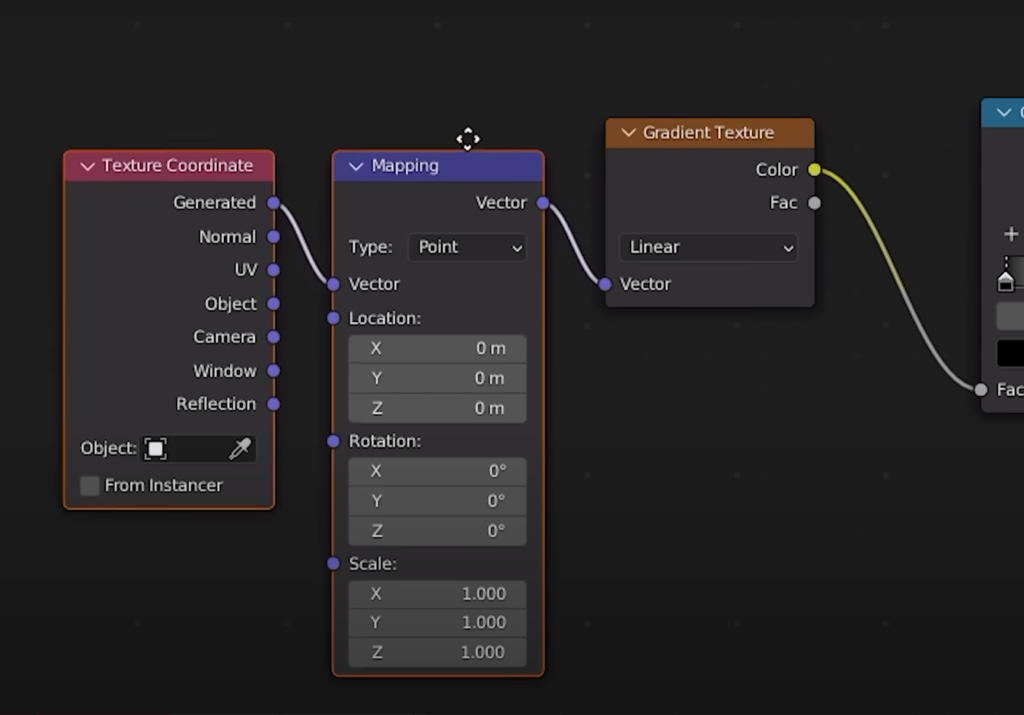
Click Control + T on the gradient to use the node wrengler and add a texture coord and mapping
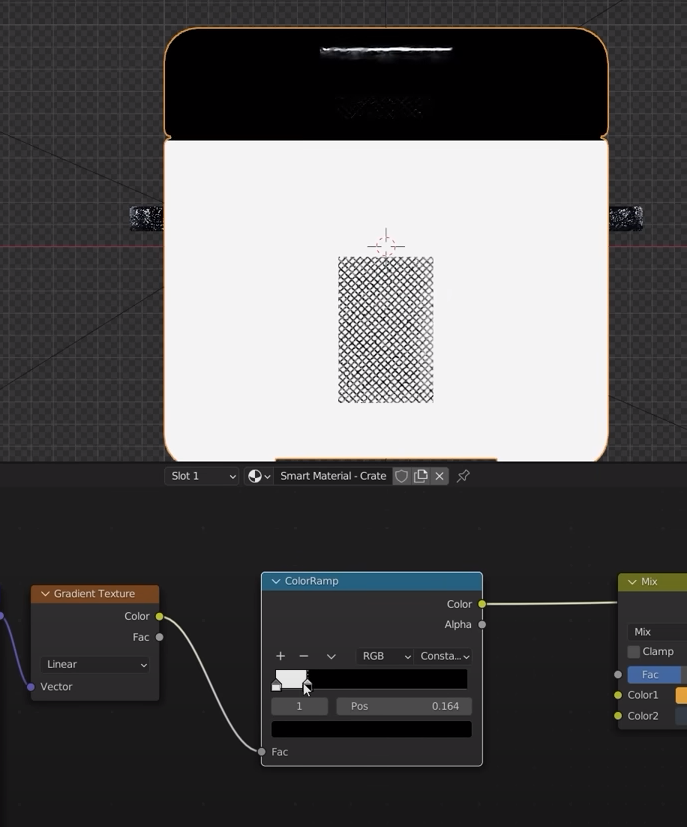
Now if we control + shift + left click on the color ramp we can see how it looks like
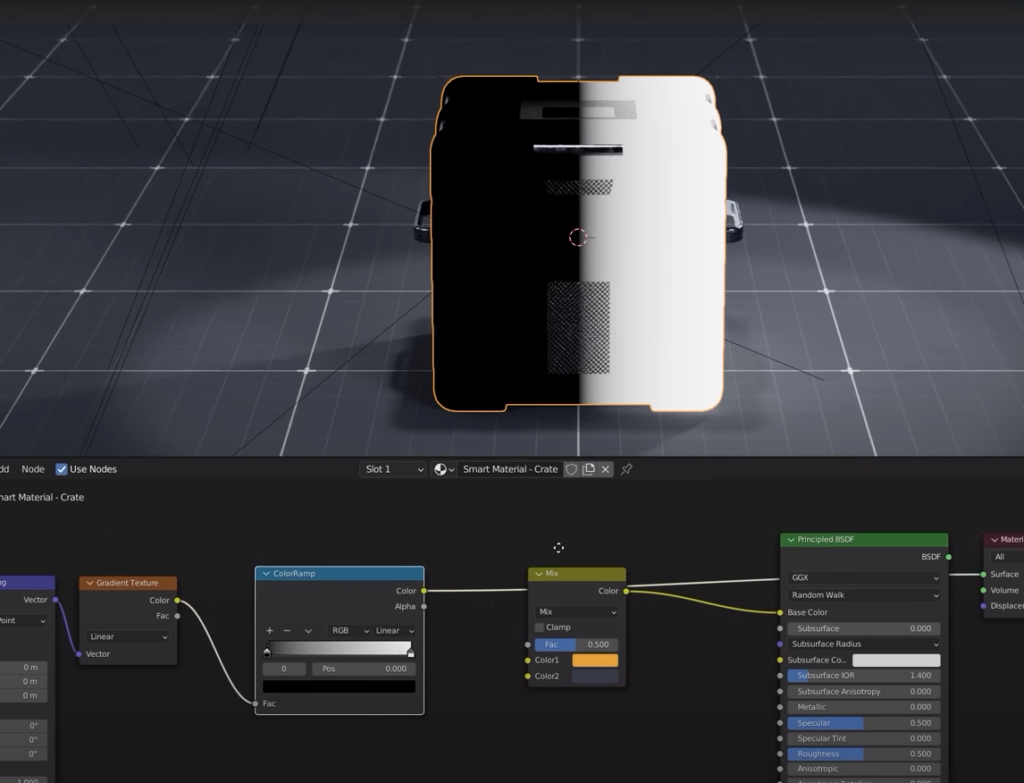
rotate the color gradient Y to 90 deg
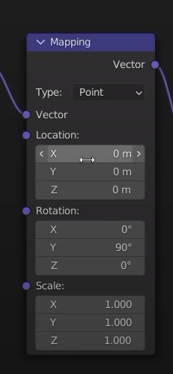
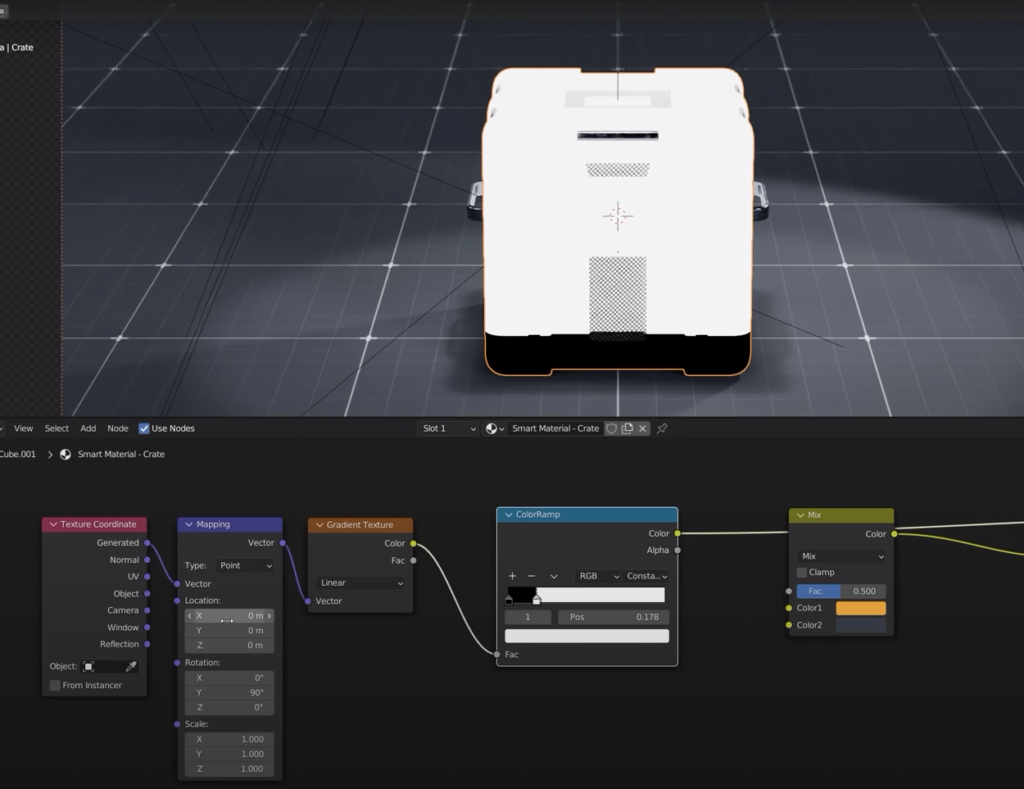
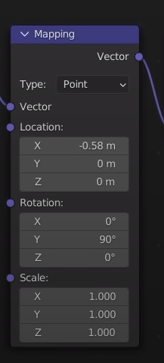
set the location X value to -0.58
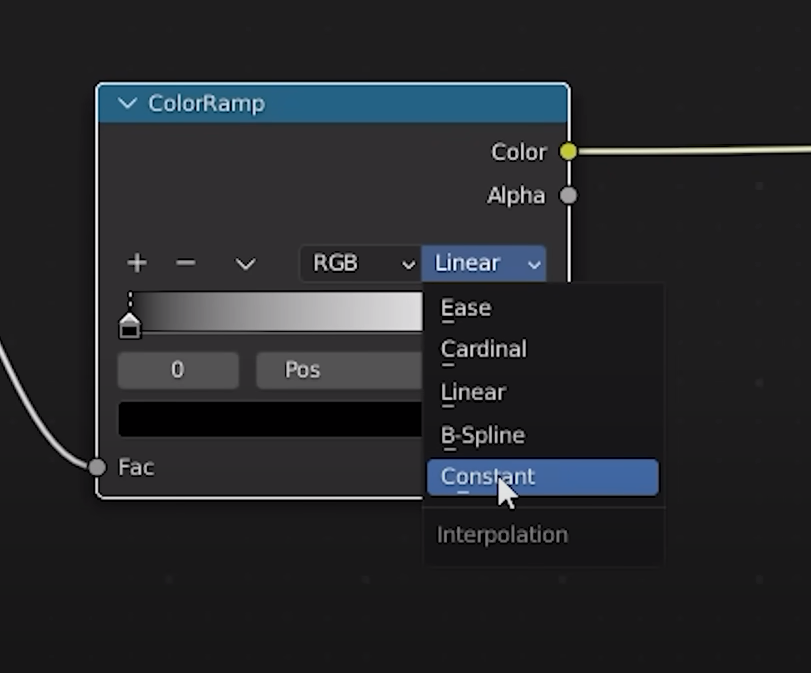
now invert the color ramp
Now it’s time to connect the shader to the material
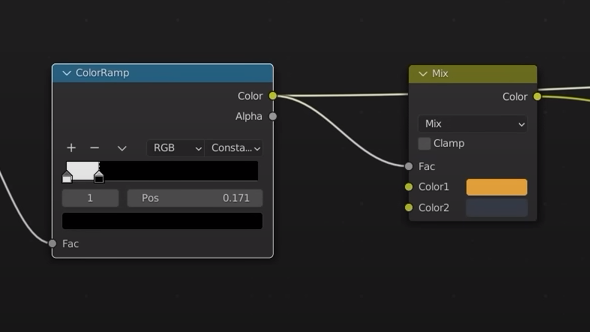
select the principled BSDF and clontrol + shift + click
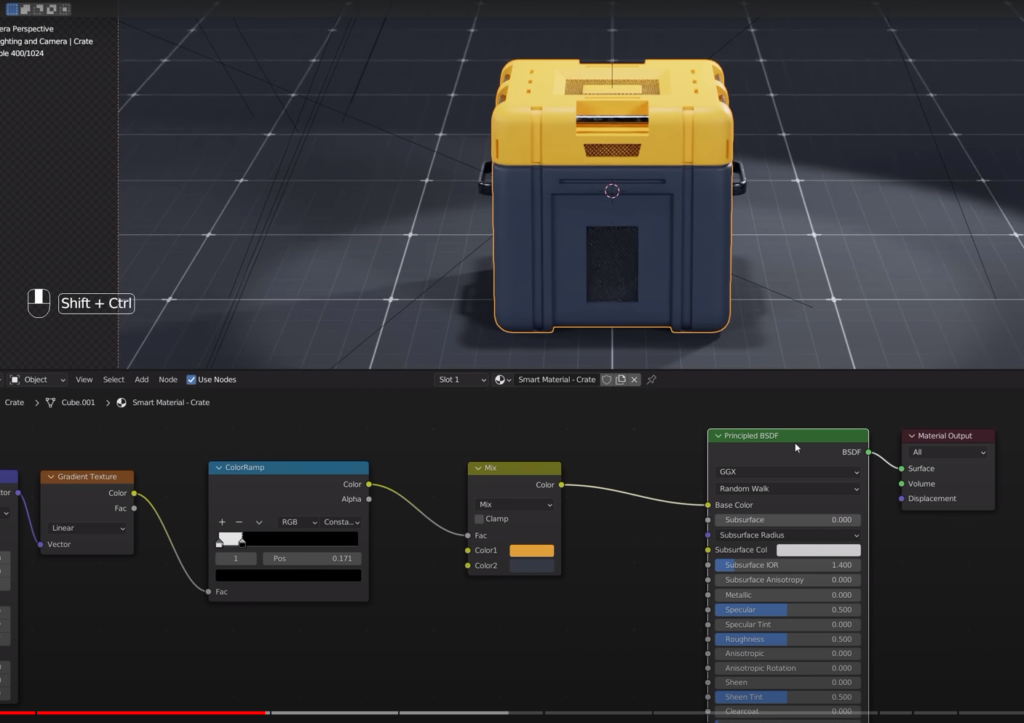
Done
Now we want to create several more masks. Select cycles because they predominantly work with that renderer
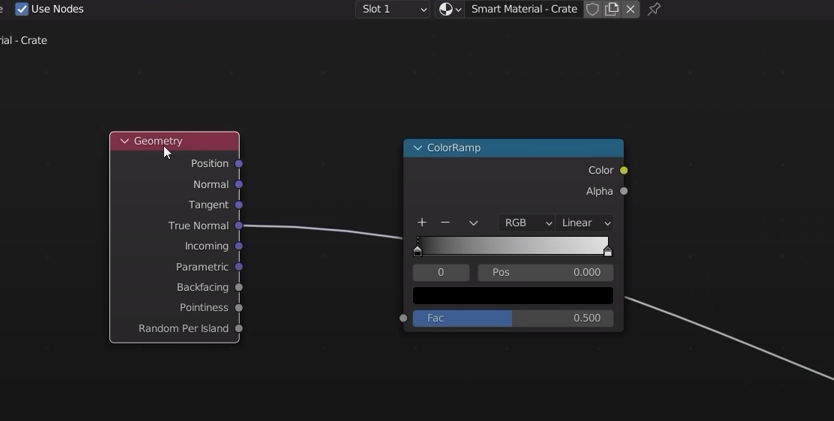
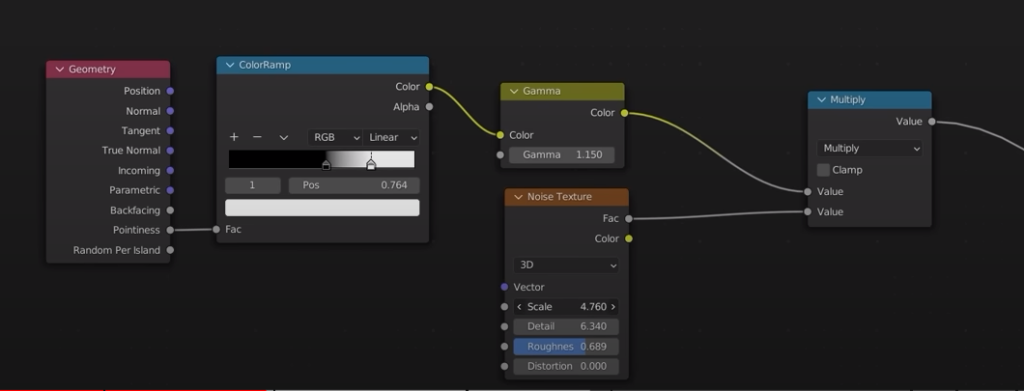
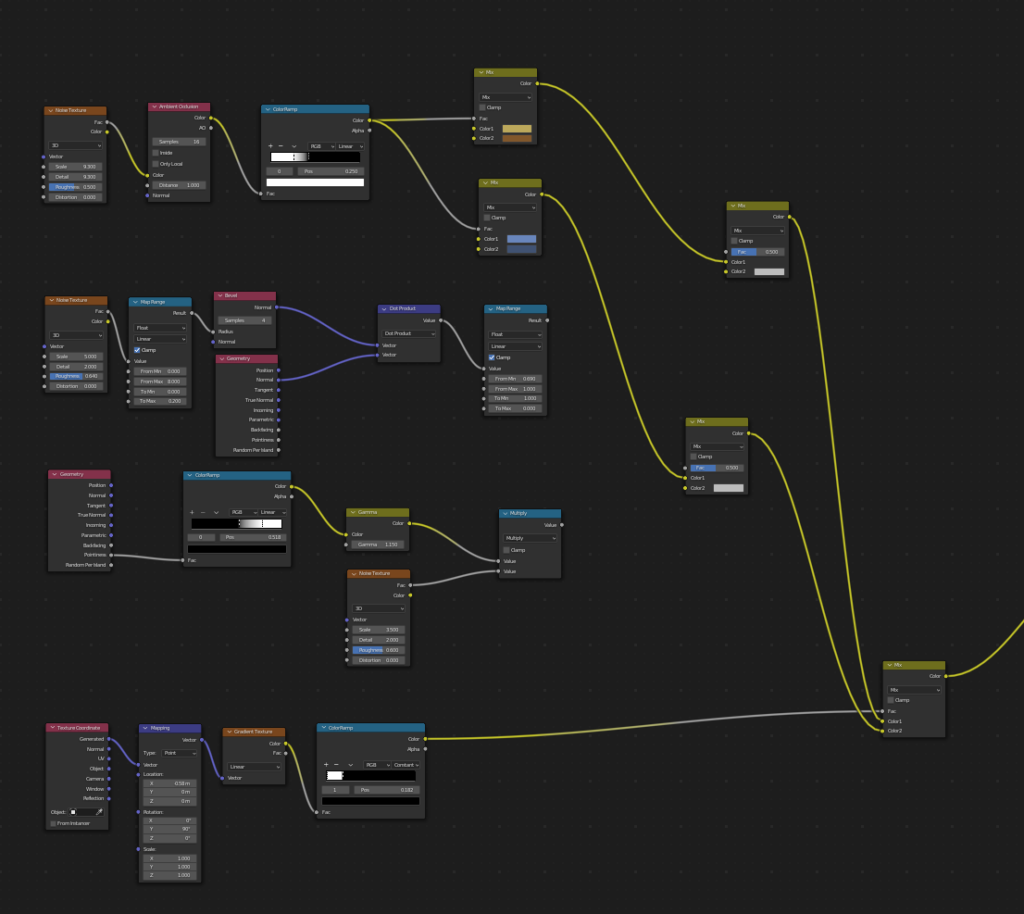
Let’s add a geometry not and color ramp to our shader
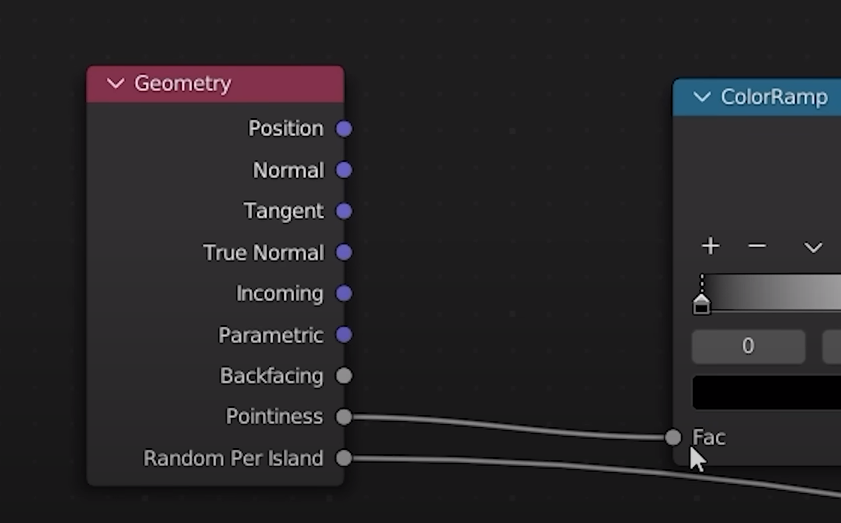
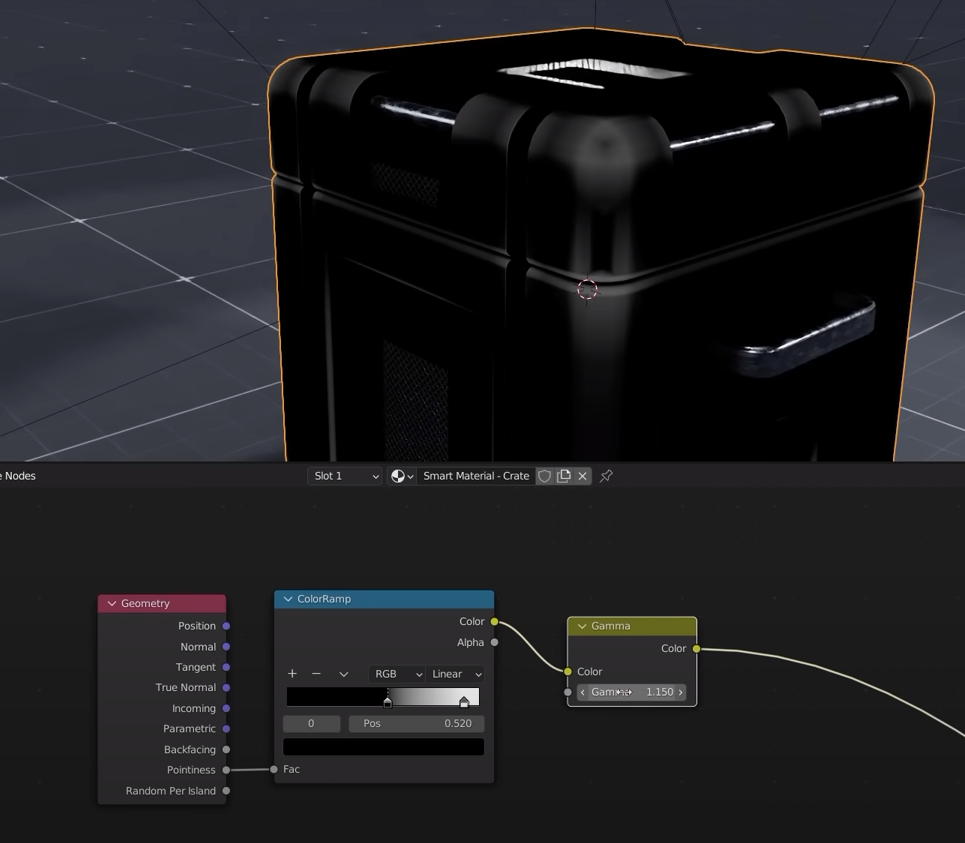
connect the pointiness to the color ramp
Add a gamma node
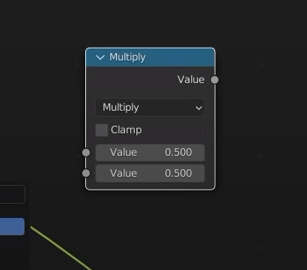
Add a math node set to multiply
add a noise texture node

Let’s connect the nodes

Done
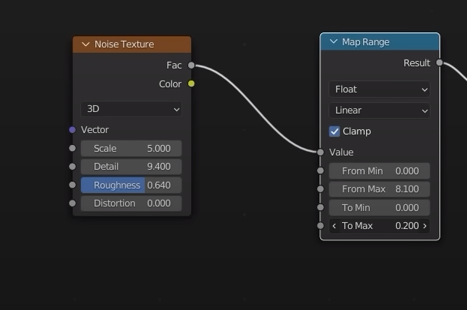
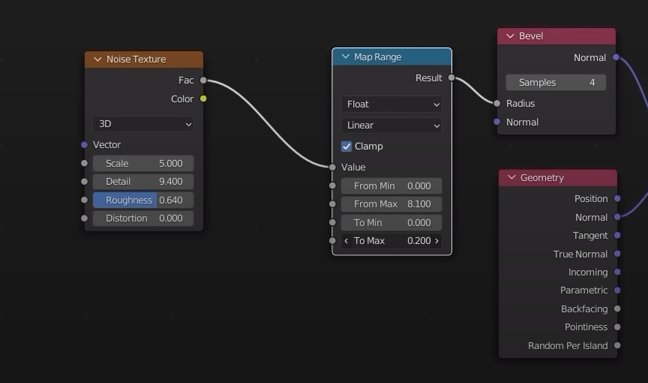
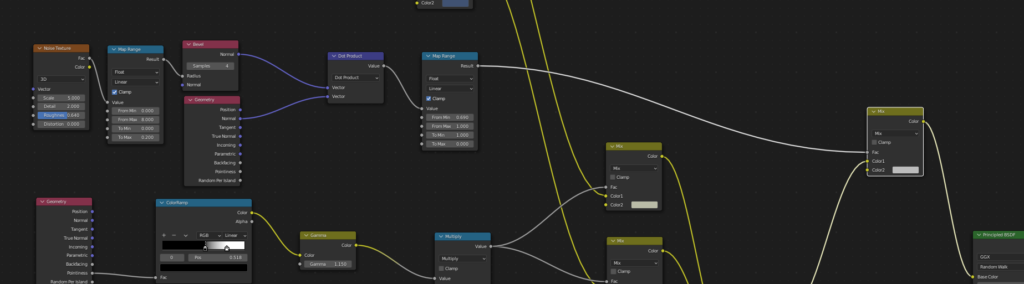
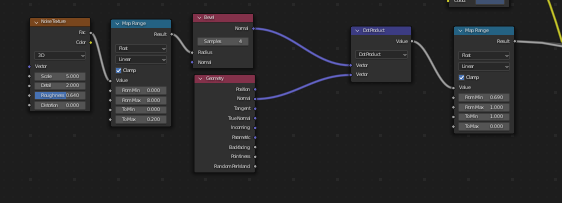
Now we create an edge mask
This is the list of new nodes. Note the dot product is part of a vector math node.
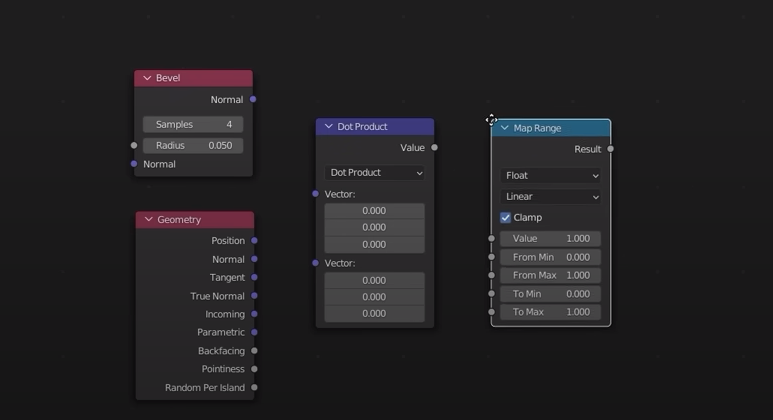
Setup
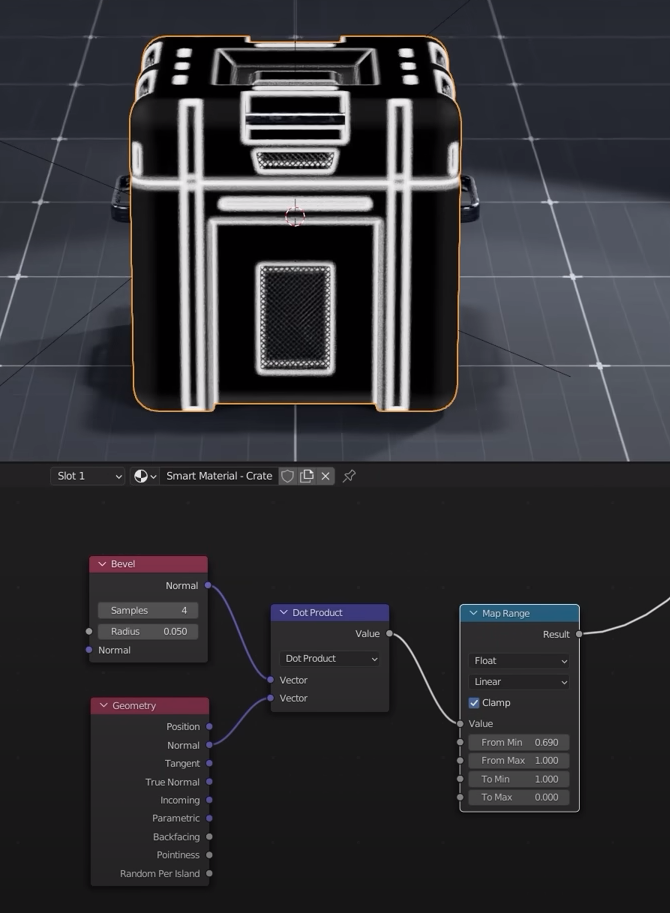
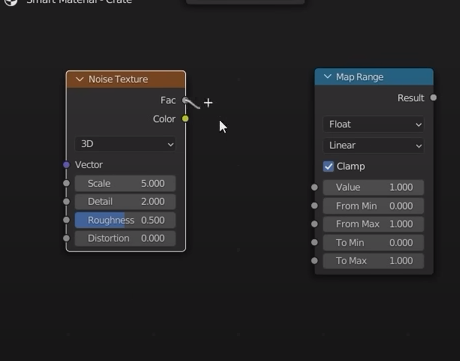
Add a noise texture and a map range
Setup
Setup
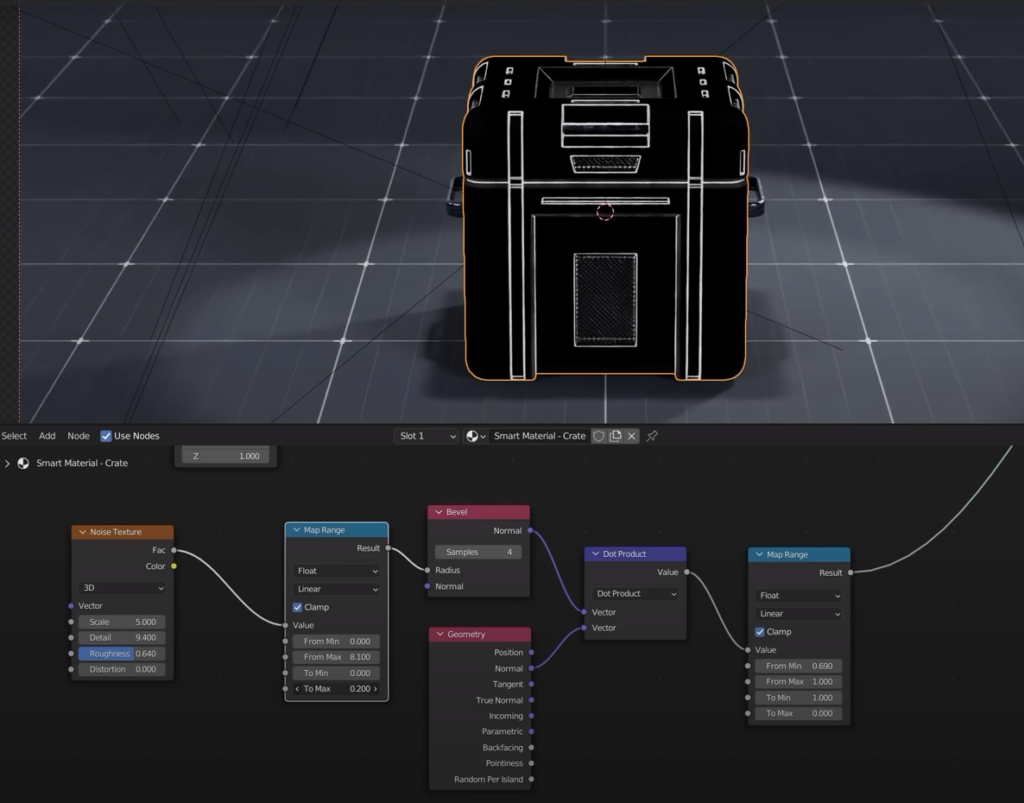
Done
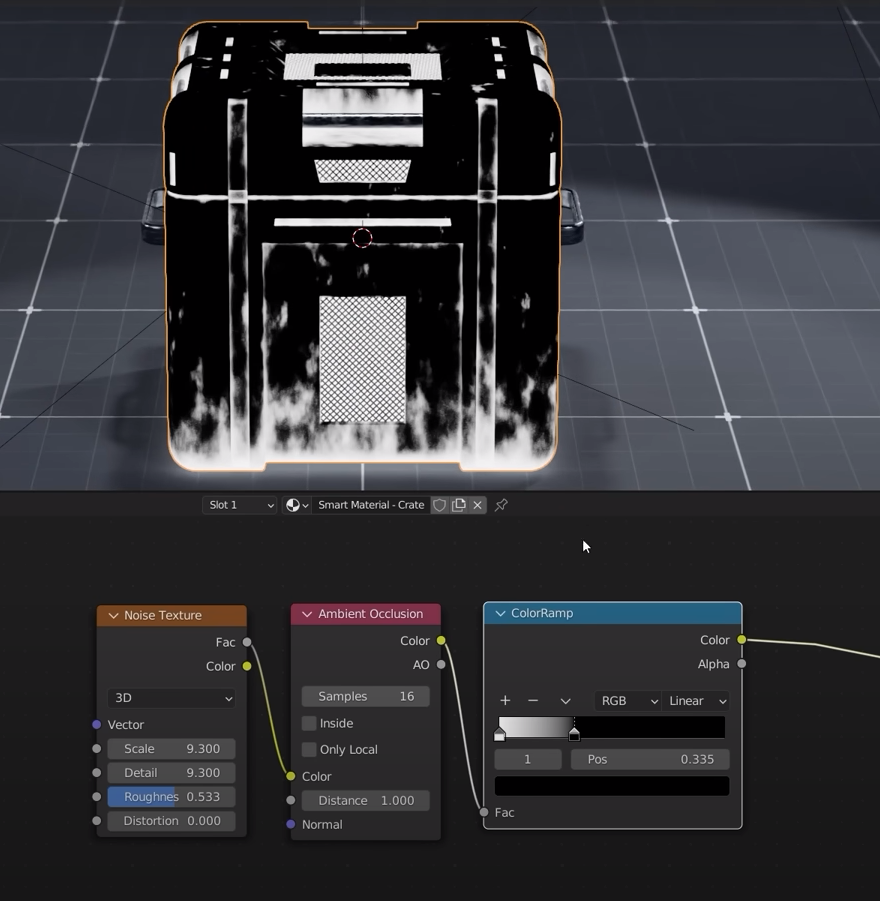
Now we create the ambient occlusion mask
We need these nodes
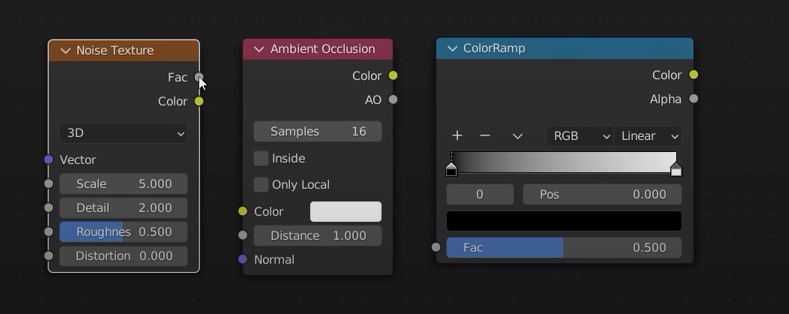
Setup
Let’s now use our masks
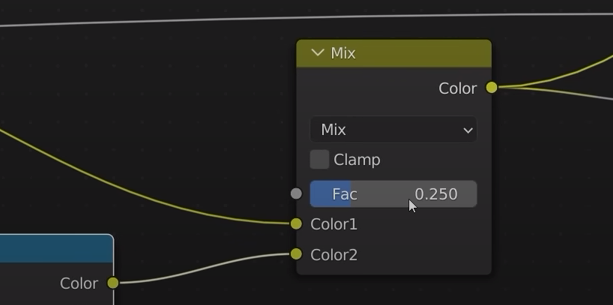
We start with the ambient occlusion
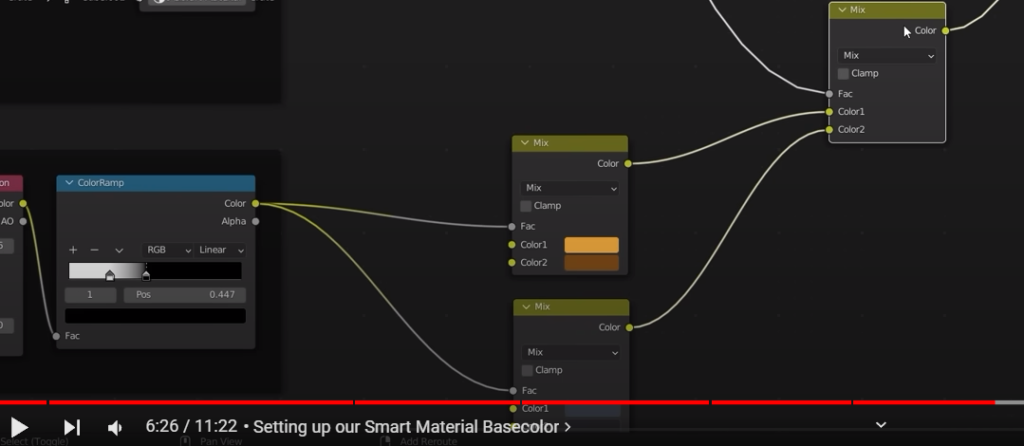
We add two mix to the ambient occlusion
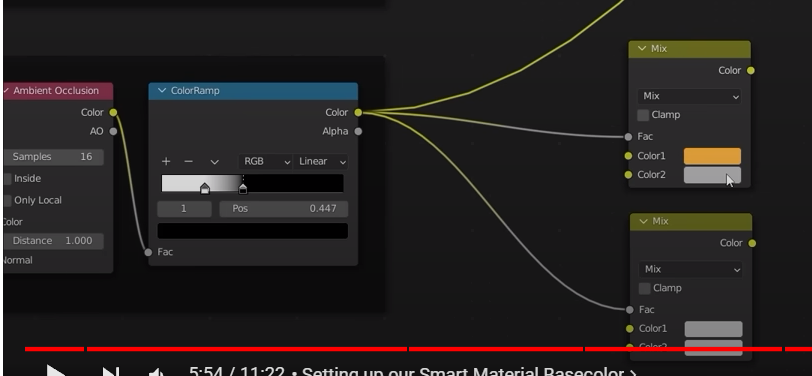
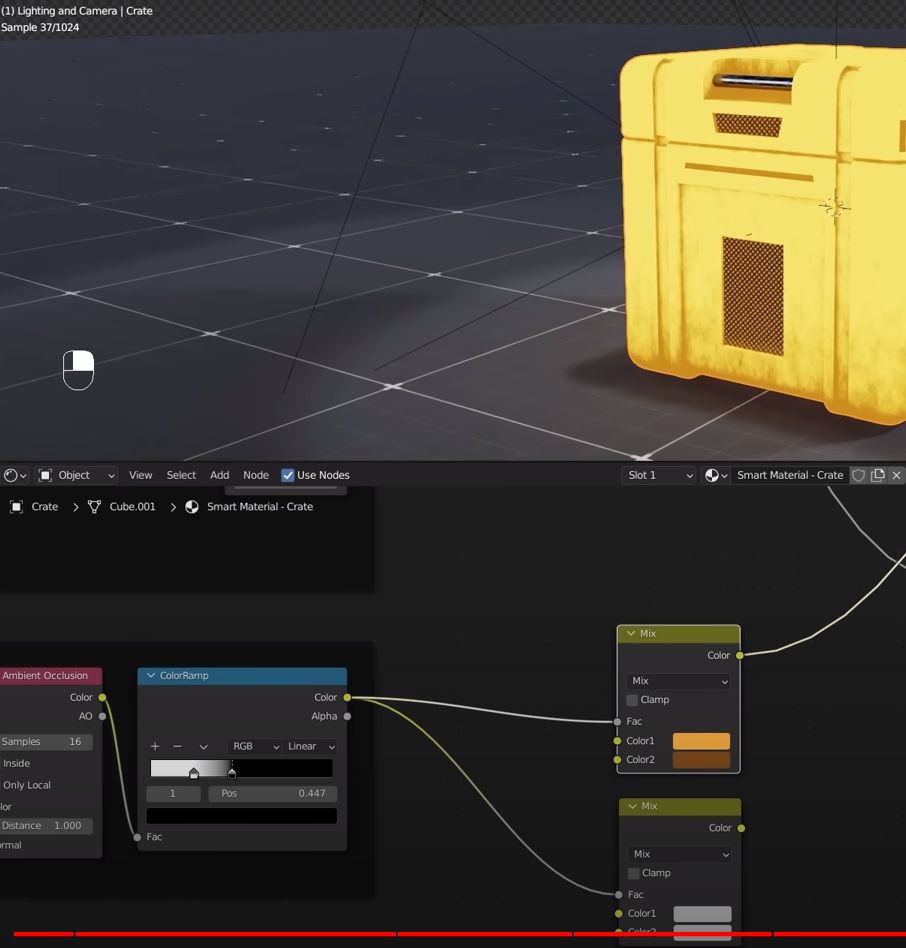
We add two colors in the second mix and then we need to connect the two mix to the main one that we have used to mix the main two colors going into the princiupled BSDF
Now we can combine the curvature mesh into the design
We need other two mix that are going in series to the ambient occlusion paths
We then plug the multiply node into the factor of the two mix

We set the two new mix to a very light color
We now need to plug in the edge mask. We need another mix in series to the principles BSDF. We plug the edge mask into the factor of the mix
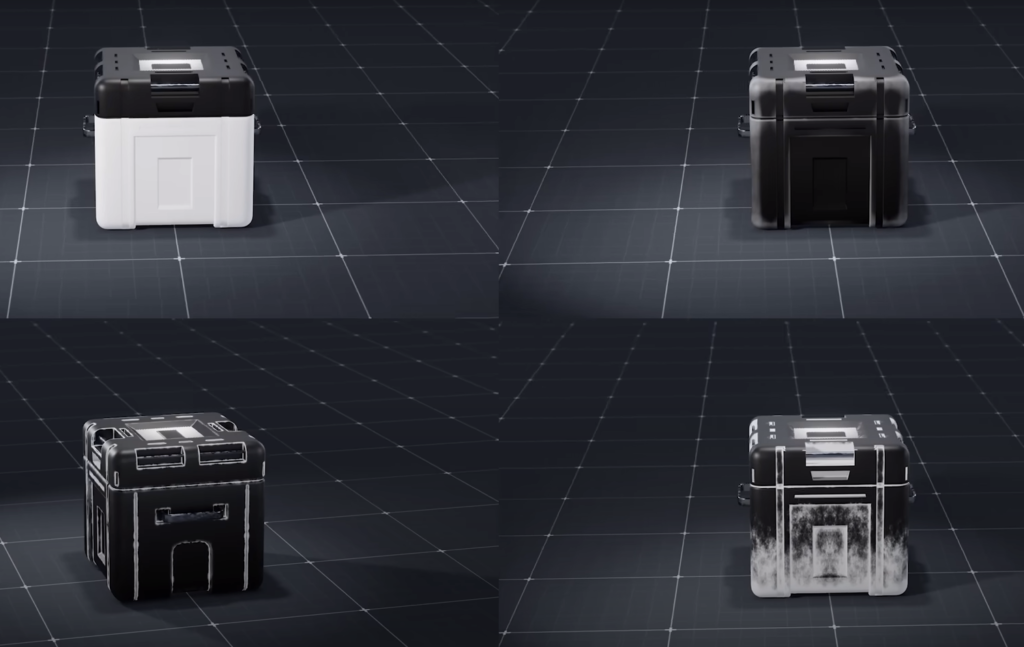
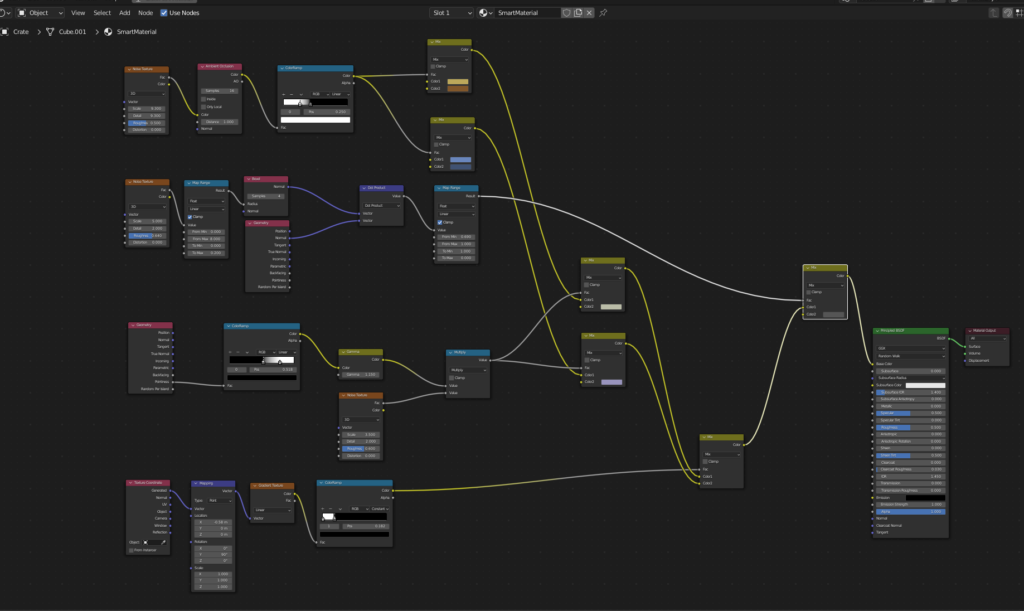
Overall shader design
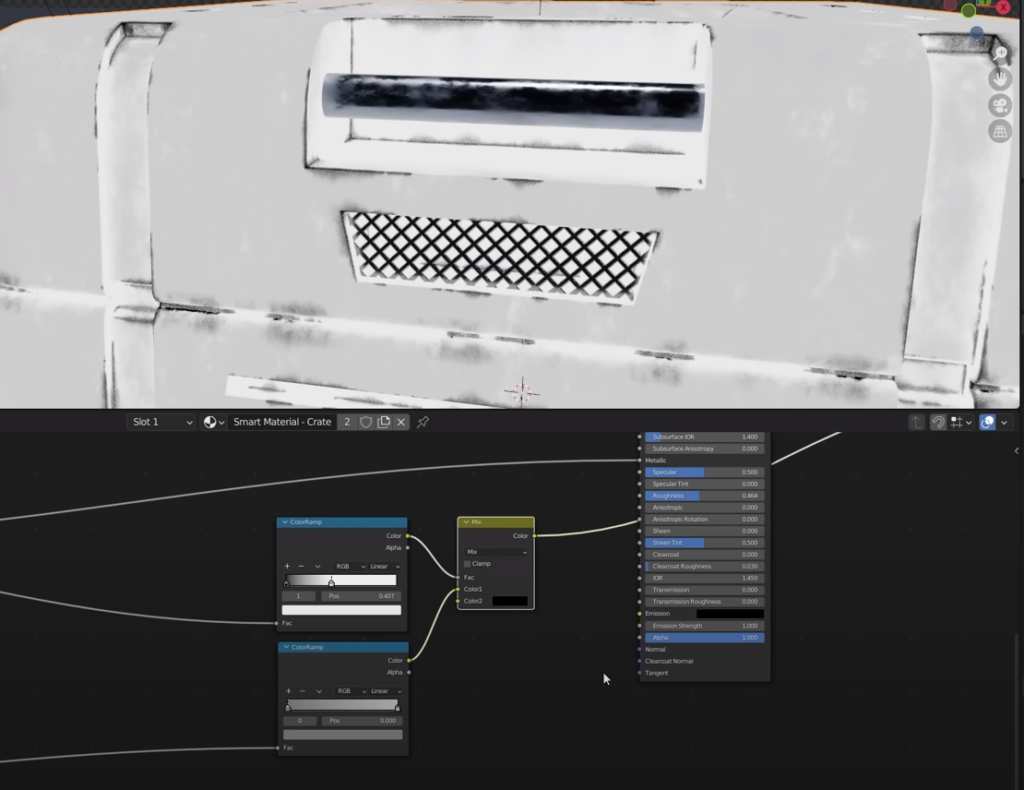
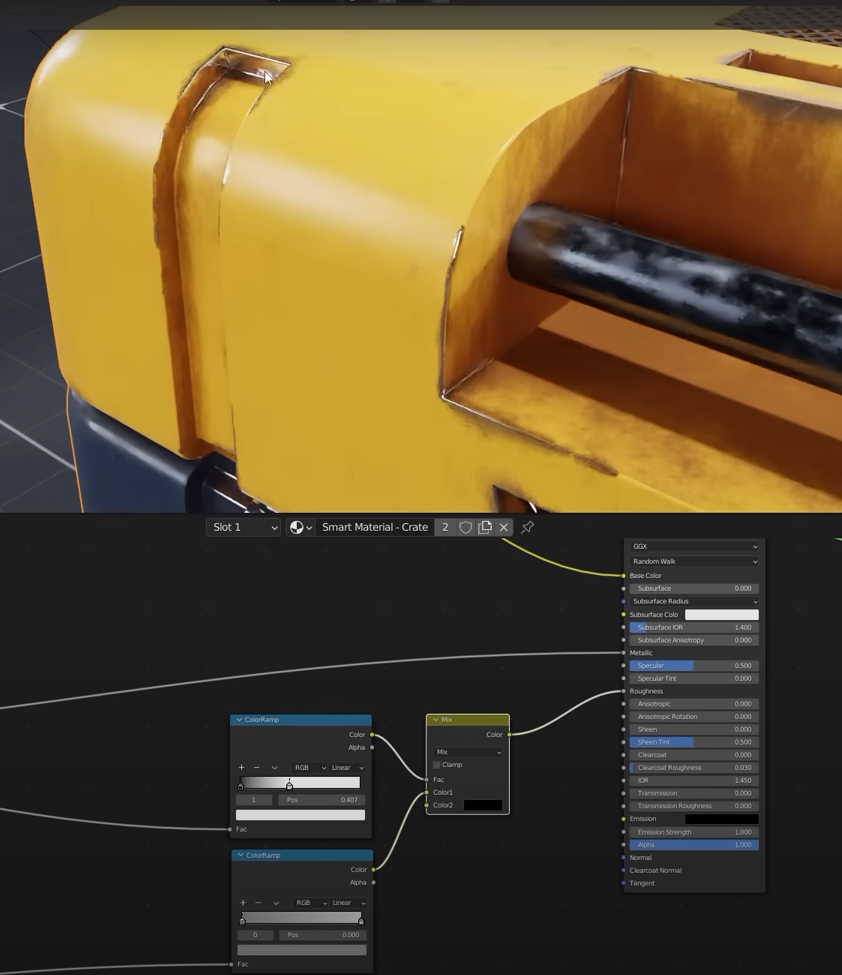
Now we need to setup the metallic and roughness of the material
We plug the edge mask in the metallic value
For the roughness we need three new extra nodes
we plug the edge mask into the top ramp factor
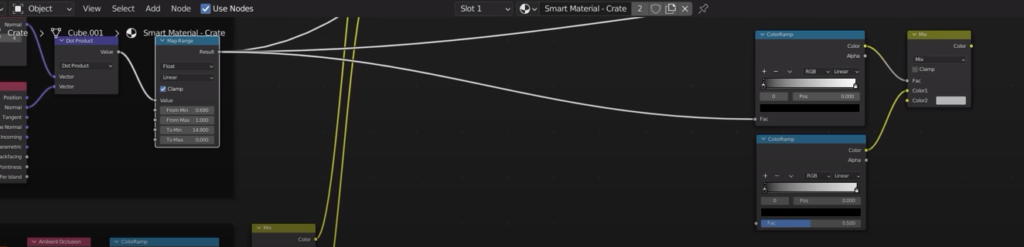
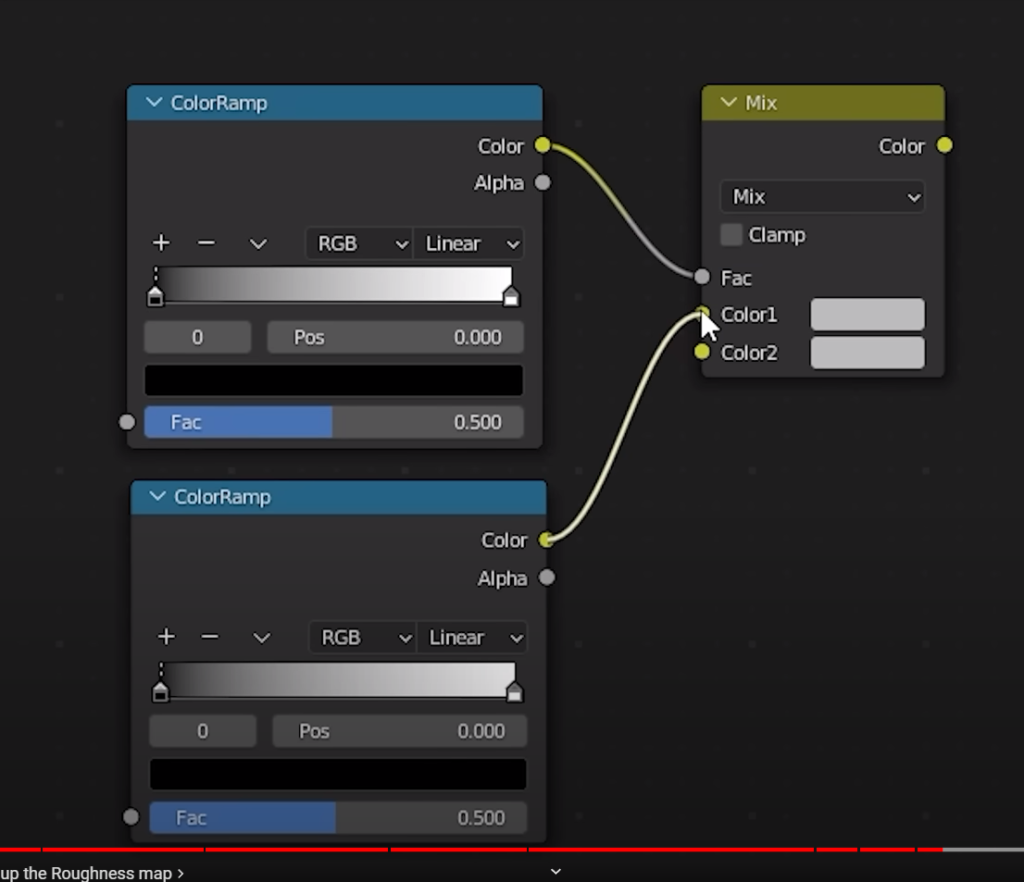
the ambient occlusion goes in the bottom color ramp

Setup of the two color ramps and mix
We can add some randomness to the roughness by adding three new nodes
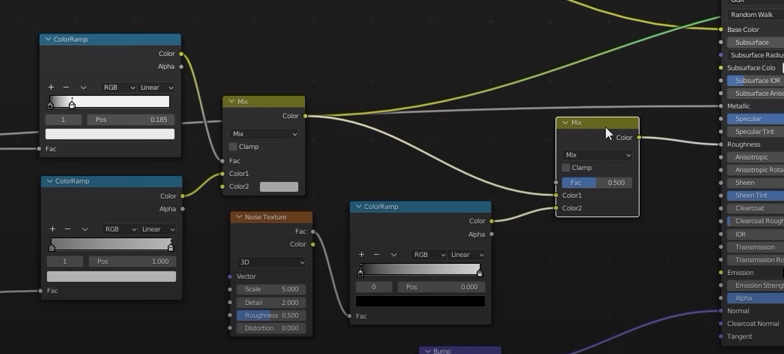
Setup
Lower the mix value
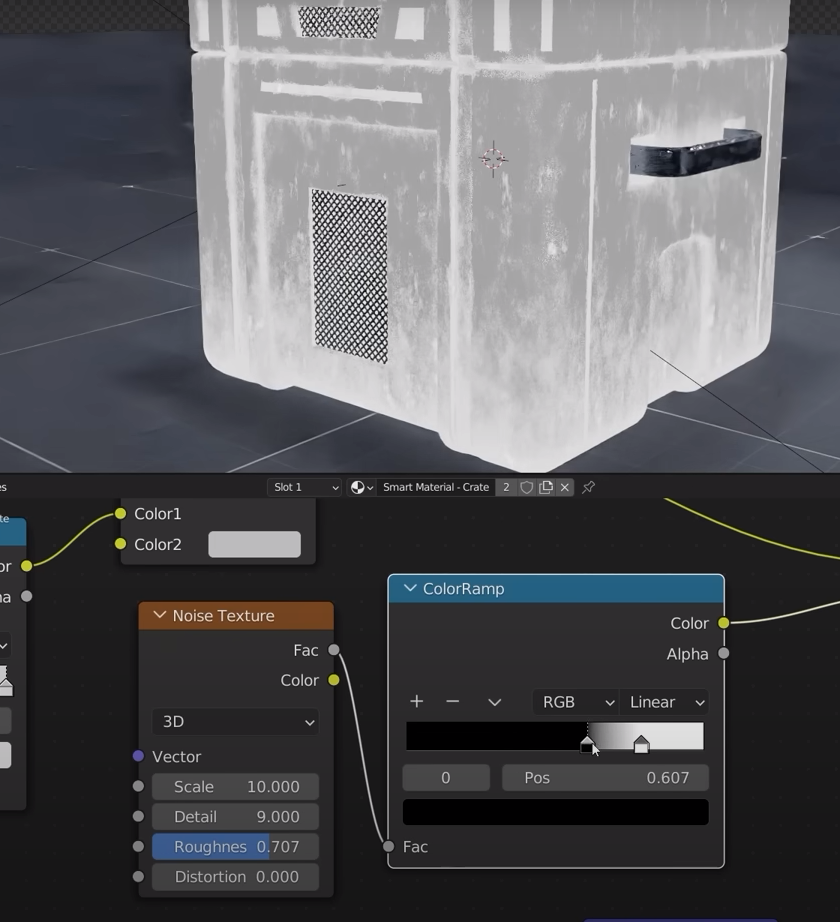
Now we add the bump due to dirtiness
We will plug the ambient occlusion directly in the bump
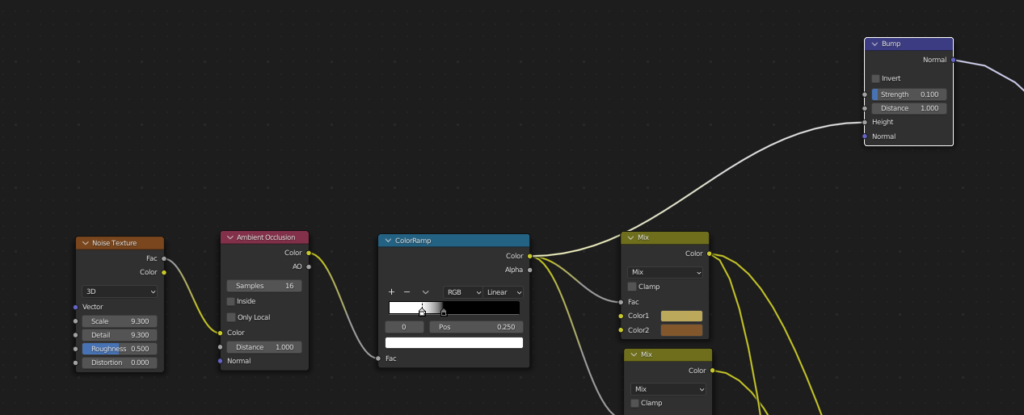
the bump is then plugged into the normal of the principled BSDF