We start from the top view
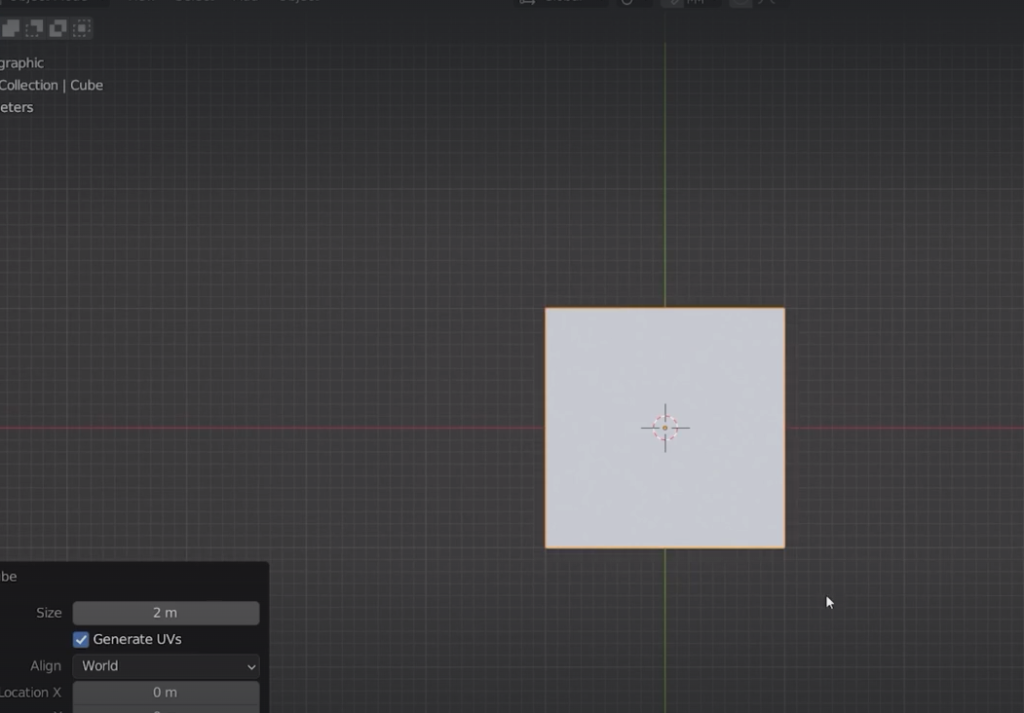
We then scatter several cubes all around
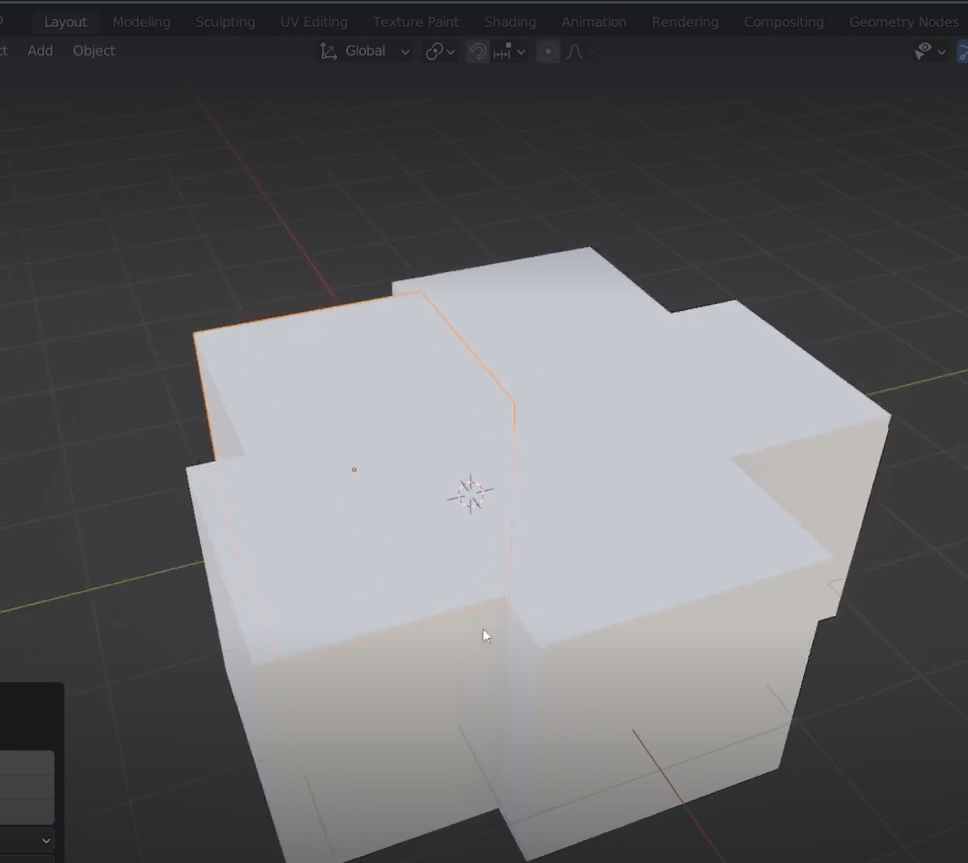
change Z

Join all of them together control + J
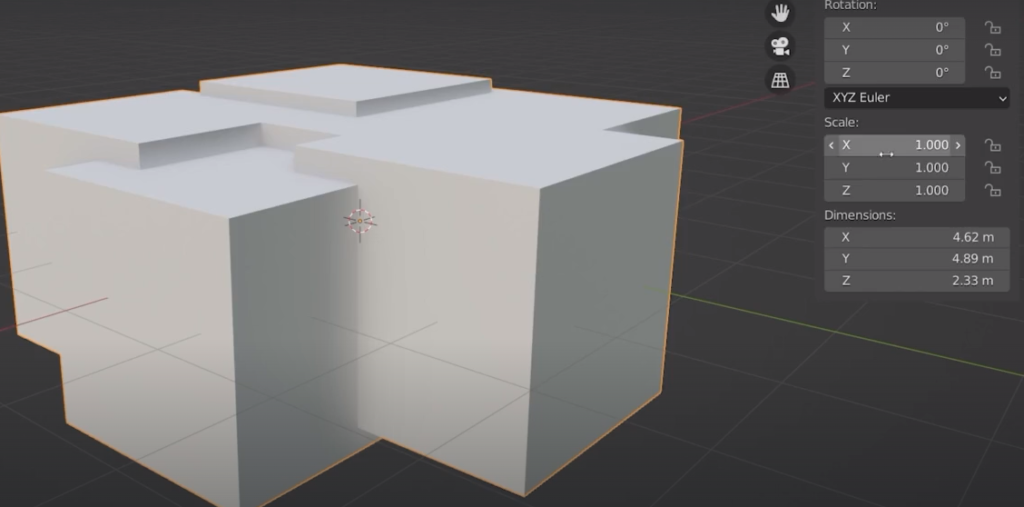
Scale set to 1
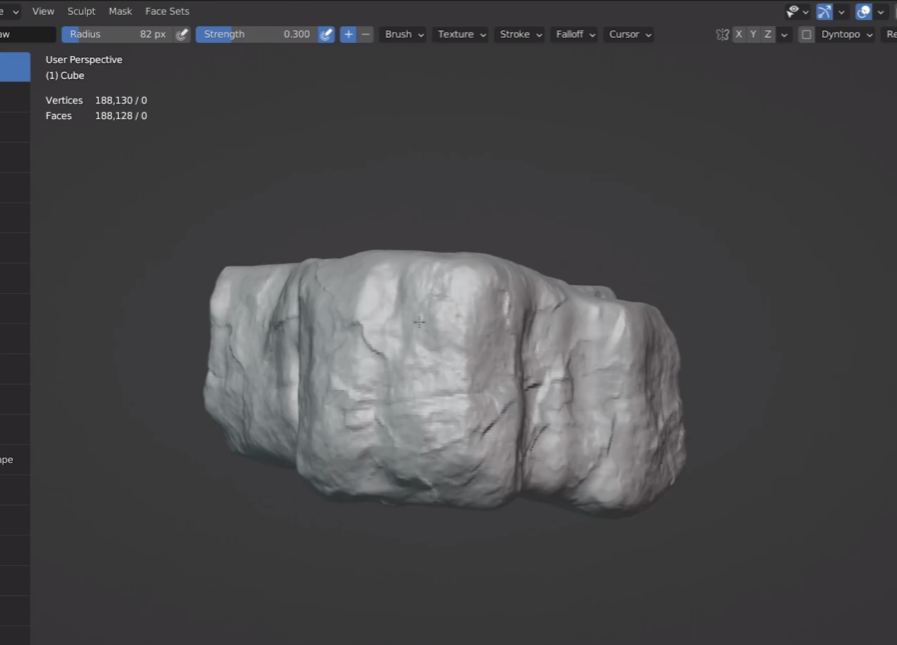
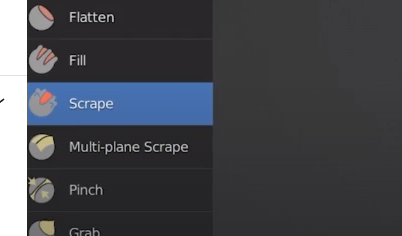
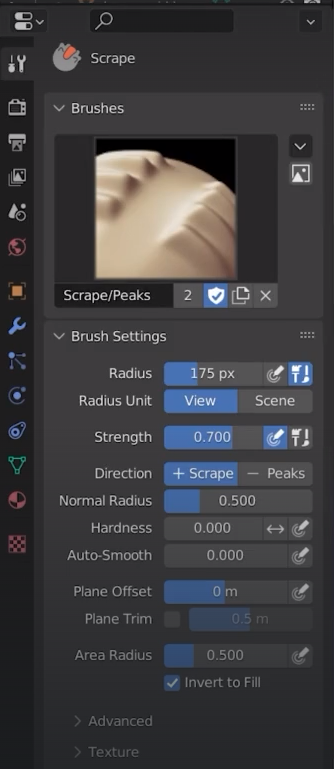
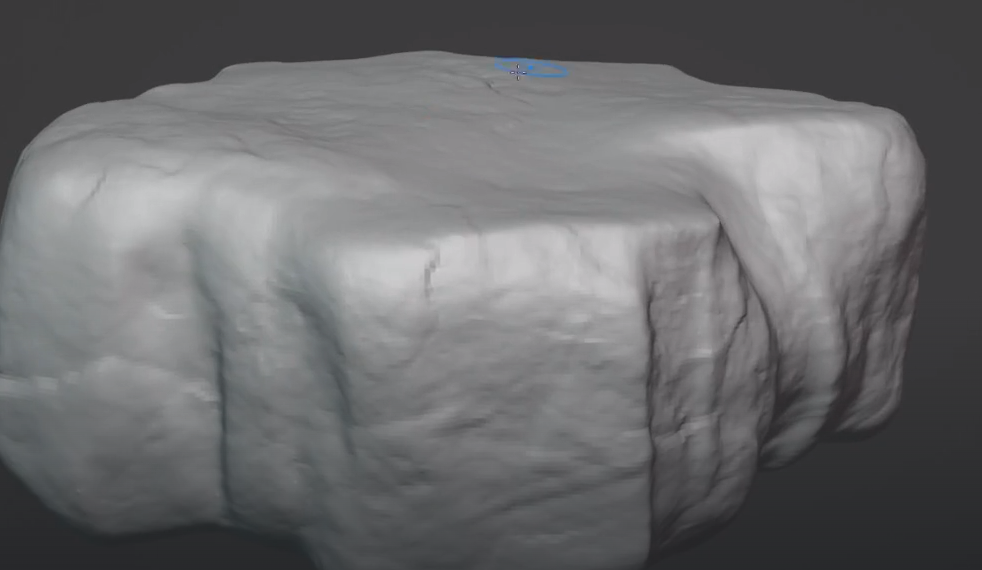
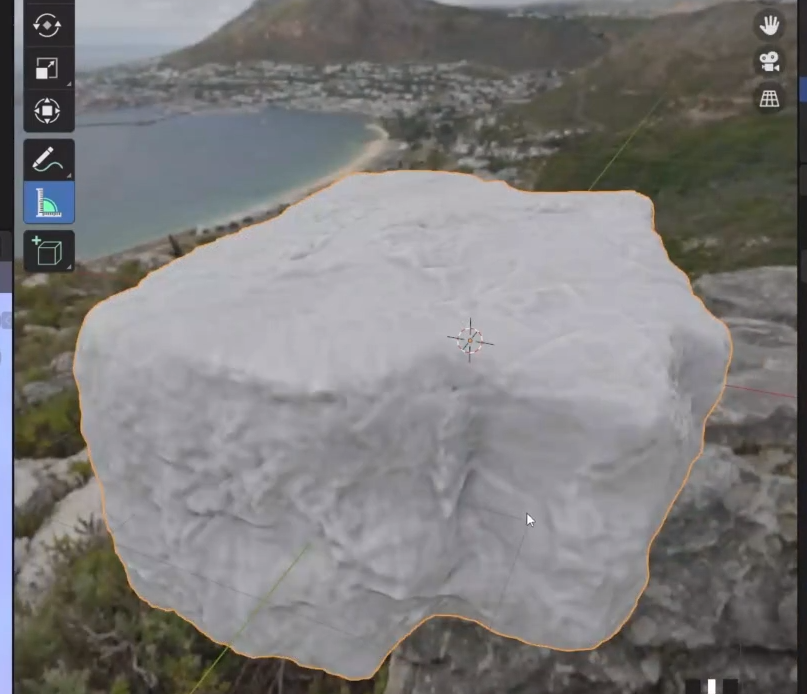
this is the best mapcaps for sculpting
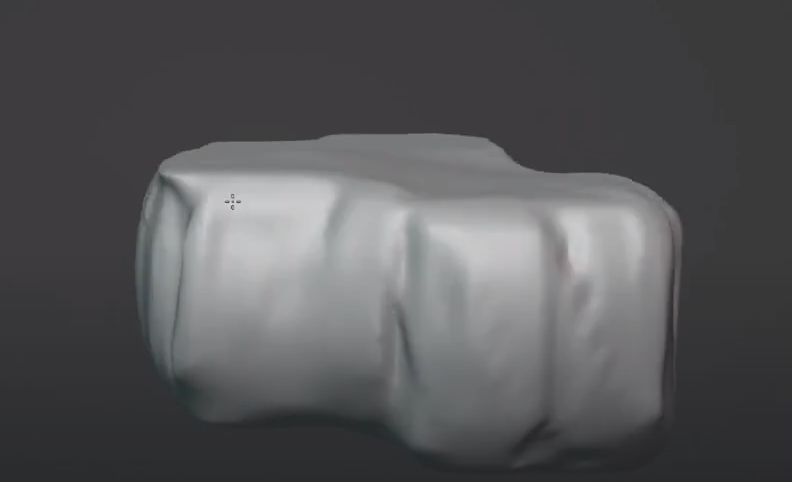
remesh shift + R and control + R
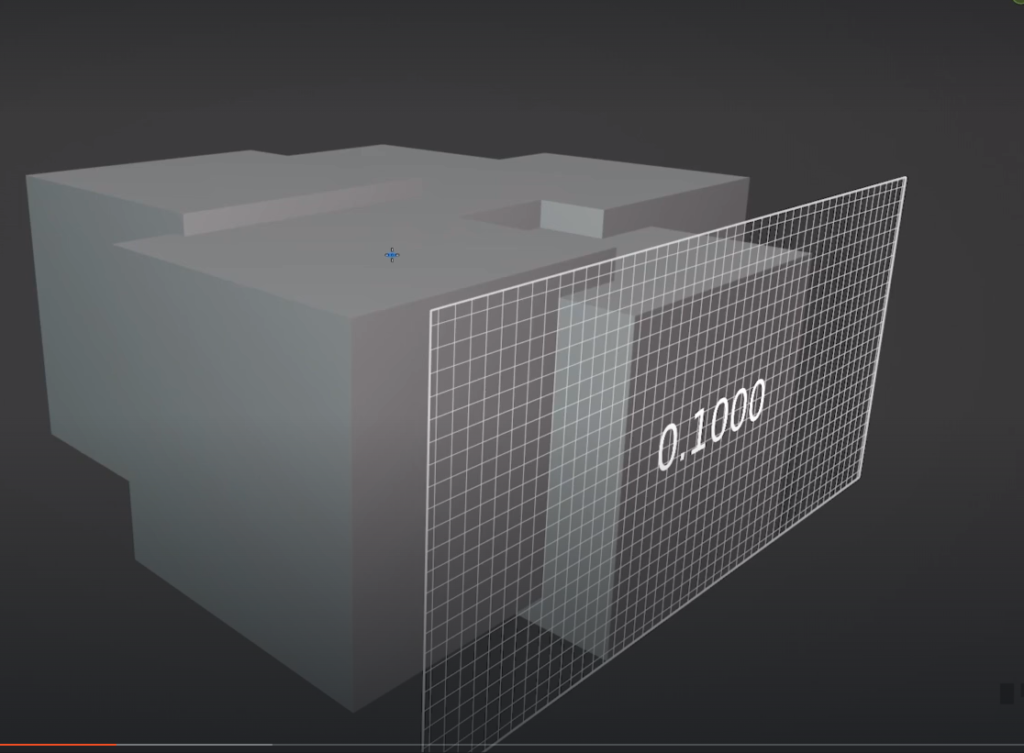
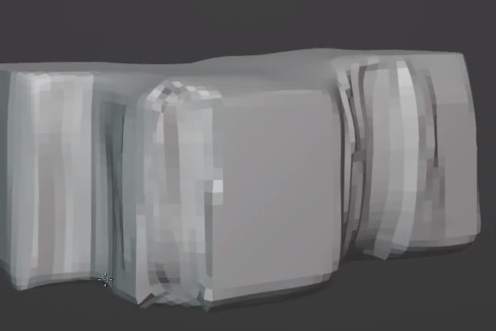
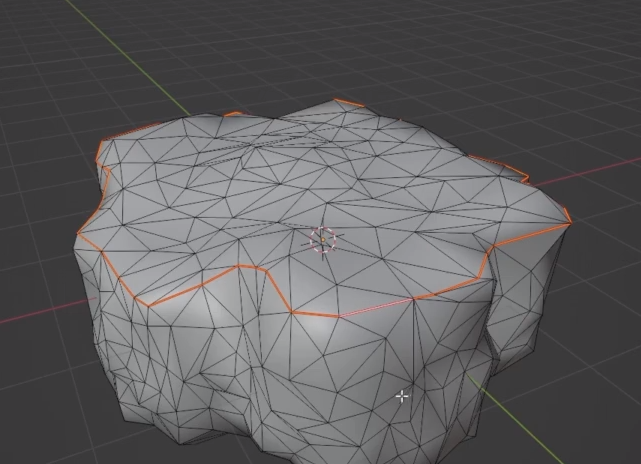
we can flatten out the edges
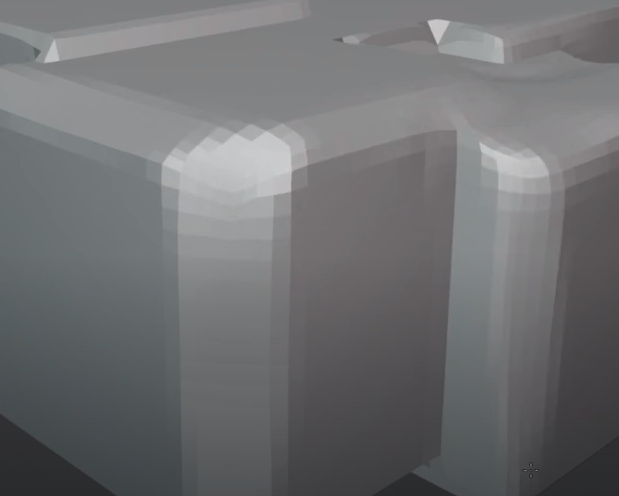
We need a flat top and bottom
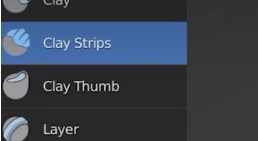
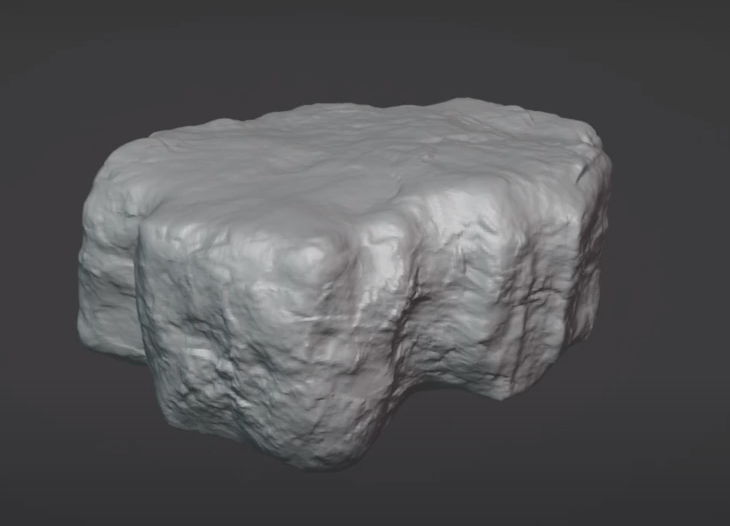
We can create strips with the clay strips brush
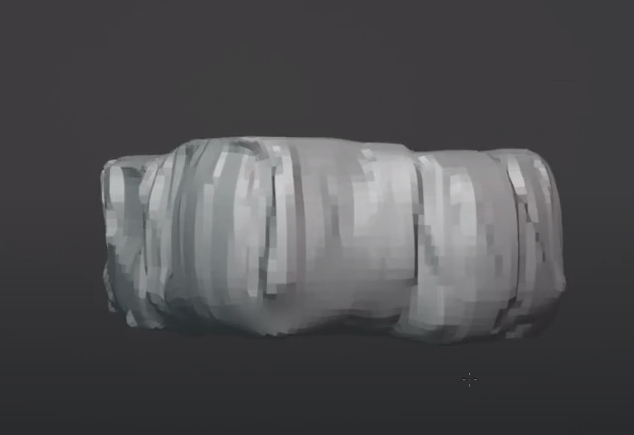
remesh fine
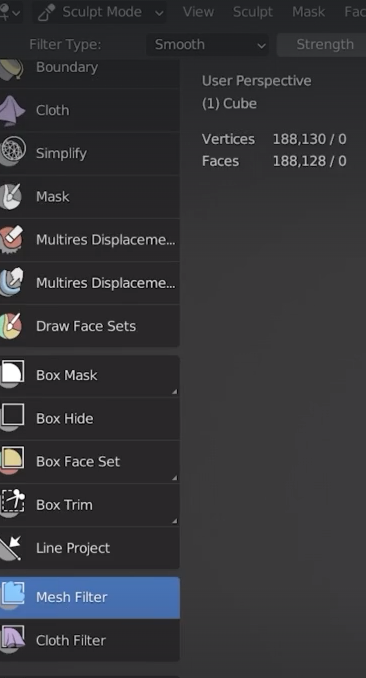
mesh filter plu smooth setting on
click on the screen and drag
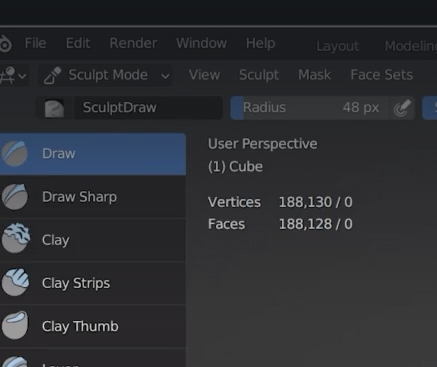
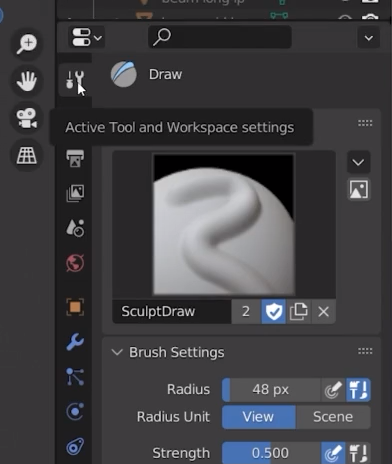
use the draw brush
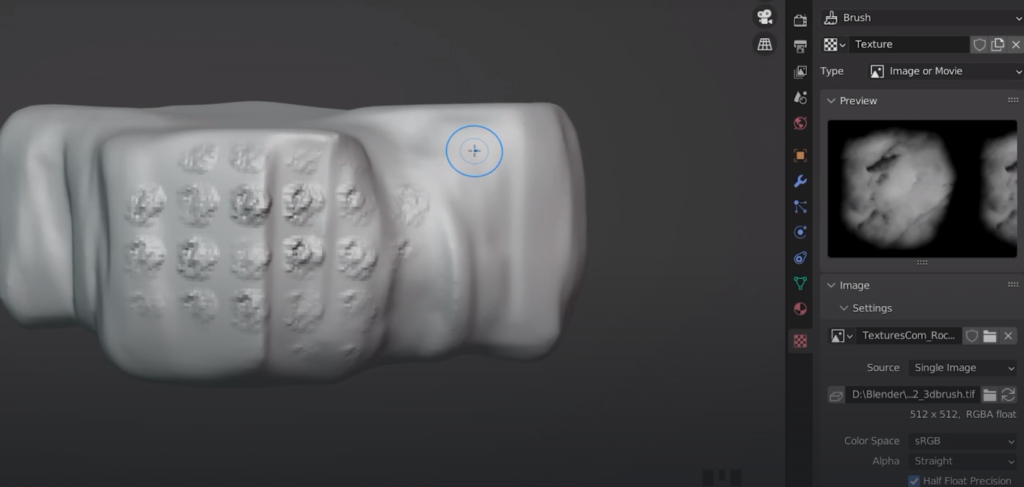
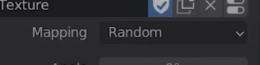
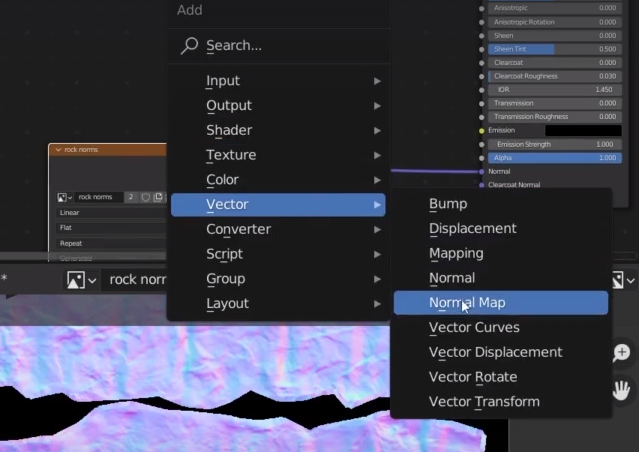
Add a new texture
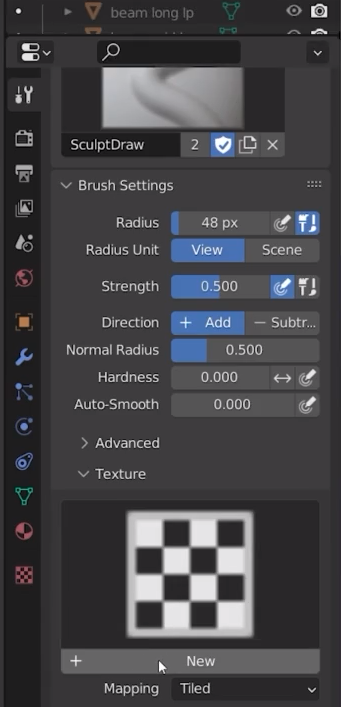
to edit the texture we go in the texture option
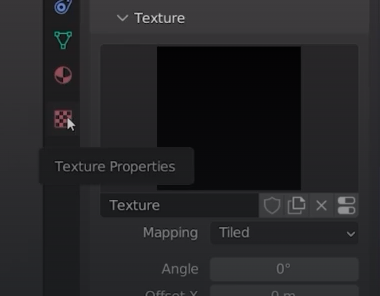
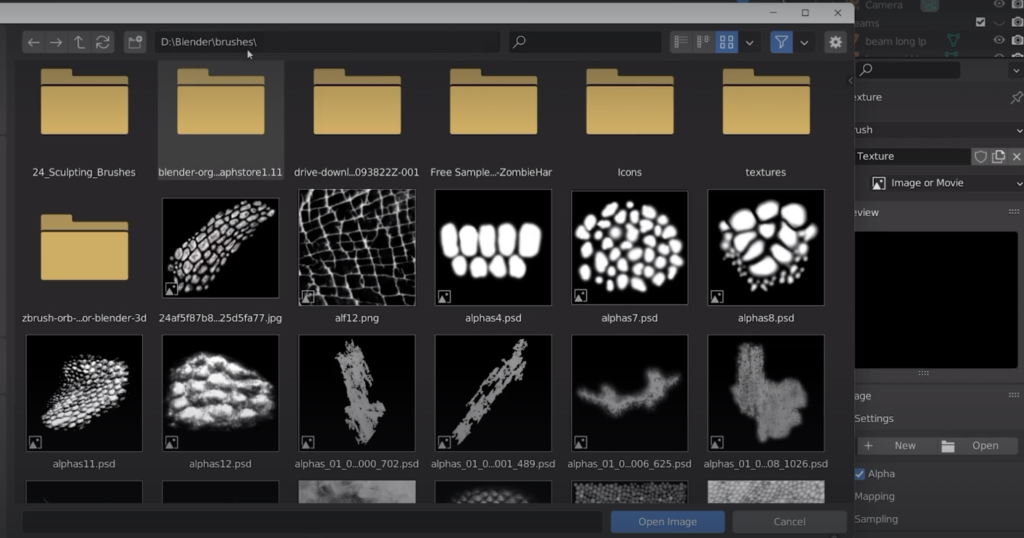
We then open up a new texture
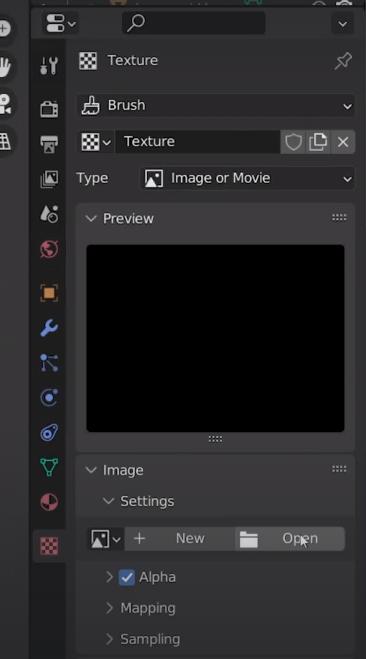
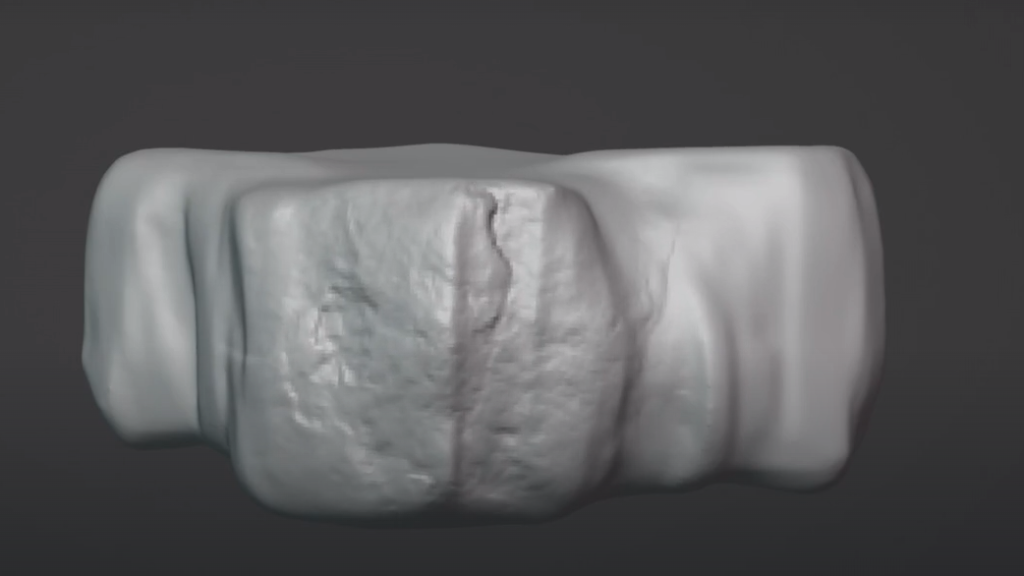
On texture.com we can type rock brush

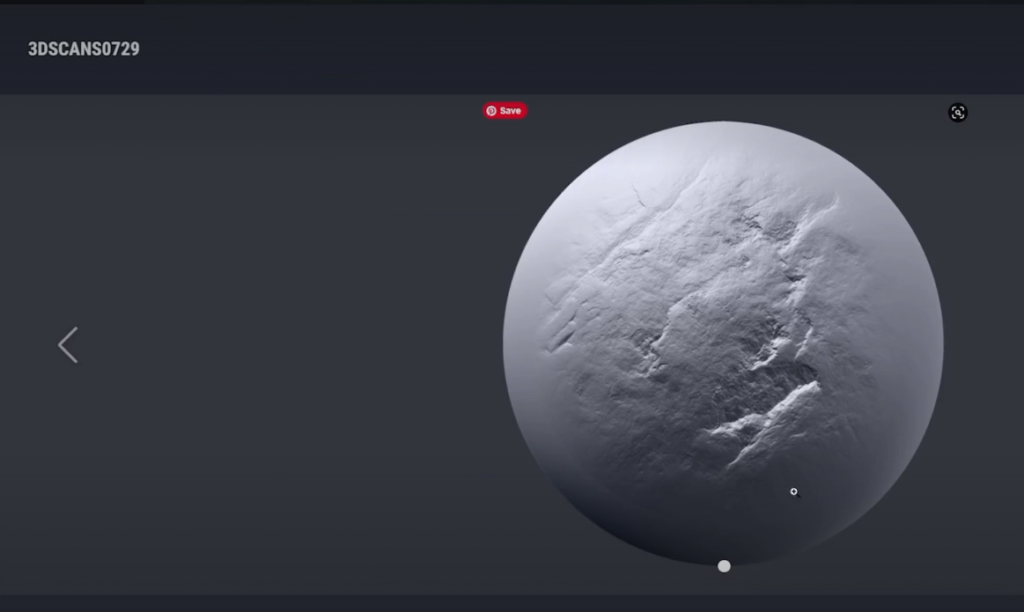
click open texture
using it straight away it doesn’t look good
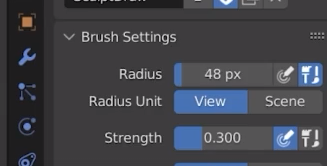
back to the brush settings
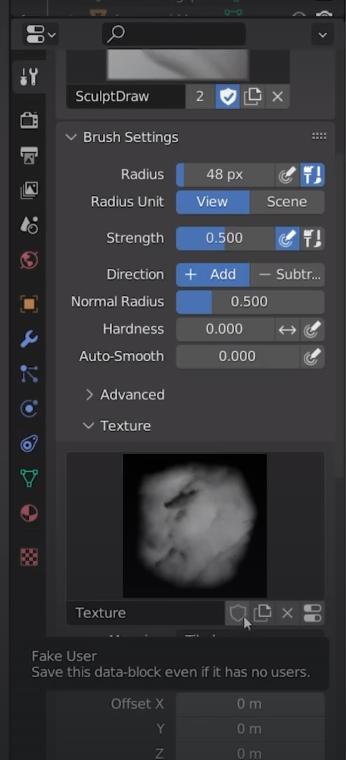
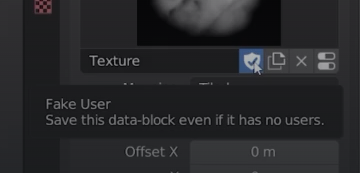
save the brush
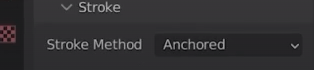
stroke method

I can then click and drag
reduce strenght
we can add a new brush (texture)
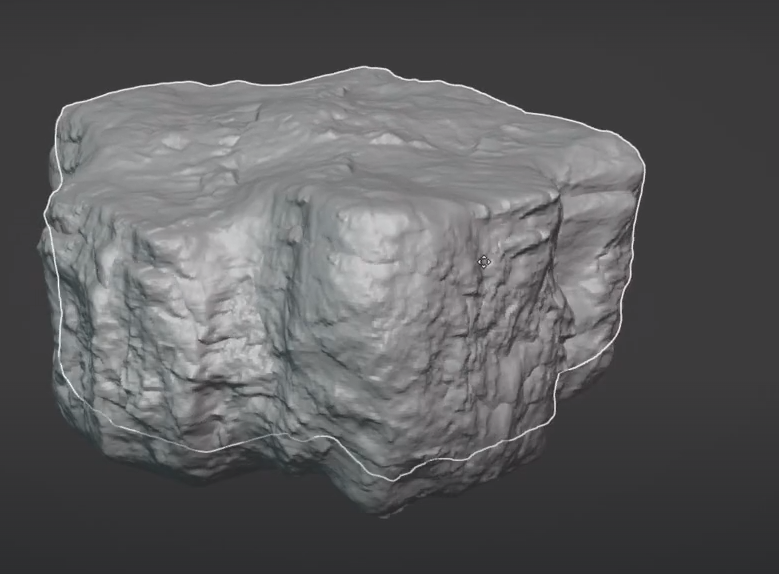
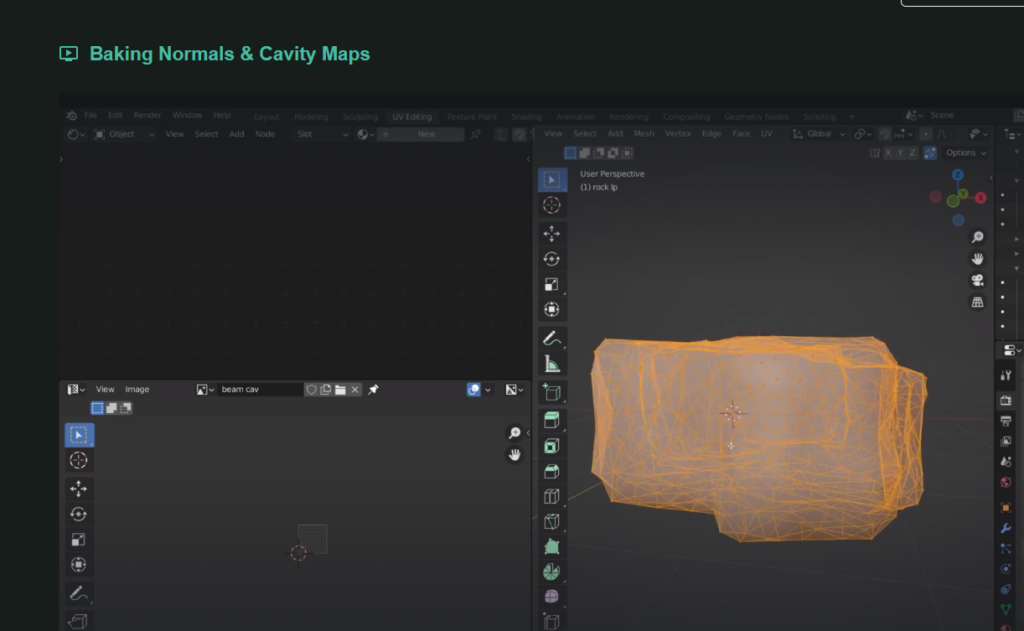
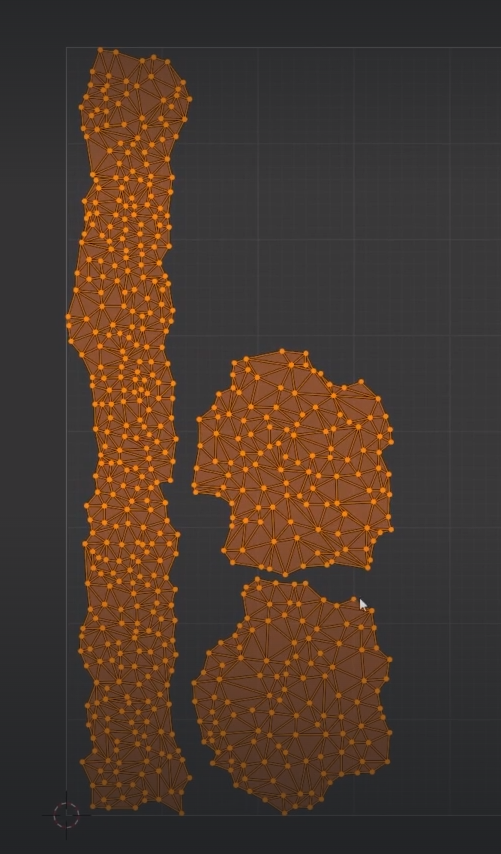
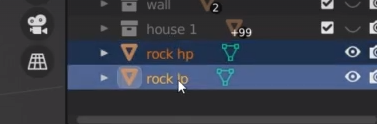
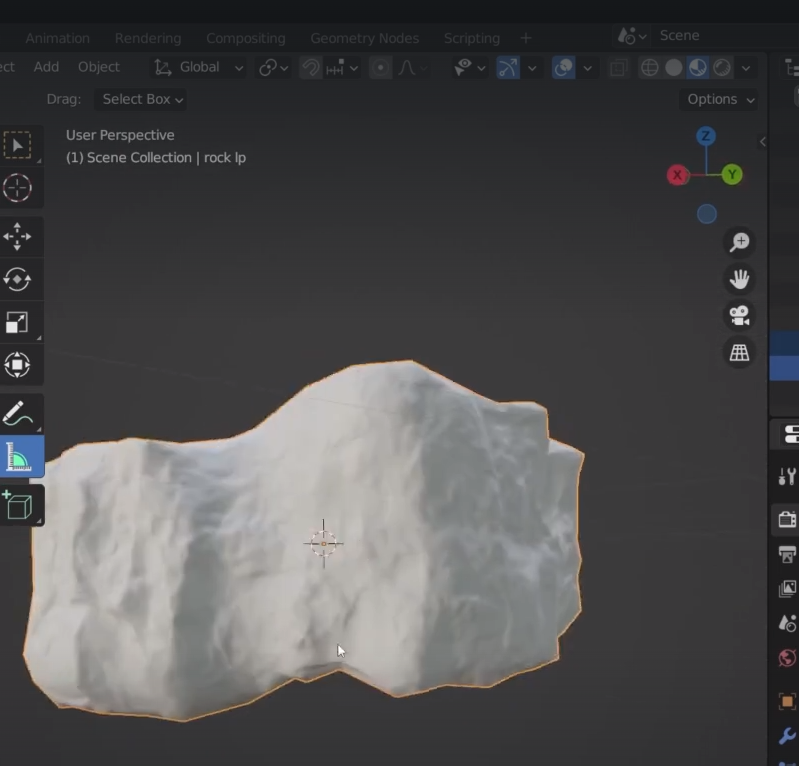
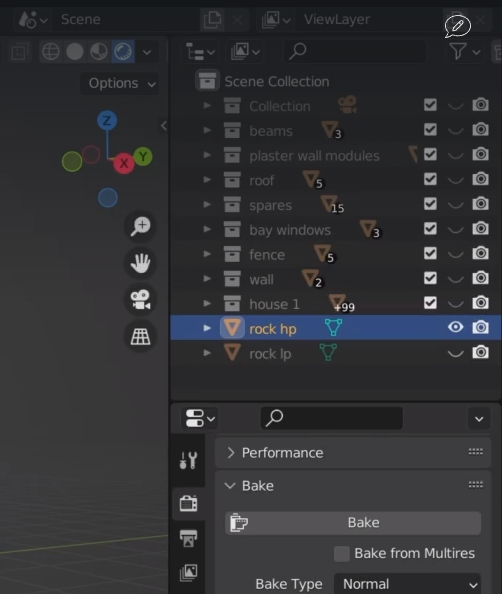
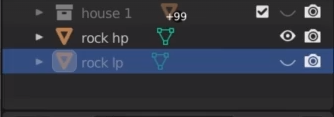
Now from the high poly I want to create a low poly model where I can bake the texture on top of
Duplicate the high poly and leave it on top of the other one.
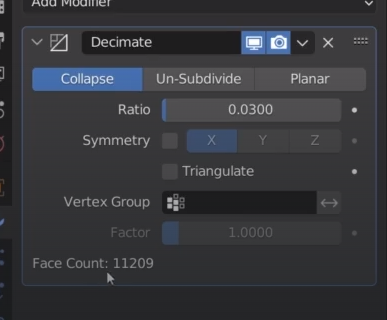
Add decimate to the low poly object
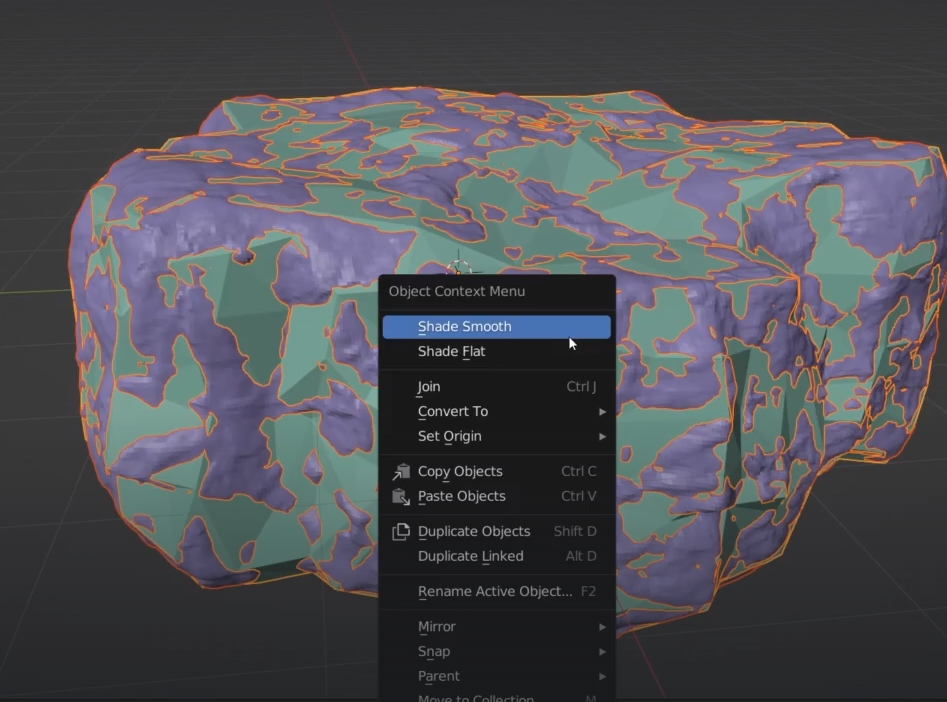
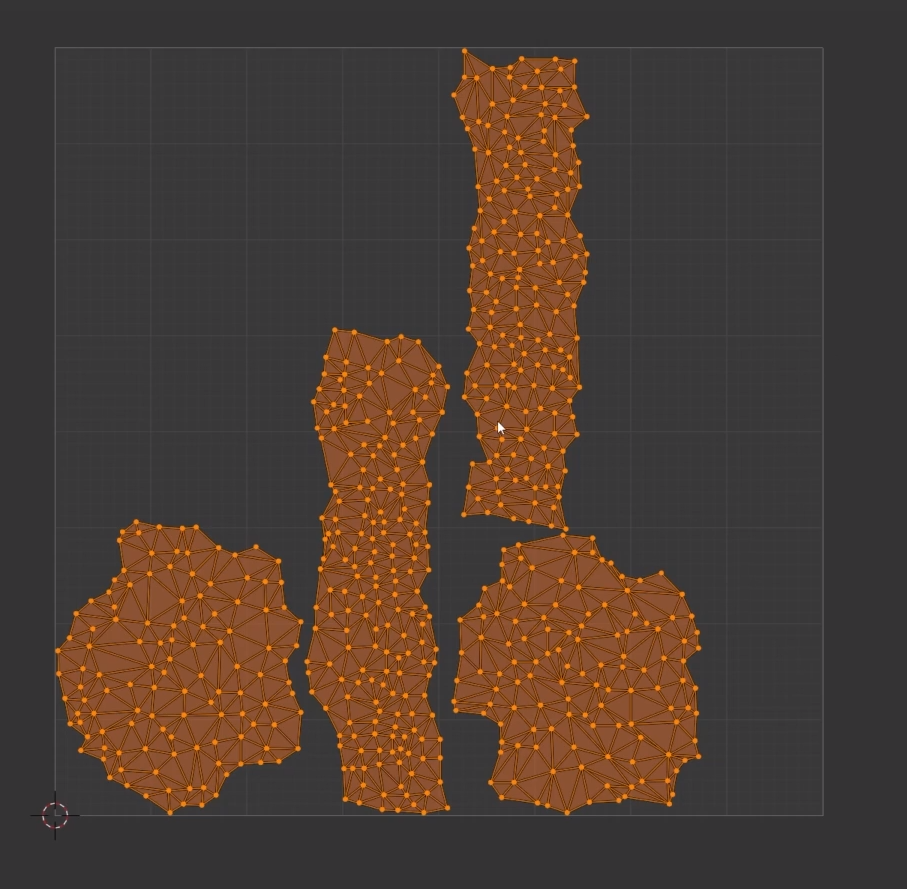
shade smooth both of them
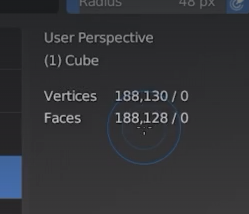
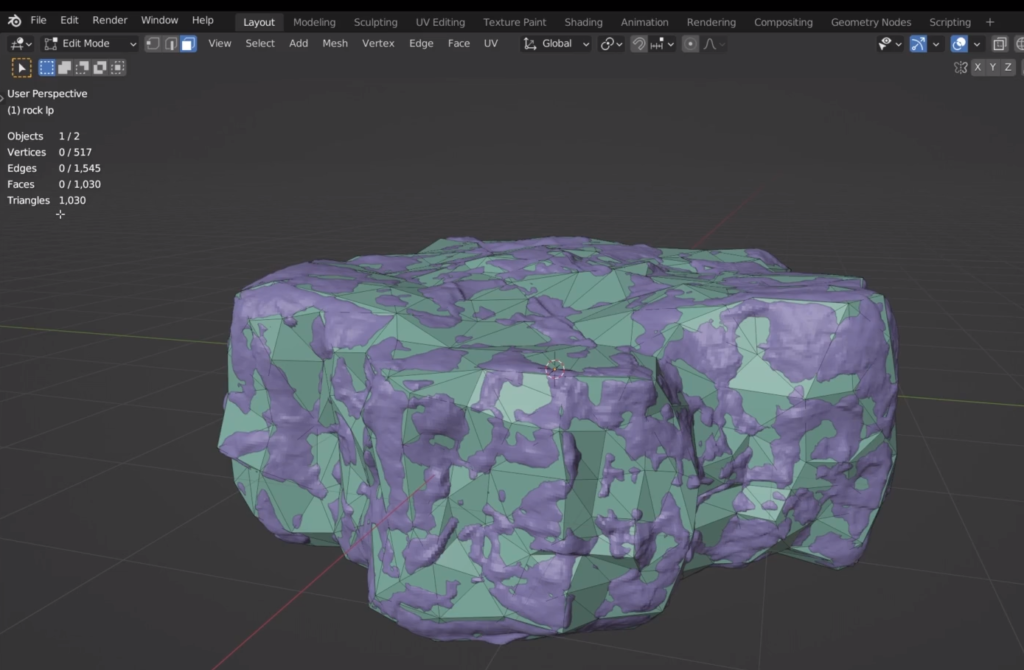
we can inspect the mesh now
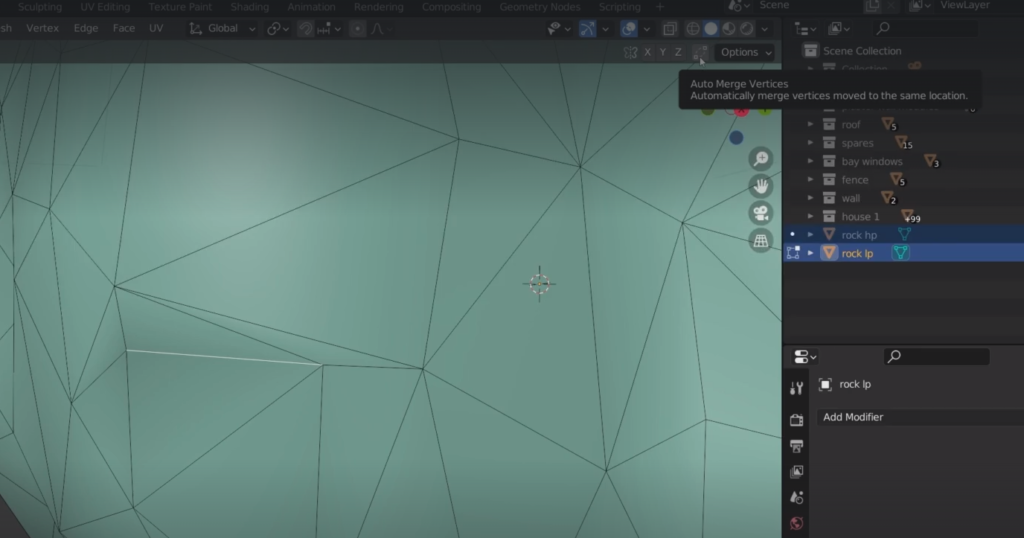
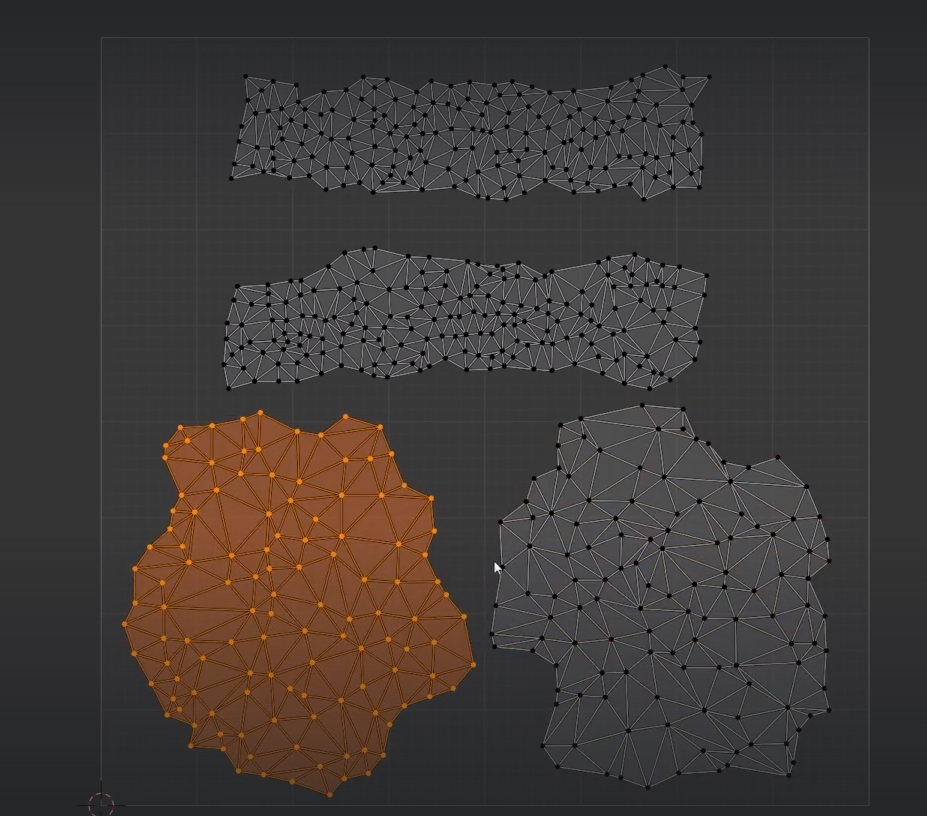
we can now press GG to edge slide the vertex on top other one for auto merge
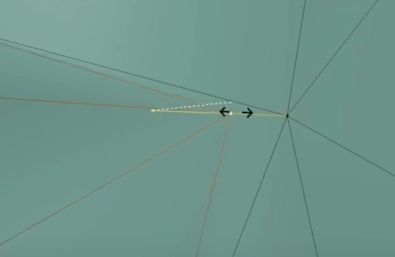
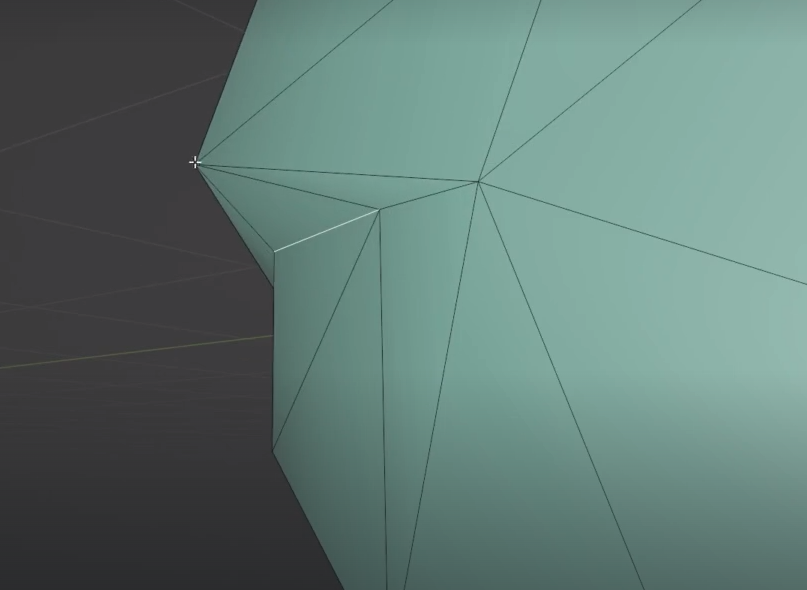
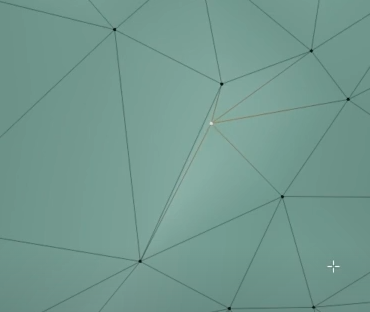
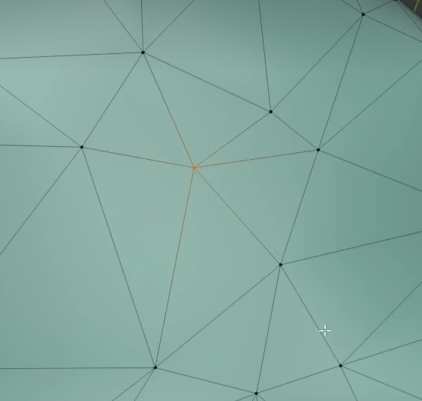
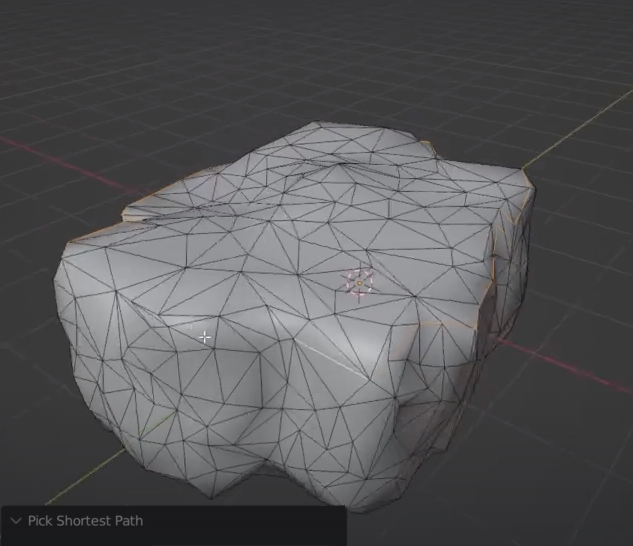
we are looking for very thin triangles
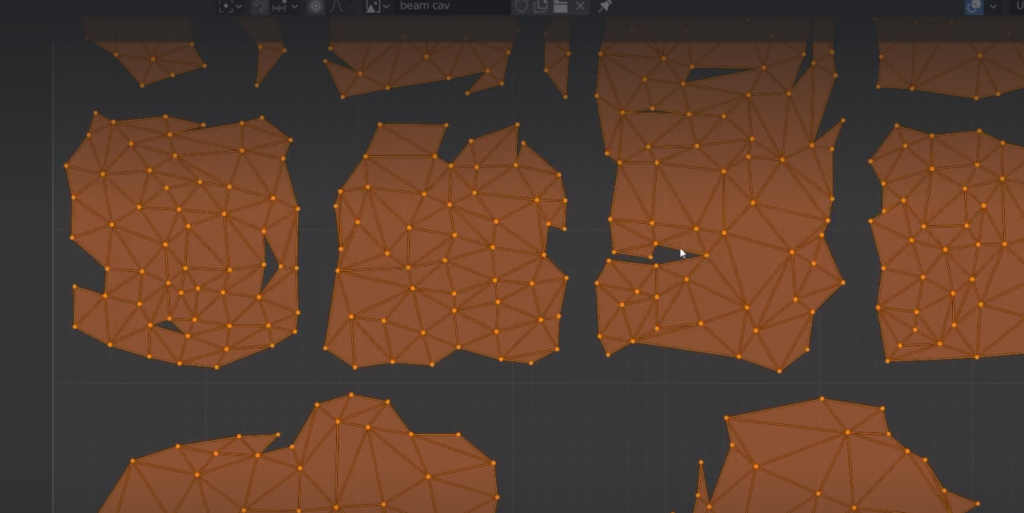
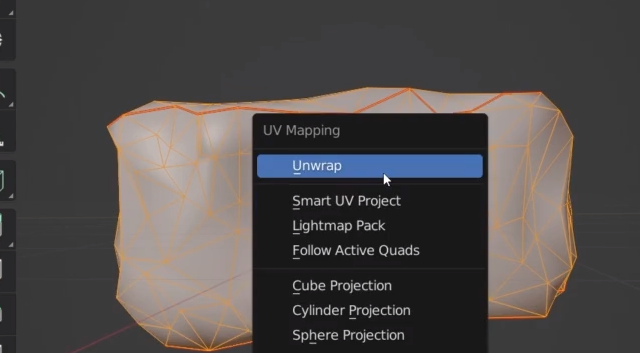
Now we can unwrap the low poly mesh

we have got some strange holes in the unwrapped mesh
we can do it differently by marking seems. the shape of the rock is similar to a cylinder. use control + left click to mark the lines
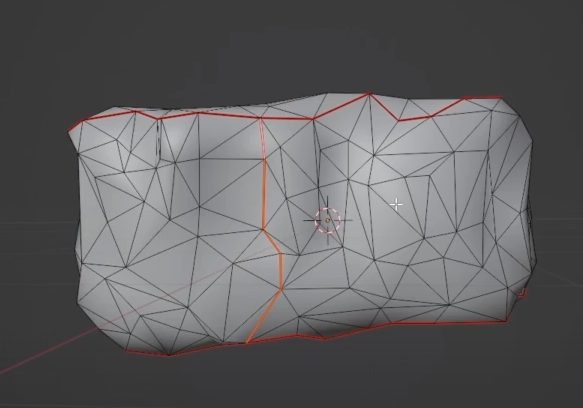
we can add a new seem to reduce the size of the long one
re organise the UV
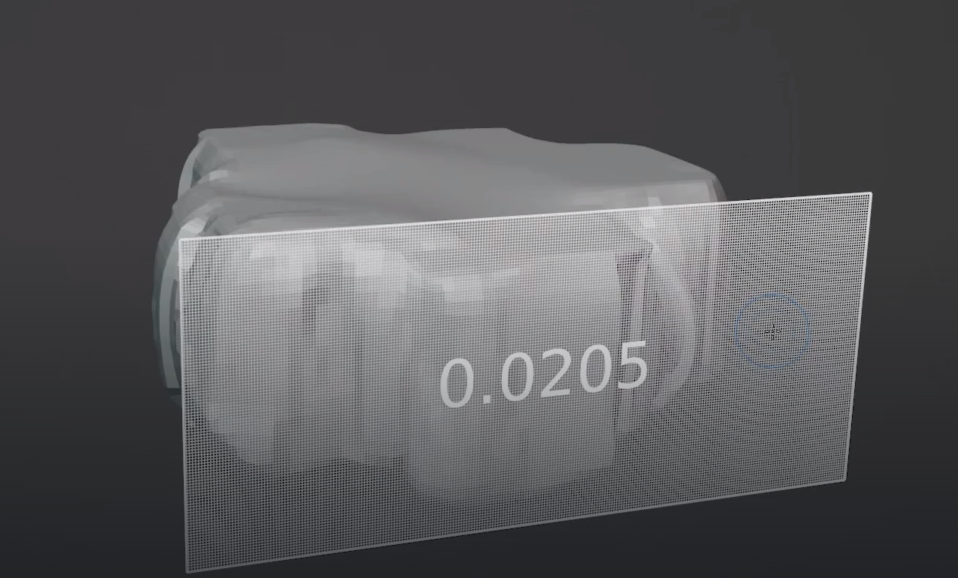
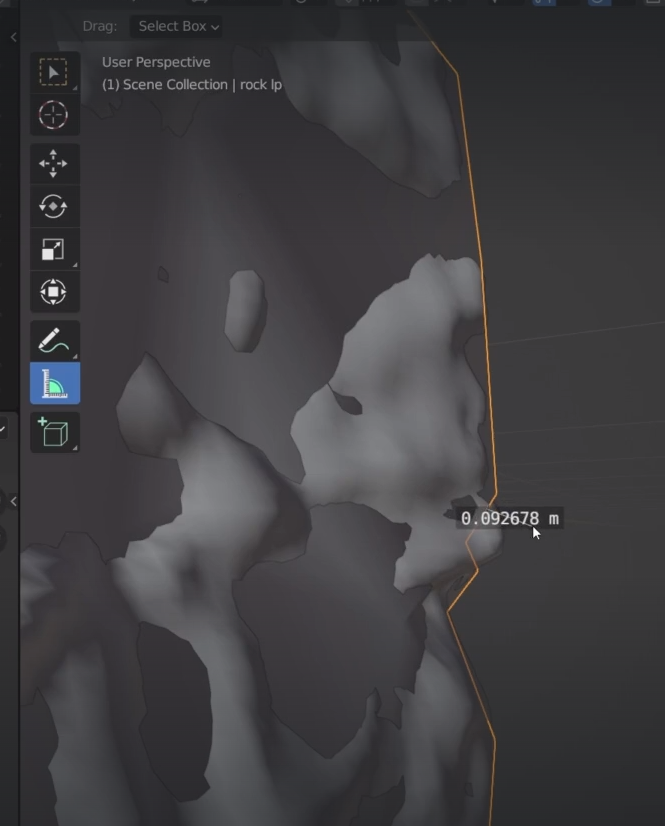
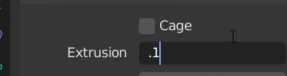
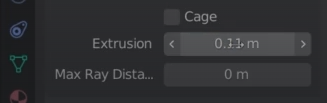
We can now measure the distance of the bits that stick outside the low poly mesh to setup the ray
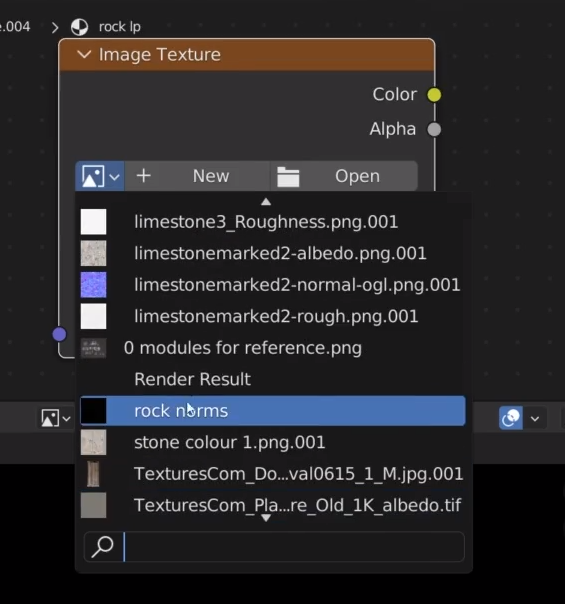
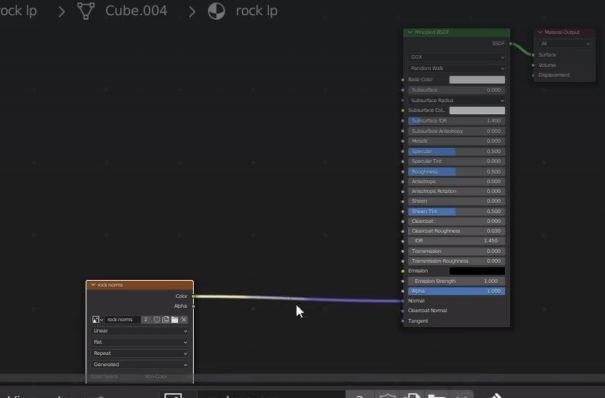
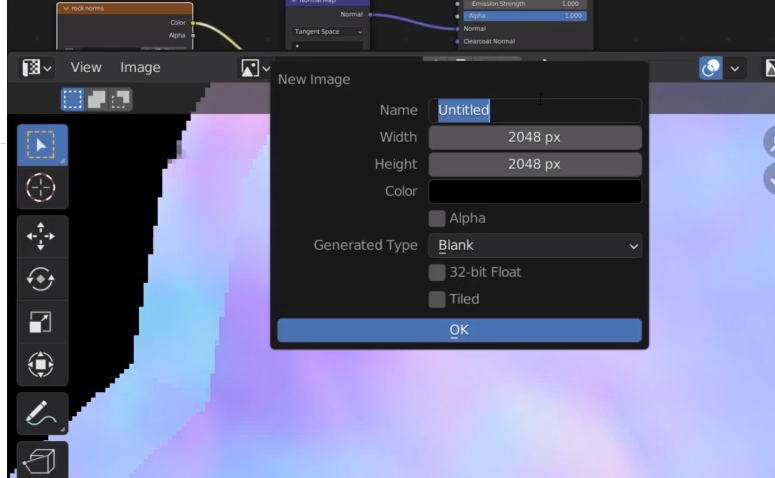
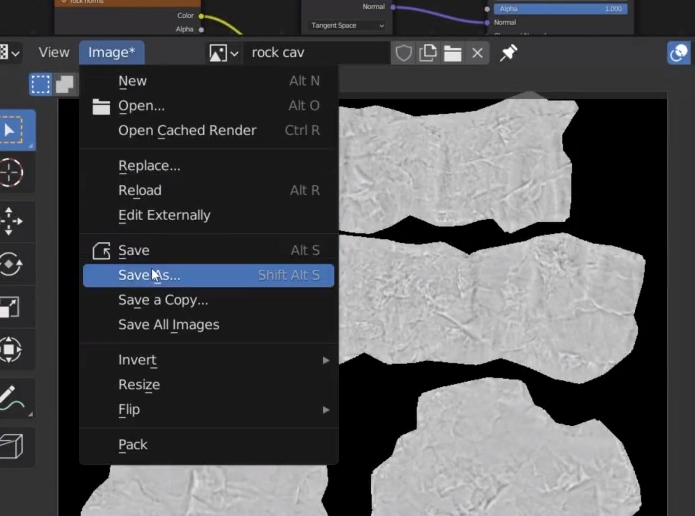
now we need a new image for the texture baking
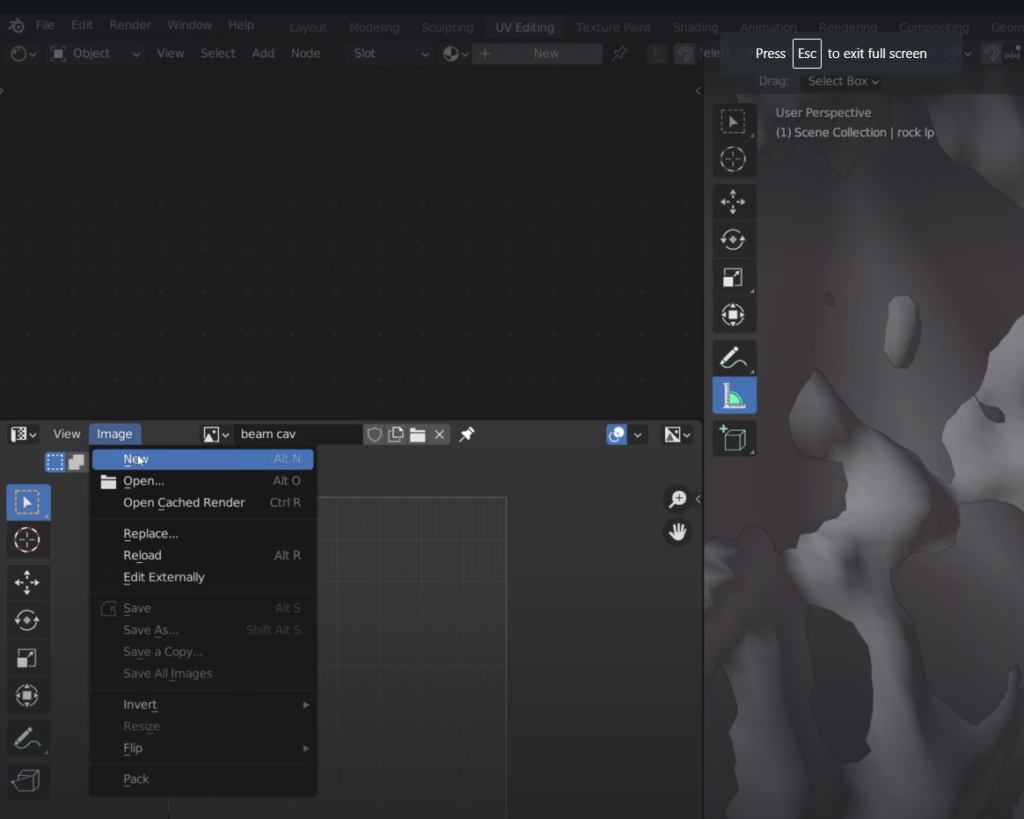
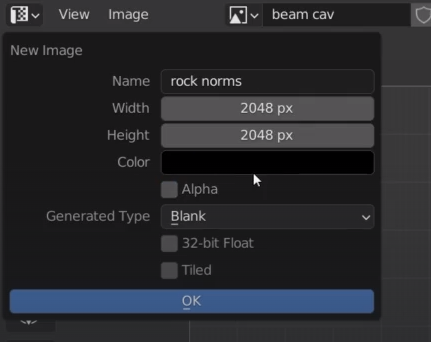
create a new material
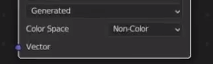
now we need the just create image texture to be into the material too

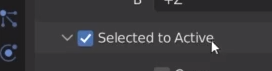
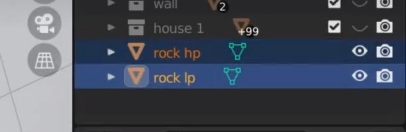
select hp and lp last

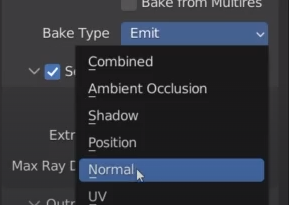
I need something in the middle
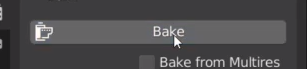
we now have baked the hp texture onto our lp object
we found a little glitch
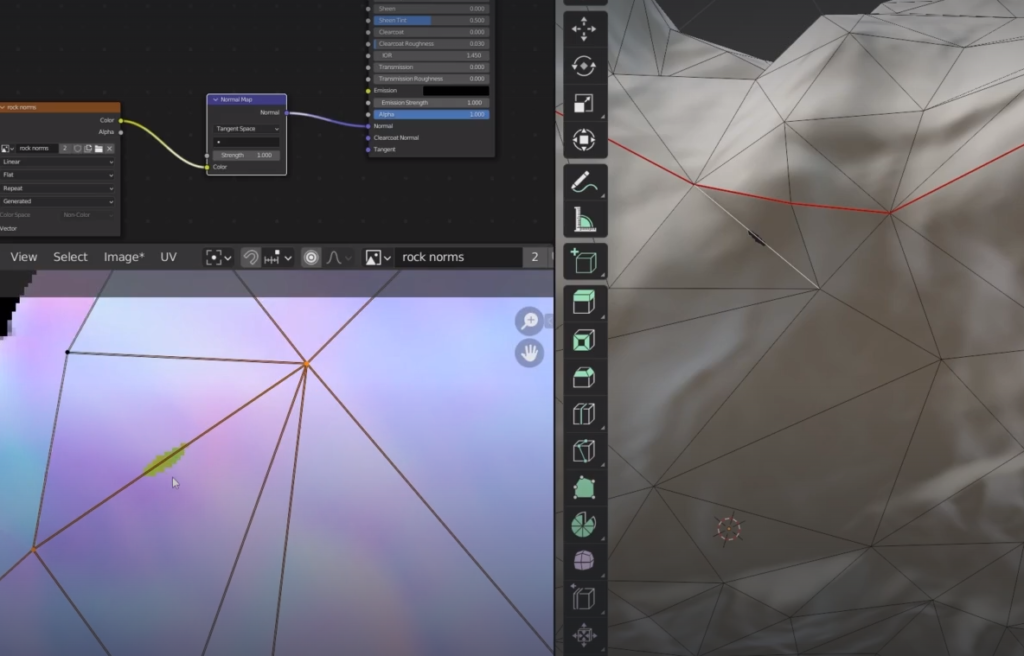
increase the extrusion distance
glitch solved
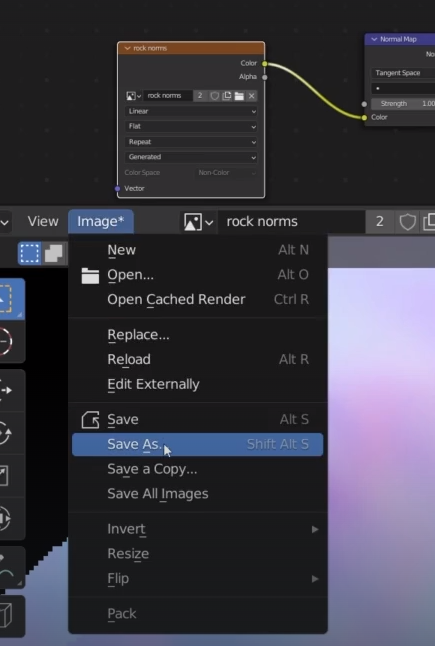
save the texture
Now we bake the cavity texture.
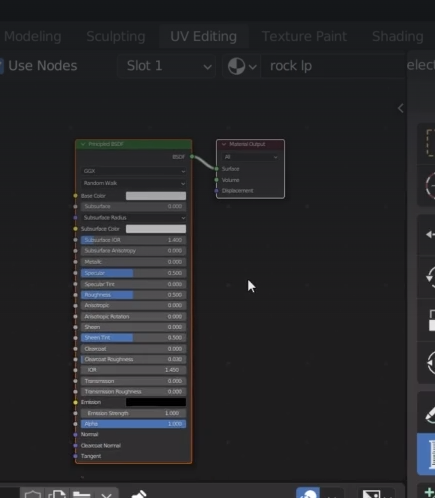
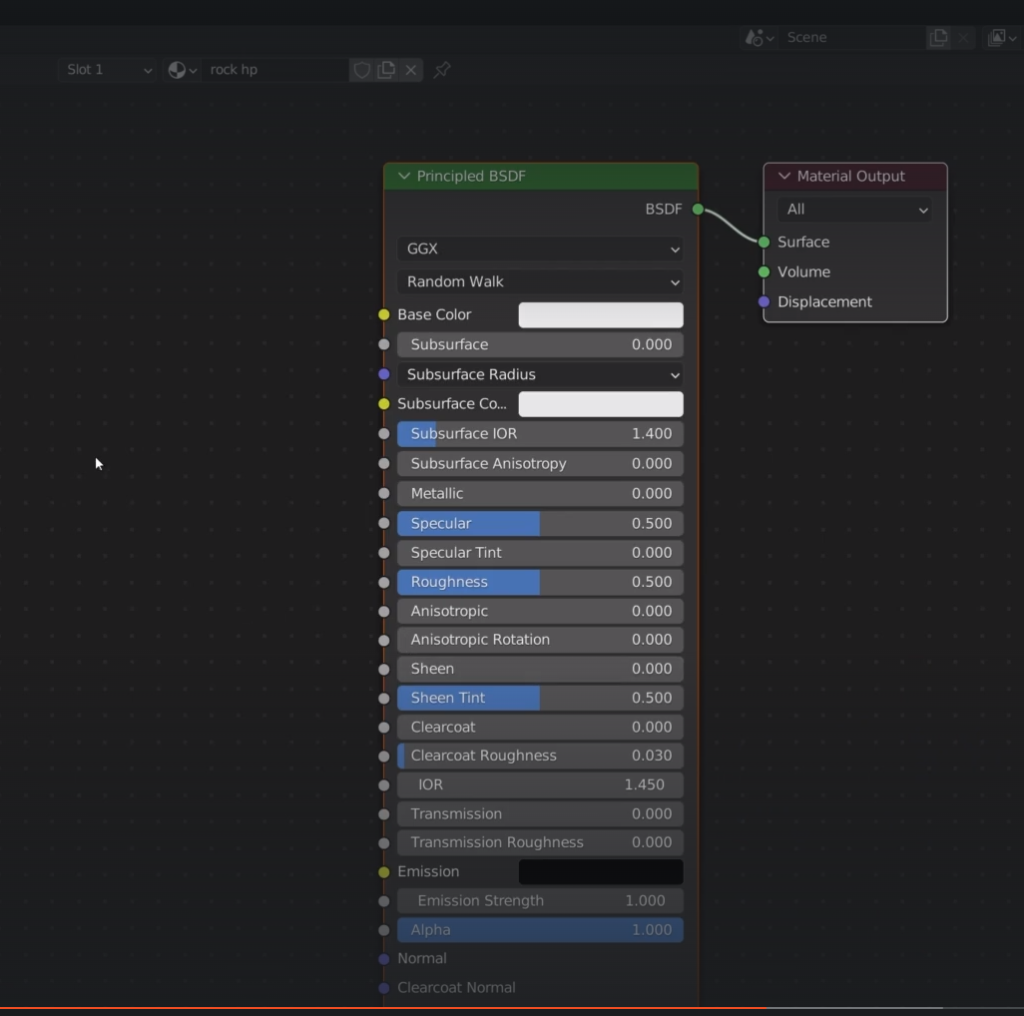
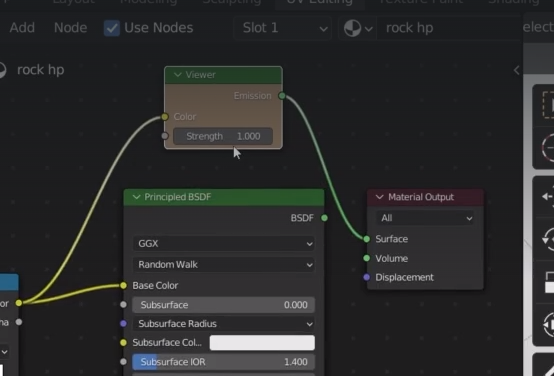
Select the hp object and create new material
rock hp
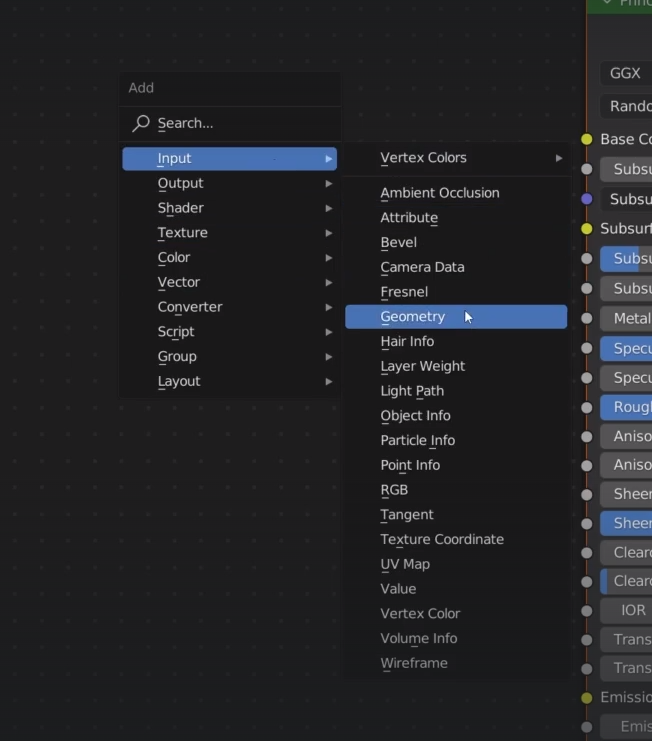
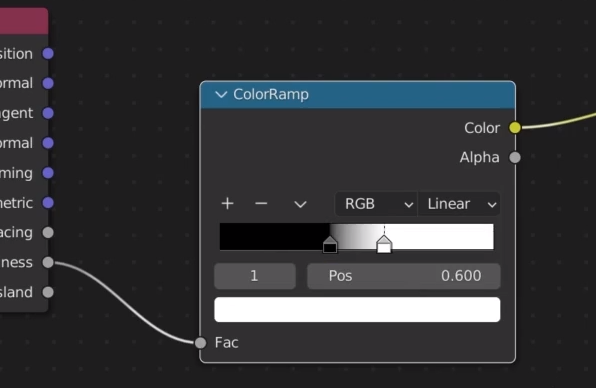
add a input geometry

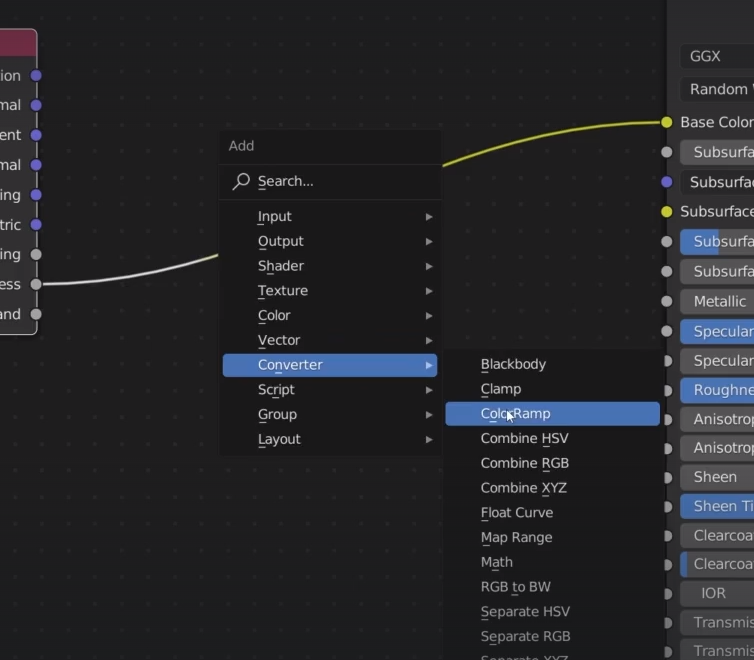
add color ramp
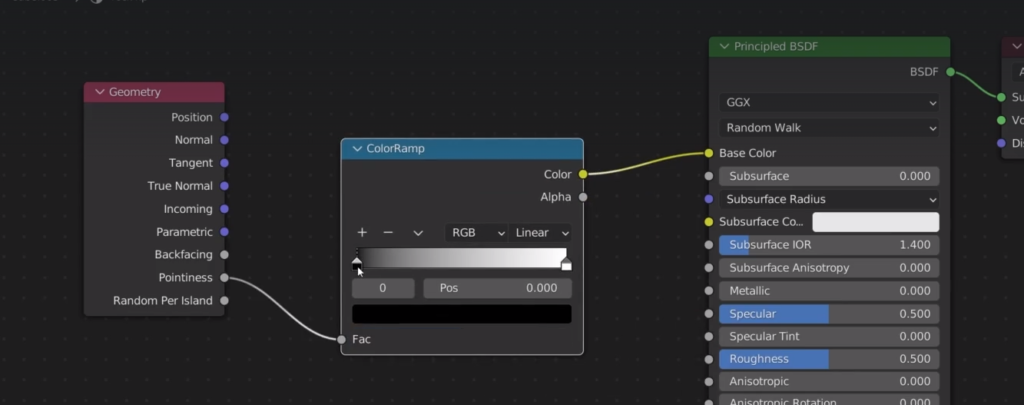
set 0.4 for black and 0.6 for white
hide low poly, set cycle viewport
it looks good
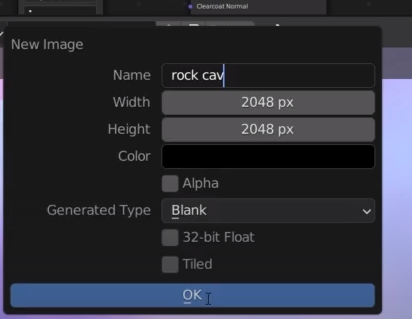
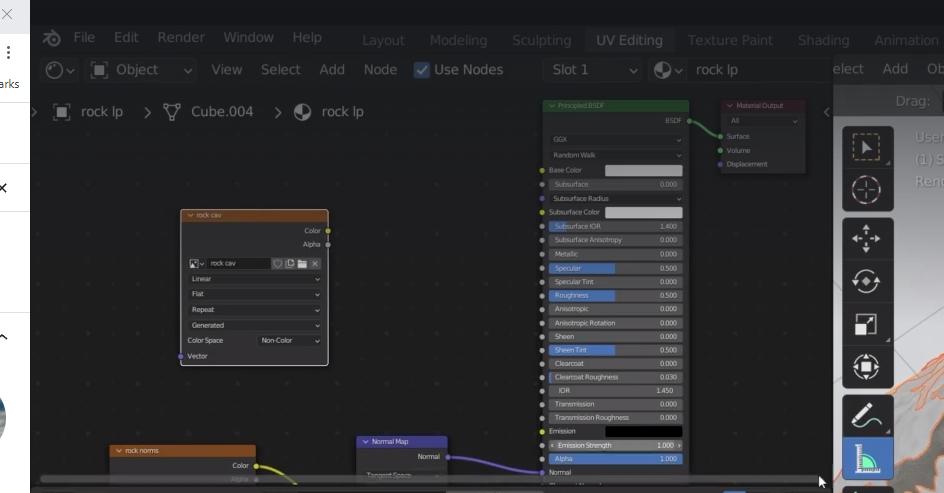
now we need to go back to the low poly object and create a texture where we can bake the cavity onto
create new image
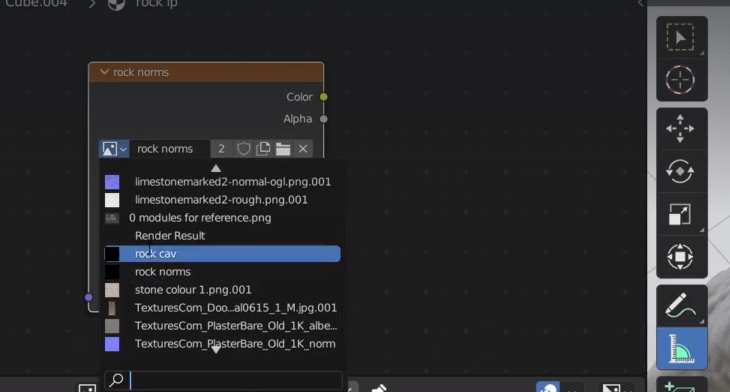
add new image texture to the material and select the cavity image
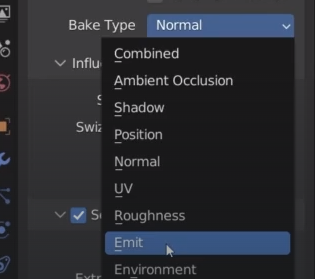
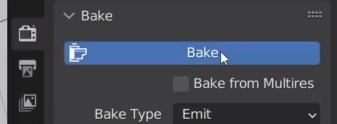
change bake type to emission emit
select the hp for a while
select the color ramp and control + shift + left click

we are ready, select both and lp as last
cavity texture selected
ready to bake the cavity
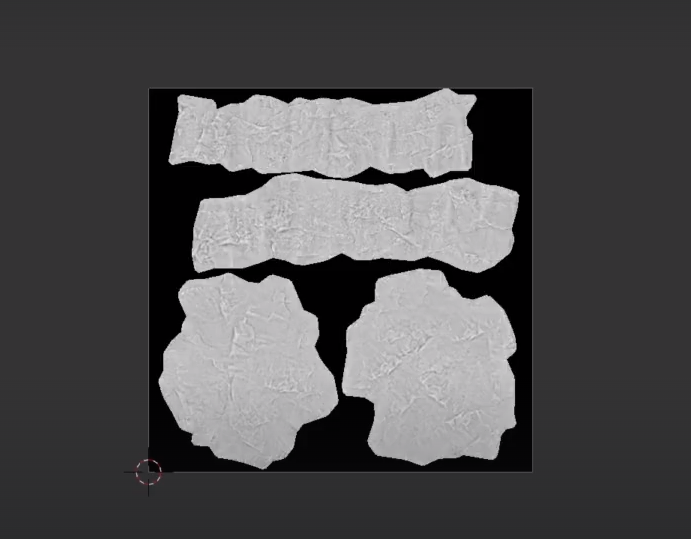
save the image
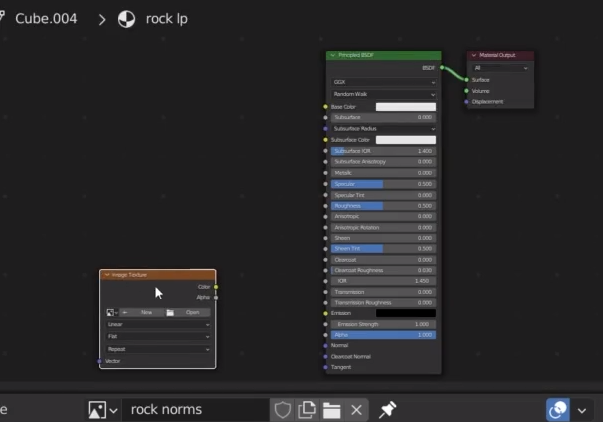
when done we can hook up the texture to the base colour of the lp to see how it looks like
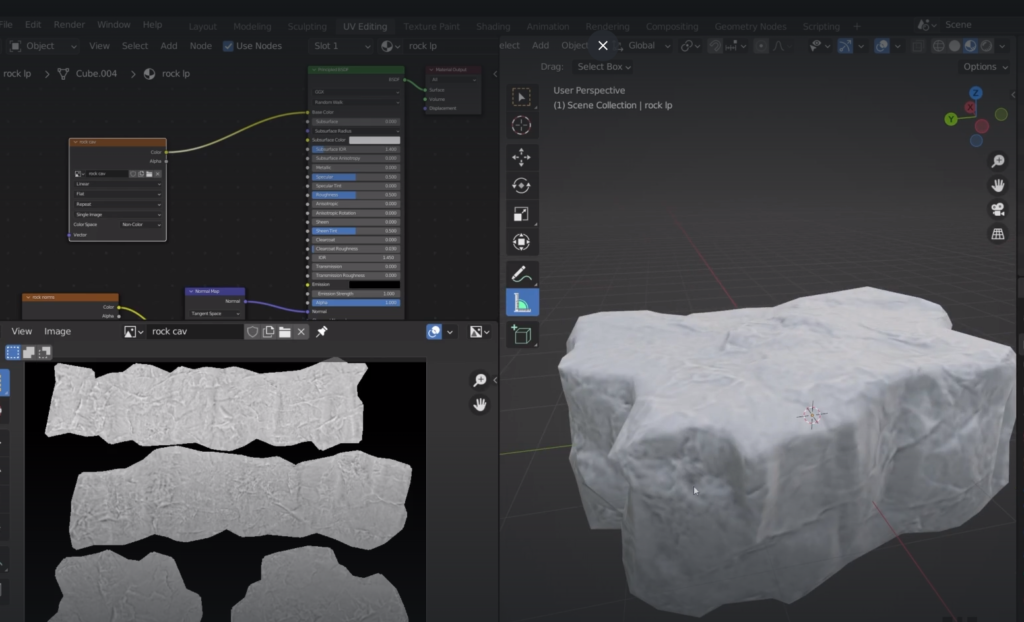
Now we are ready to paint the rock
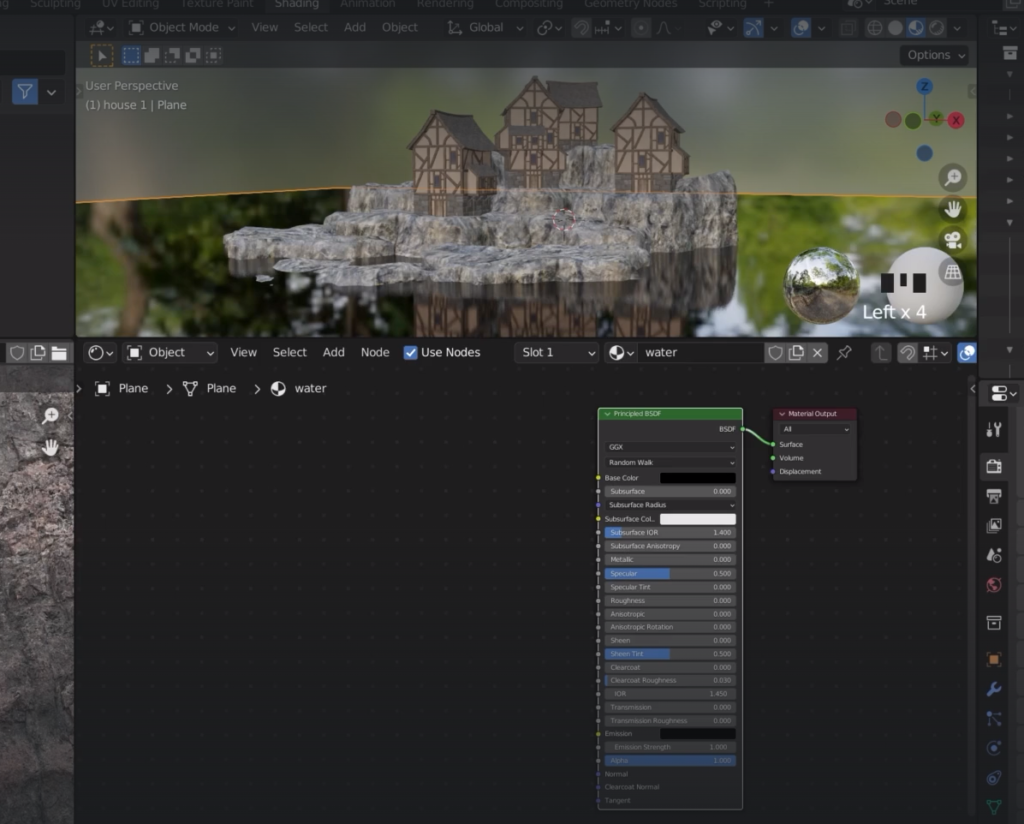
When making the water, put the roughness to zero and enable the screen space reflection in the renderer
to create some wave distortion
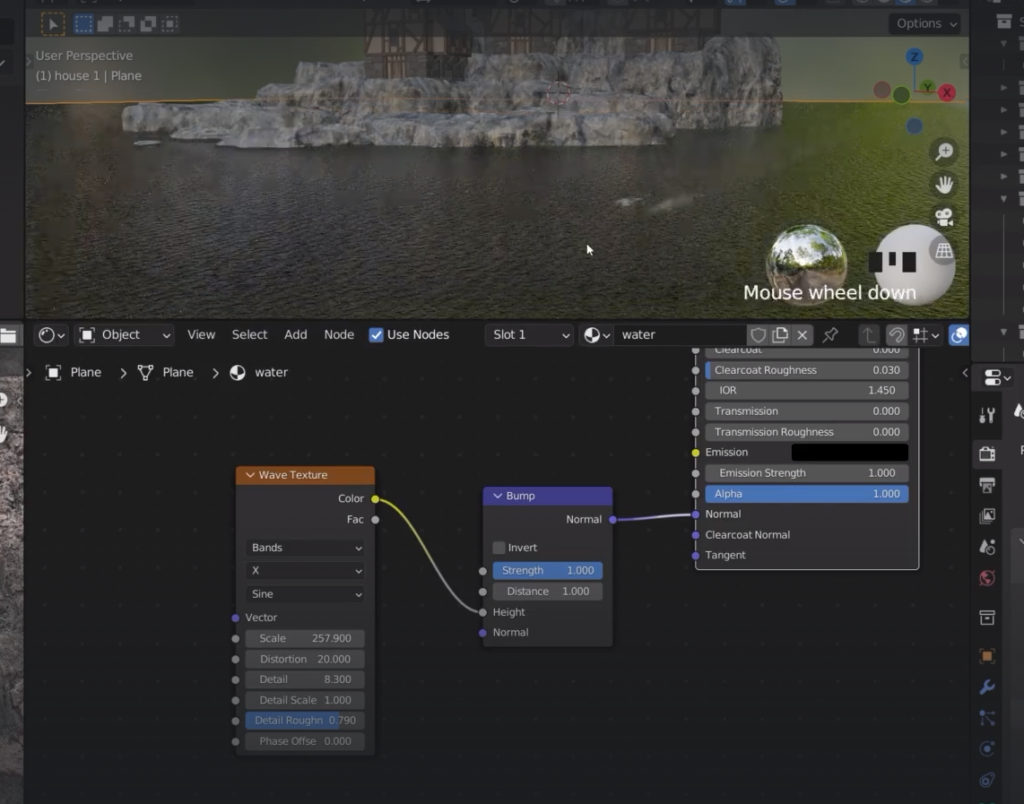
we can reduce the strenght of the bump
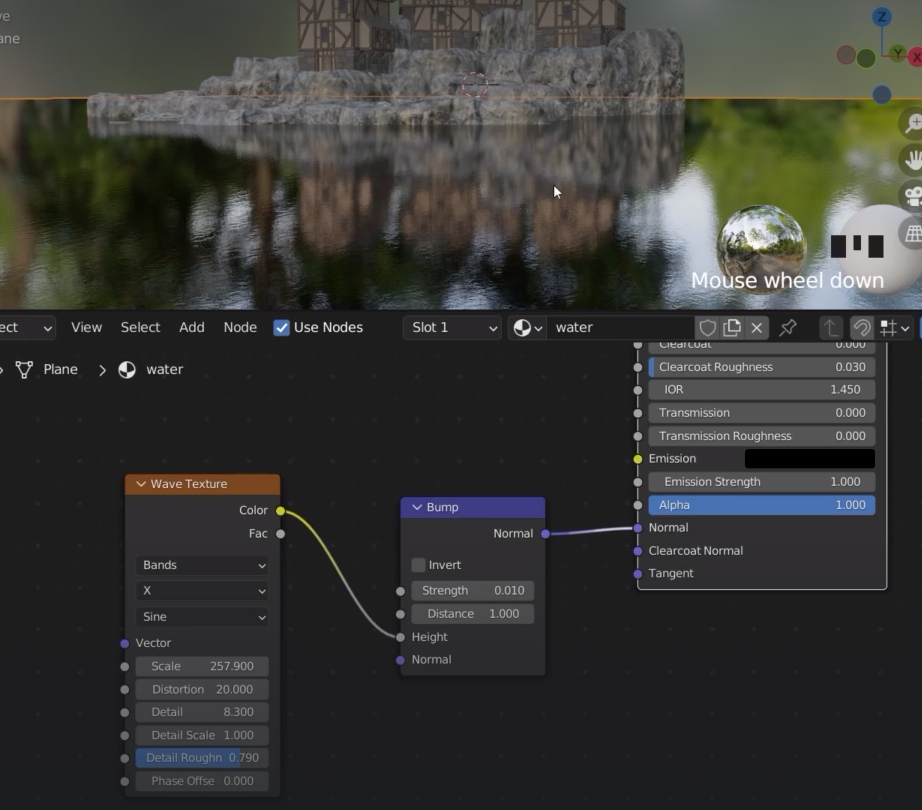
Then we plug the curvature of the multiply node into the factor of the two mix