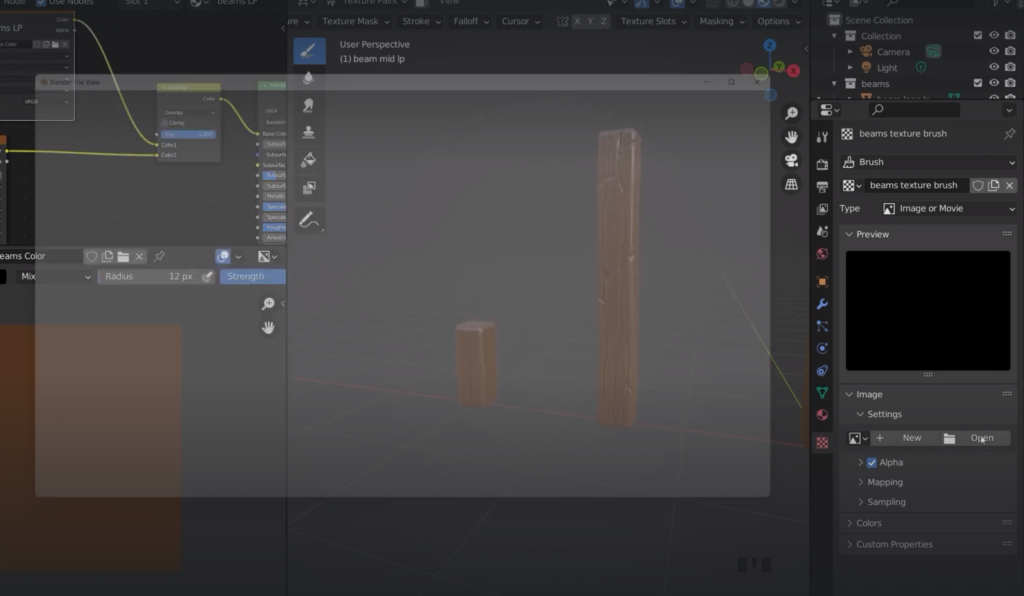
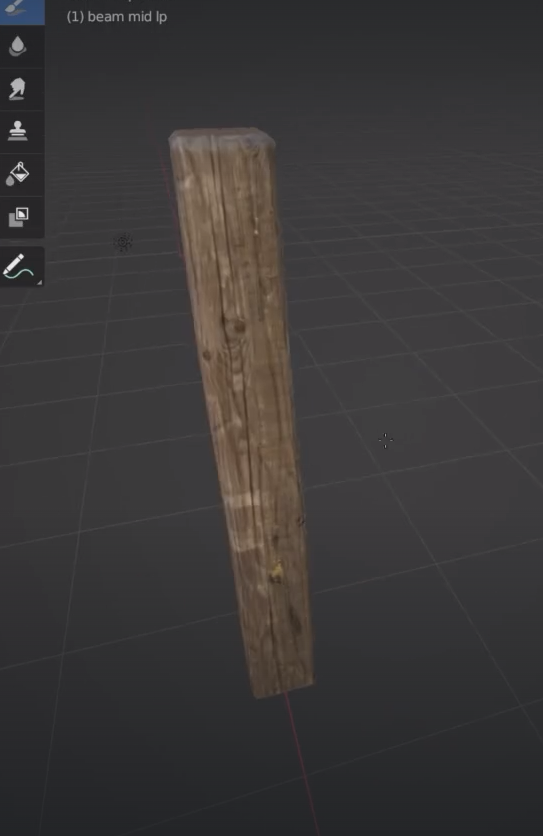
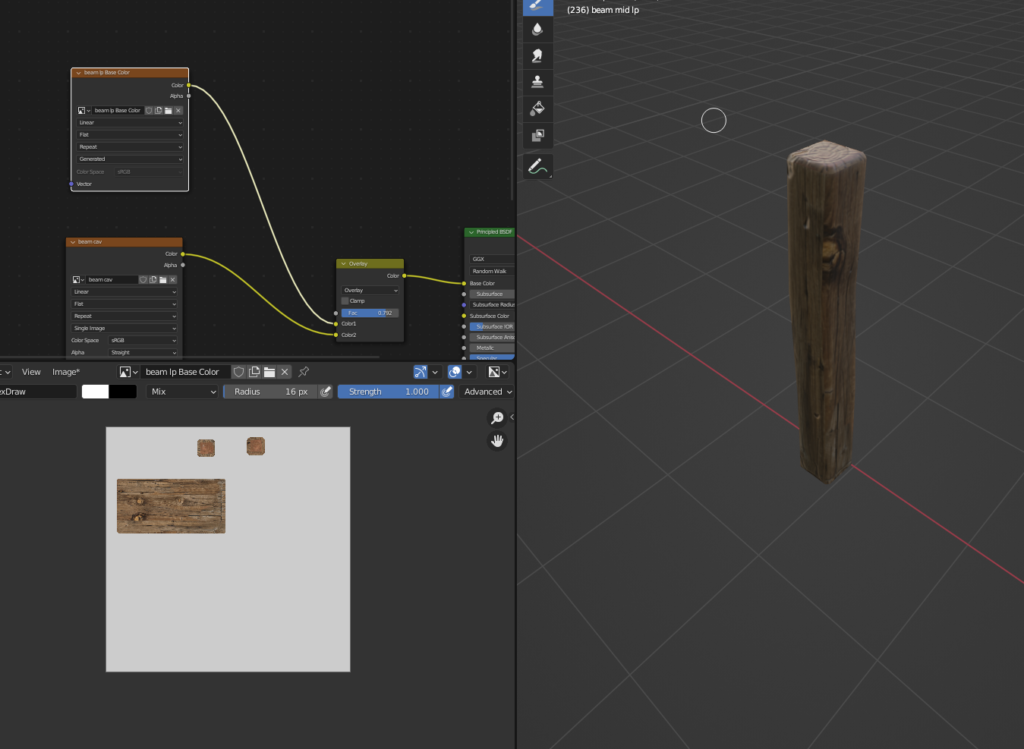
Make sure you are in Texture painting viewport
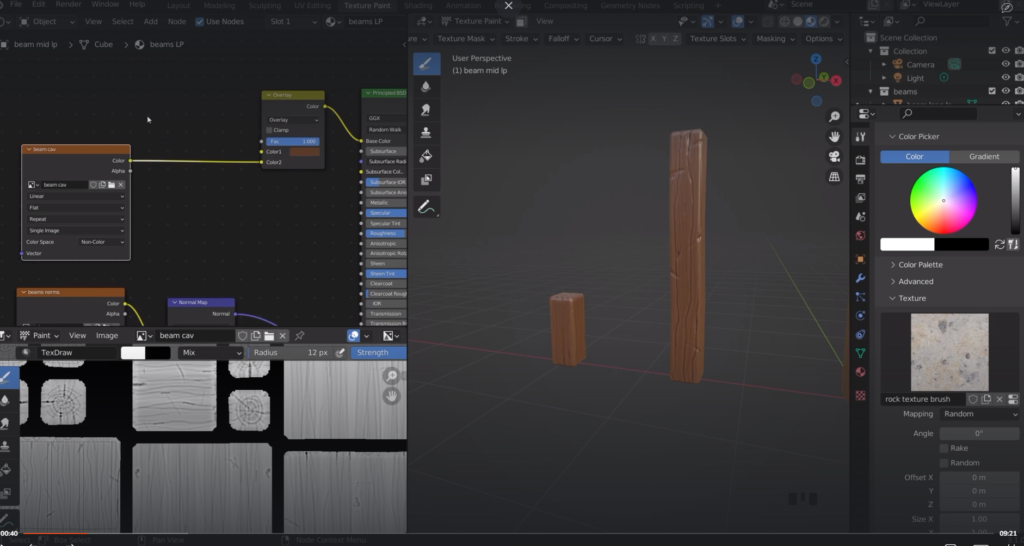
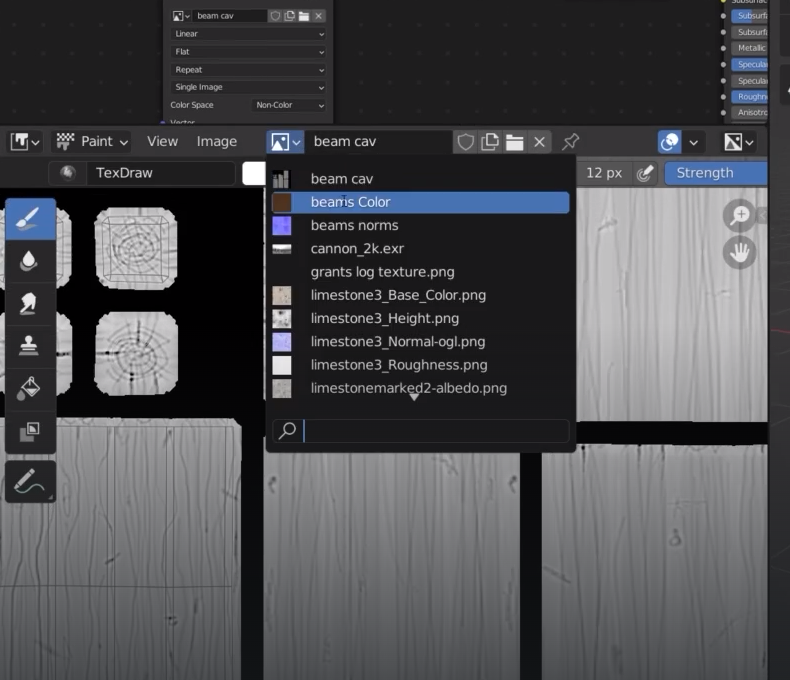
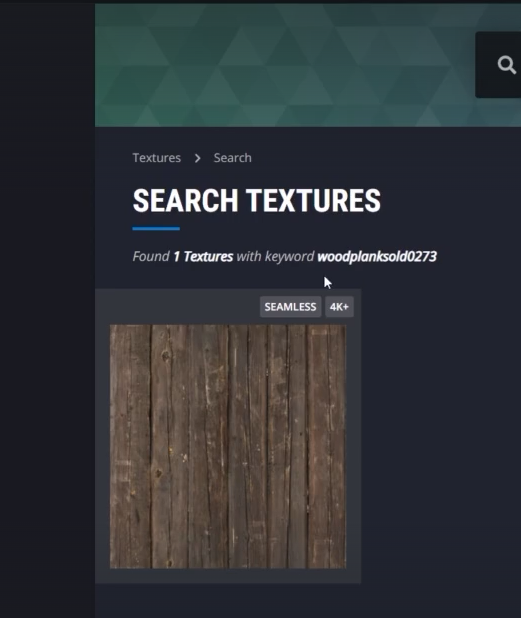
we need a new texture to replace our current brown colour

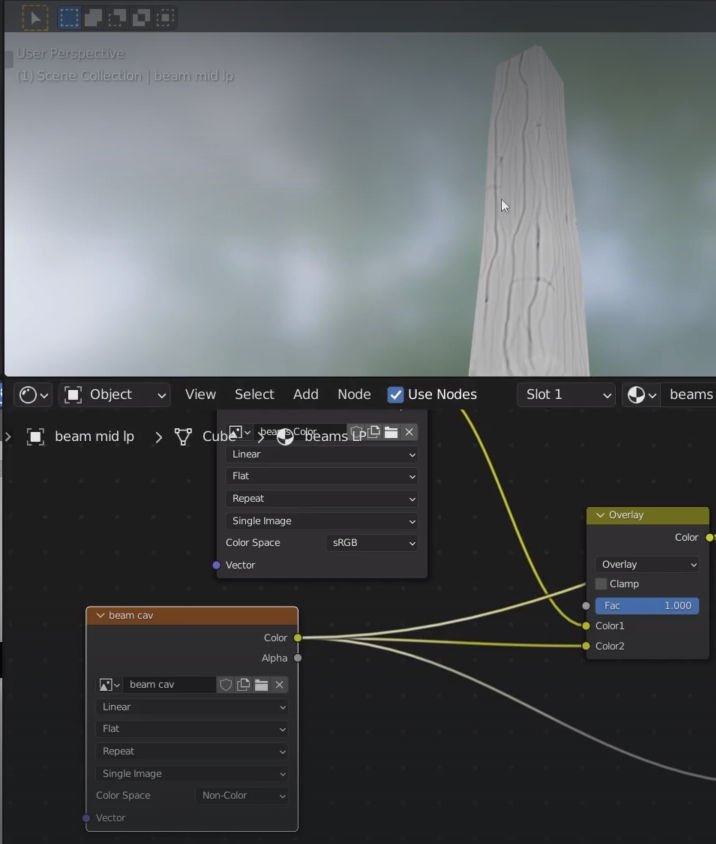
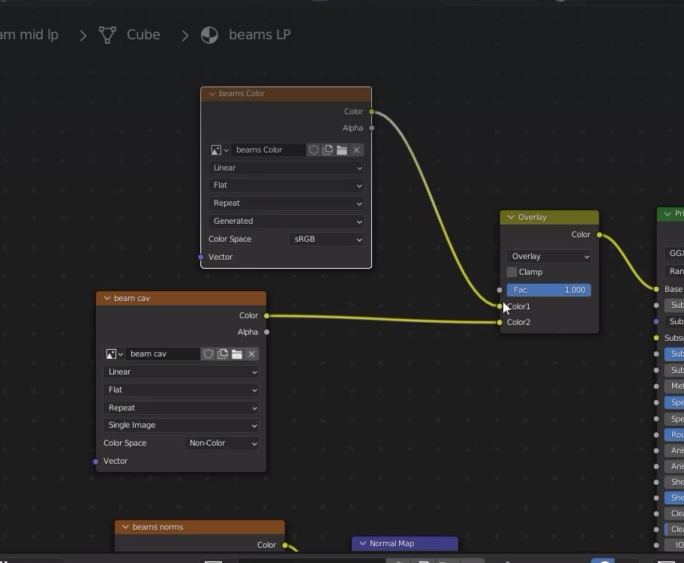
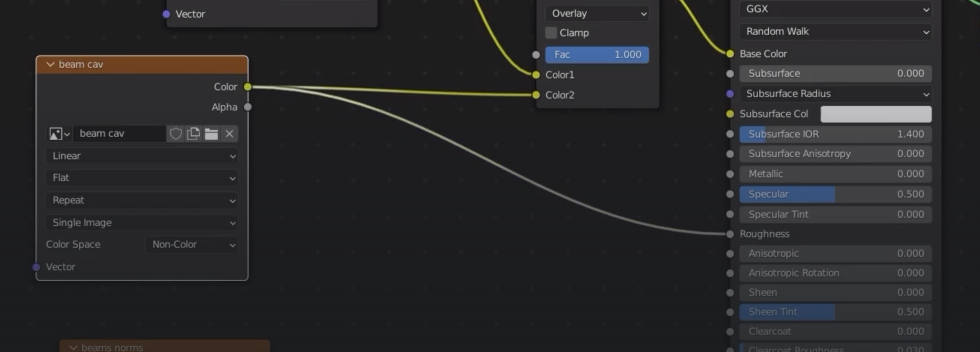
I hook up the new texture in the top slot of the mix rgb
Now we can use a stencil to paint on top of the wood
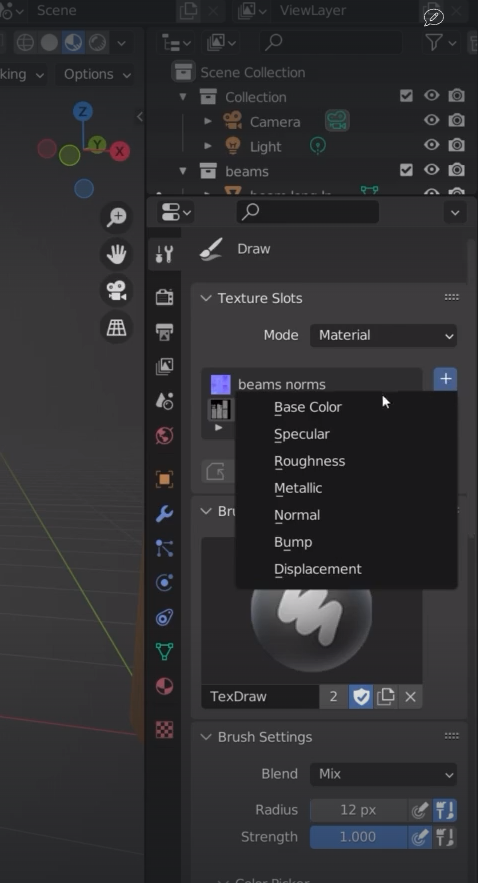
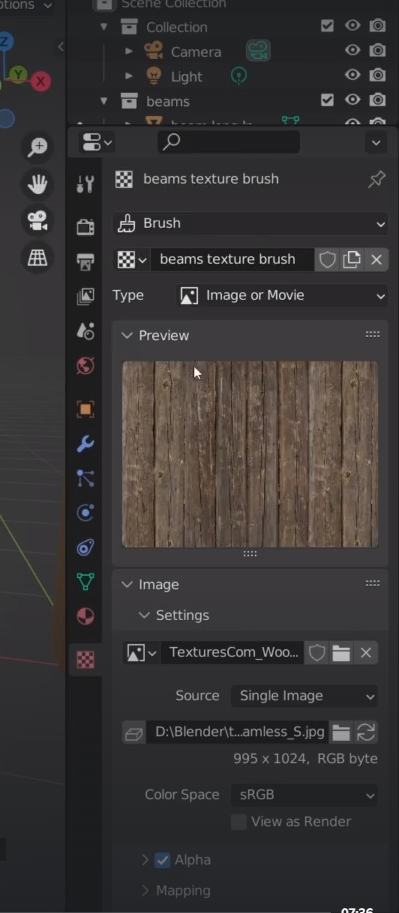
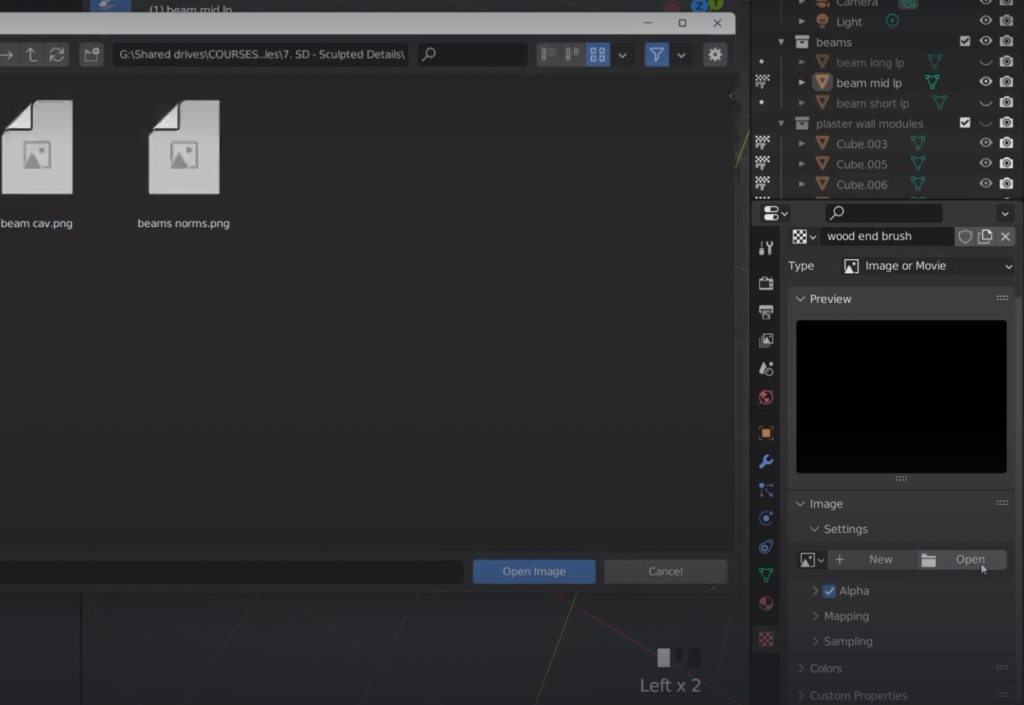
Create a new texture
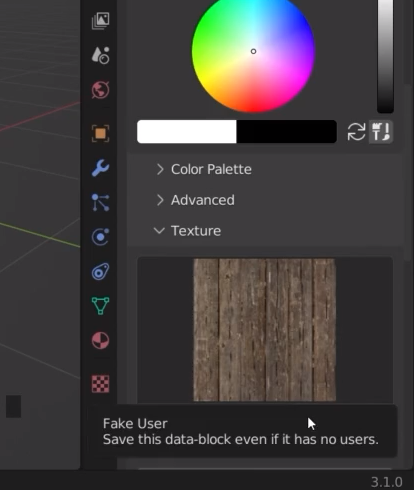
go to texture properties and open up a new image
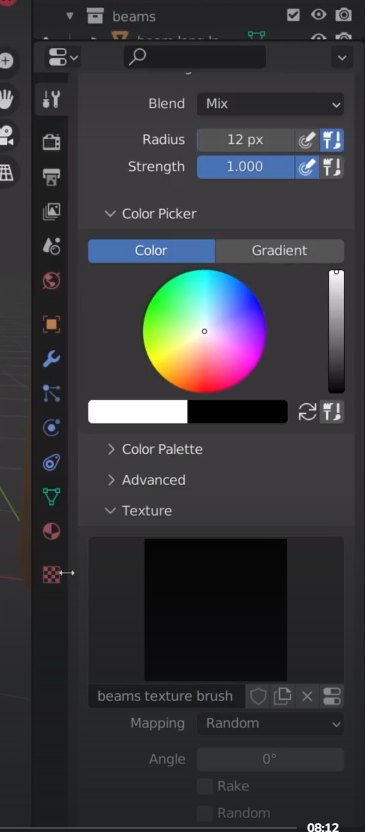
Note: brush strength to 1
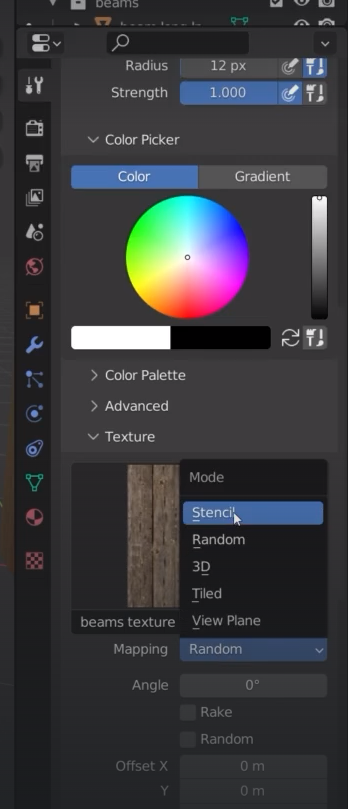
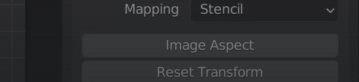
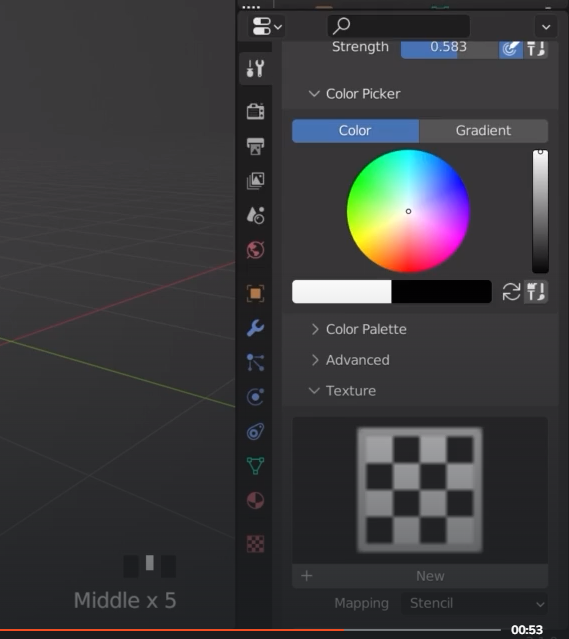
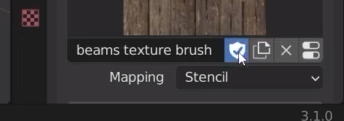
change the mapping to “stencil”
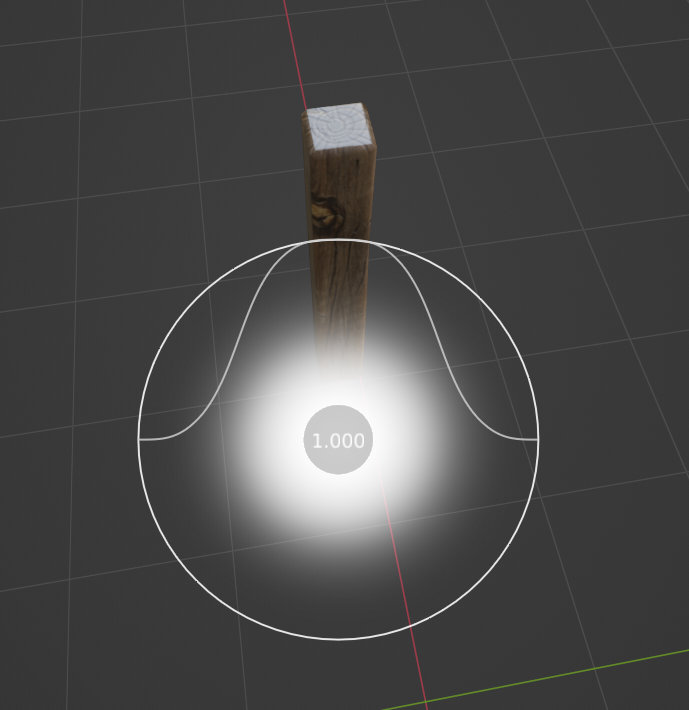
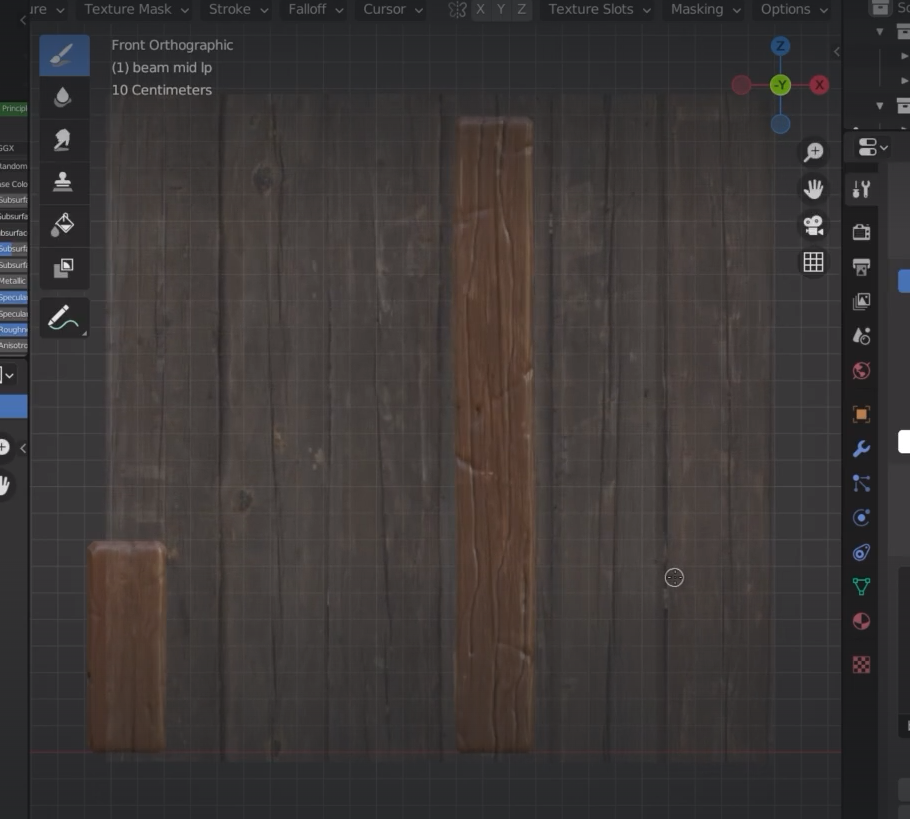
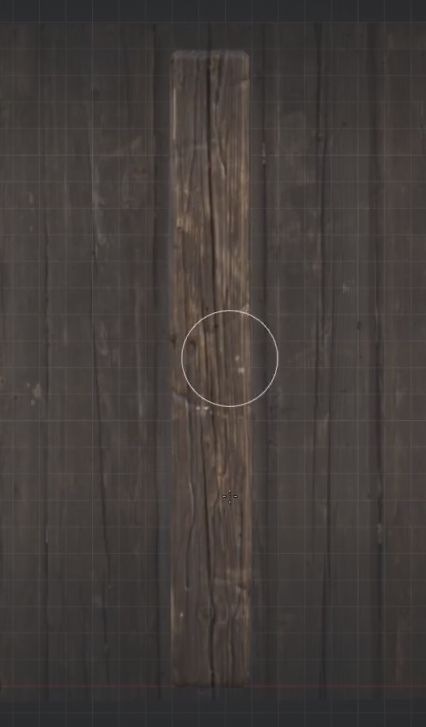
We now get a stencil that we can use to paint; we can move it with the right mouse button
Shift + right click to increase the size of the stencil
control + right click to rotate the stencil
Note that image aspect keeps the image proportions
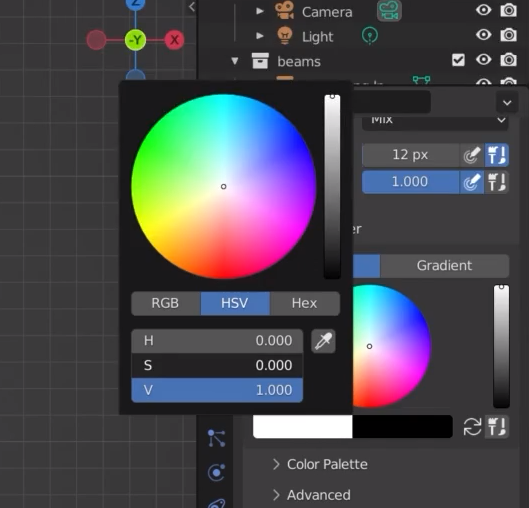
the colour must be on white, therefore saturation to zero
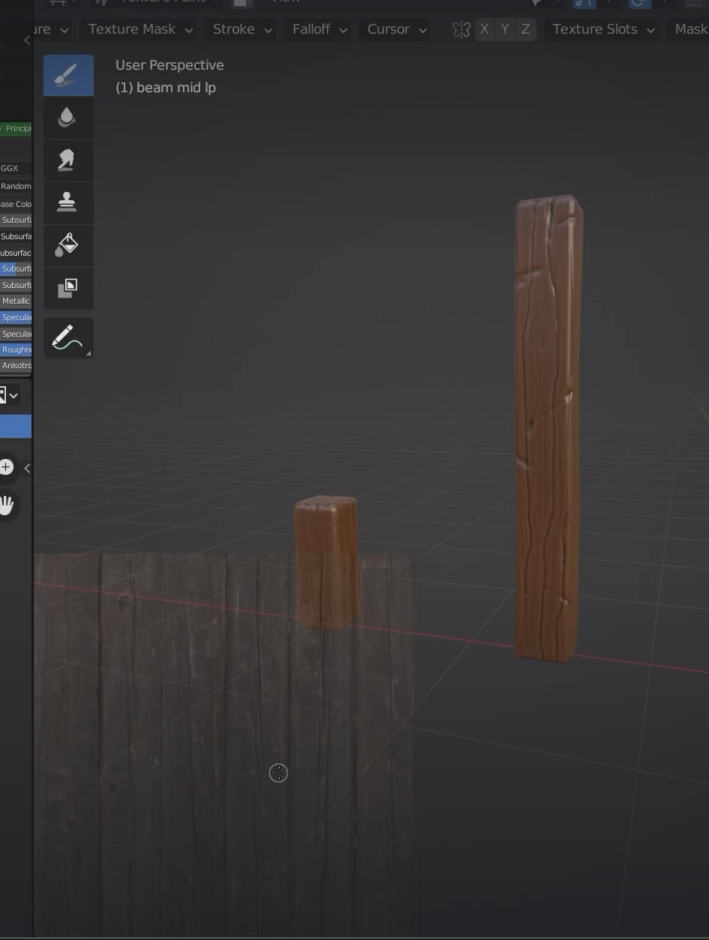
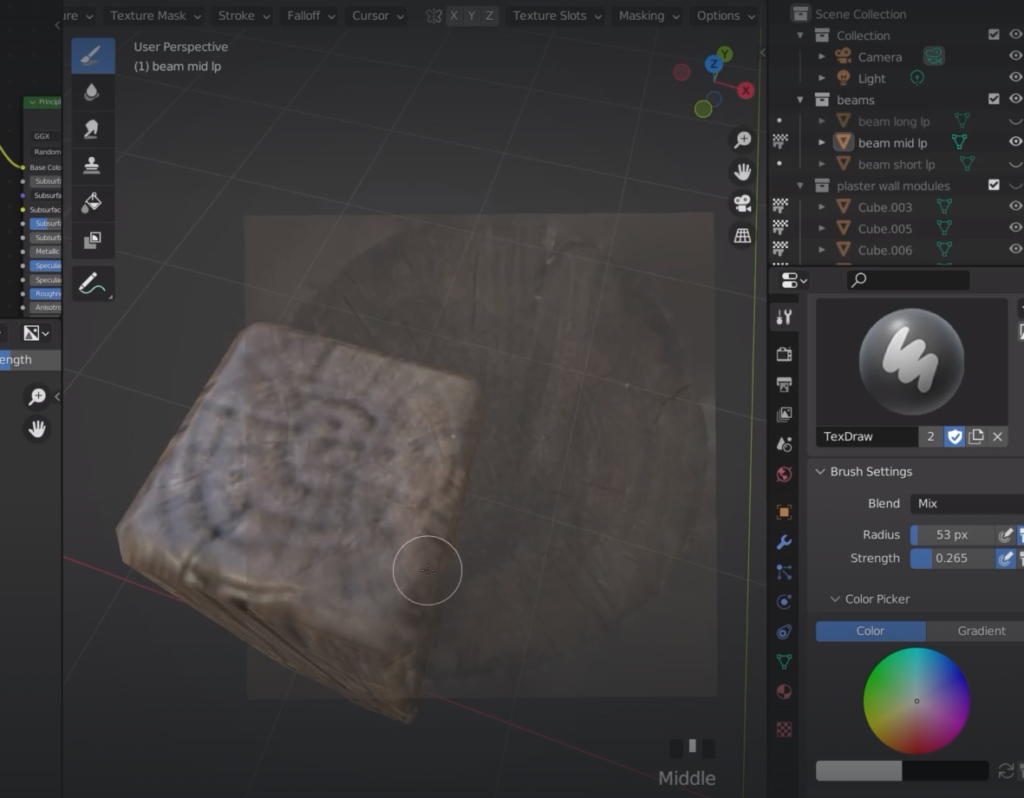
we can now paint the texture on the beam
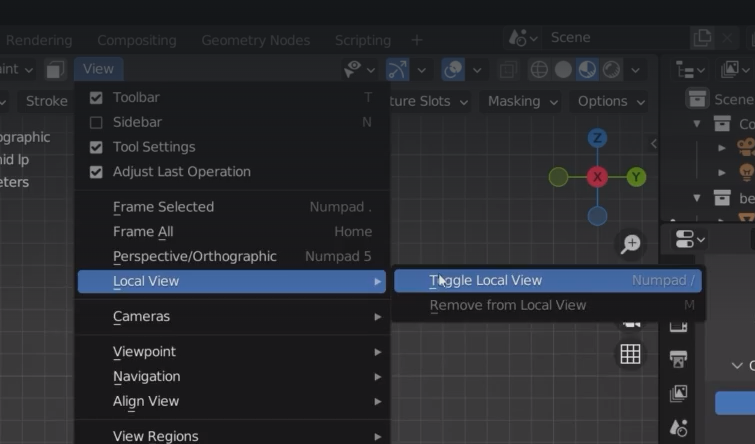
to ease the job we can enable the local view
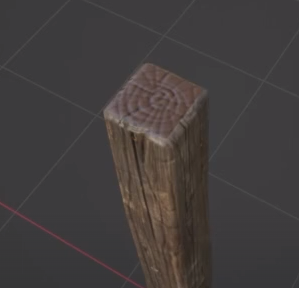
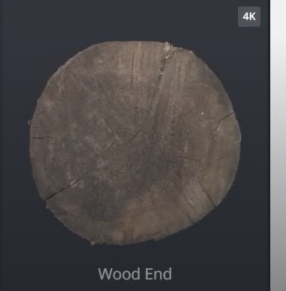
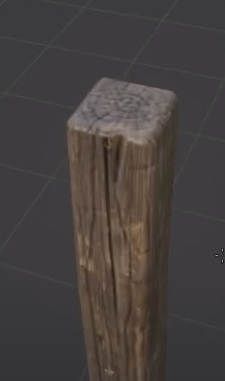
for the top and bottom side of the log we need a new texture

texture properties
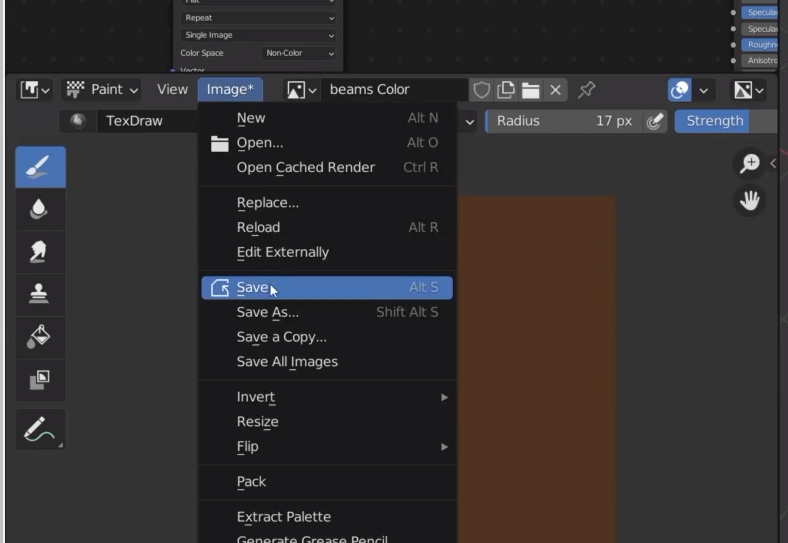
always better to save the texture before adding more details
when not required I can turn off the stencil
Note this option must always be enabled
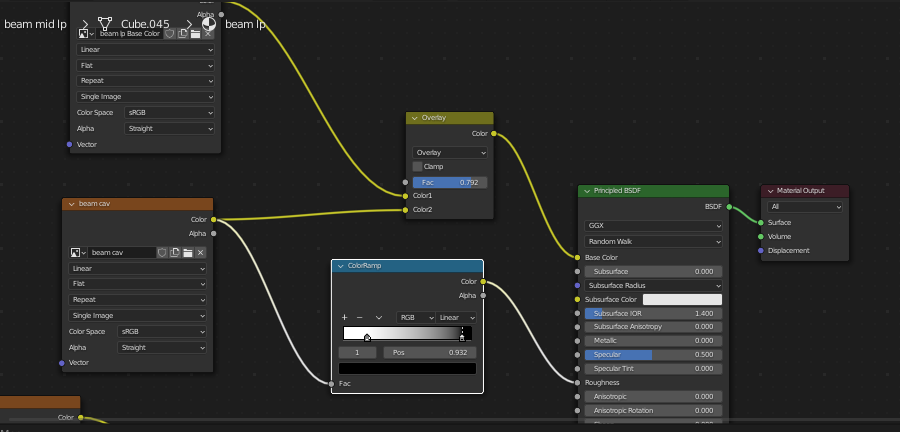
We now want to add some roughness to the texture
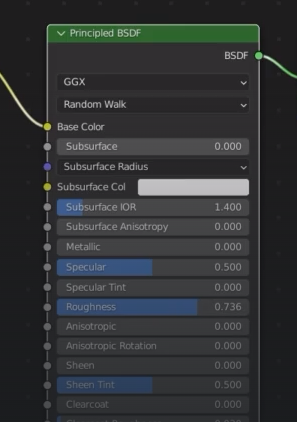
I can also use the cavity shader to influence the roughness
Control + shift + left click
black = shiny
we need a color ramp to flip the black/white around