Add HDRI
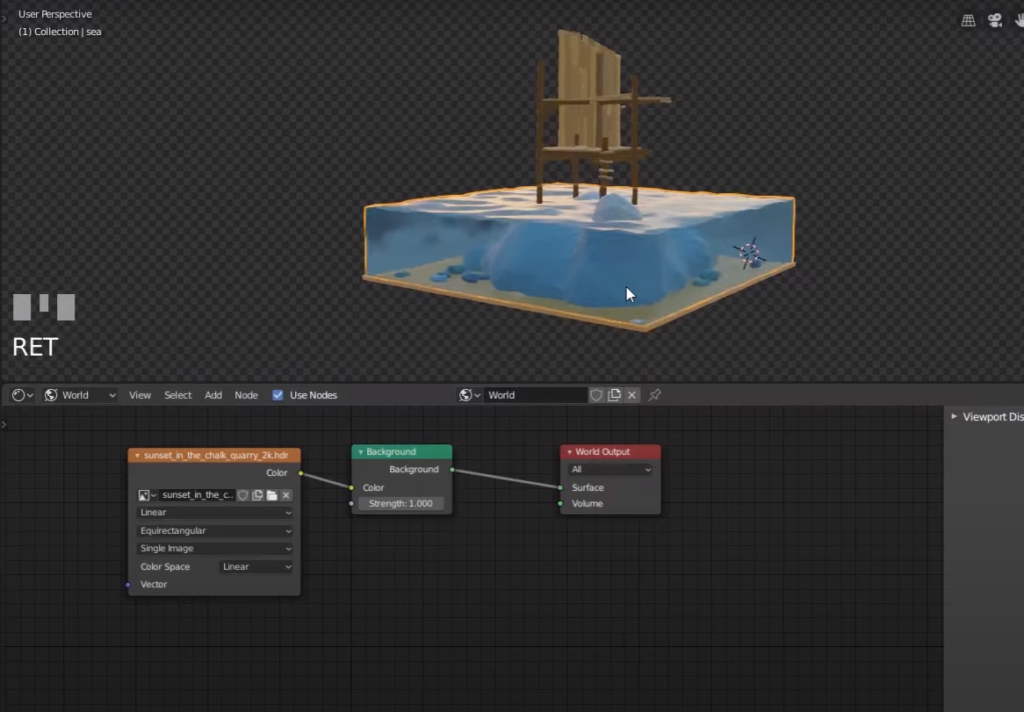
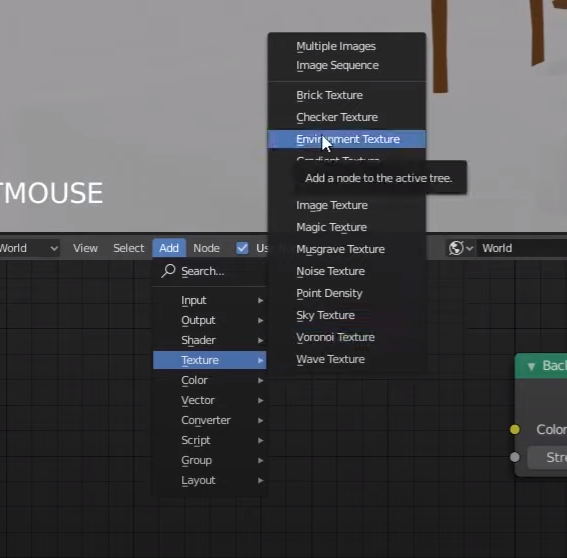
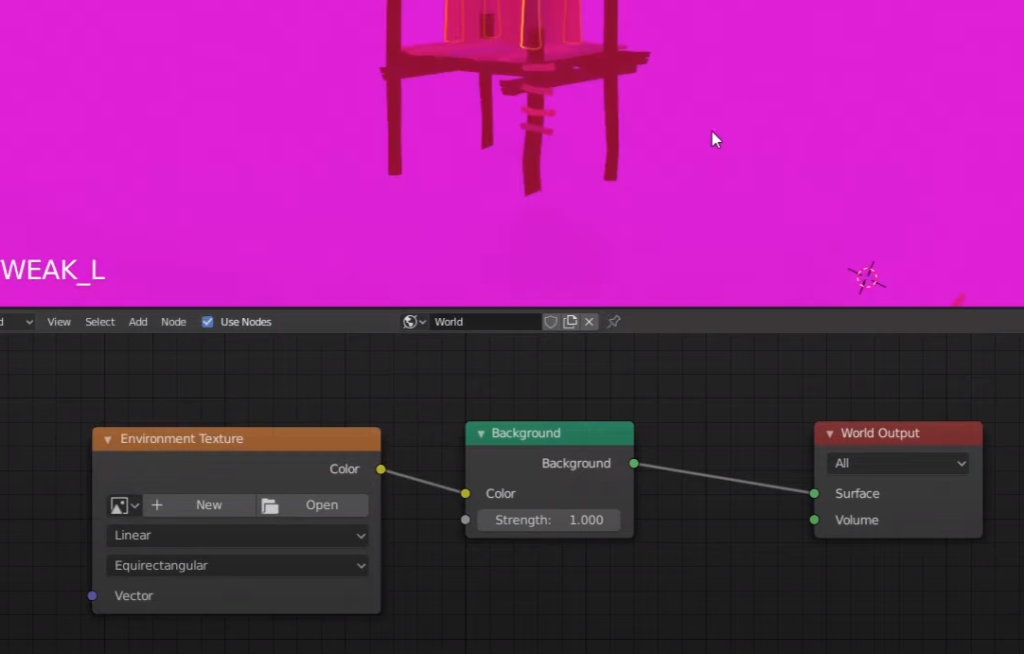
It goes purple, that’s because we need to open an HDRI downloaded previously
Adding water effects
Enter shading mode and add new material
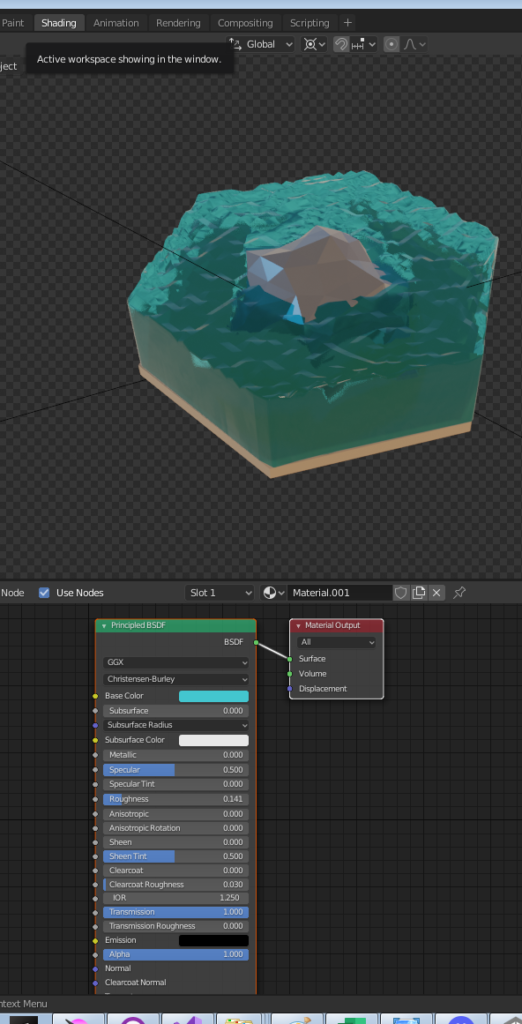
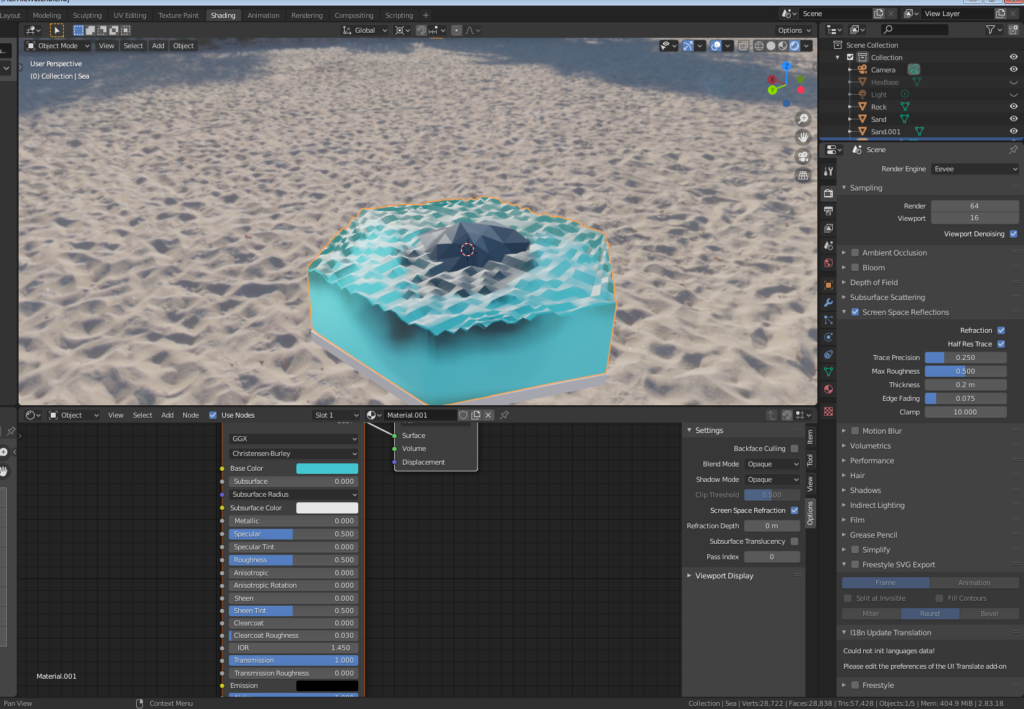
Transmission is the property that allows to see through the water

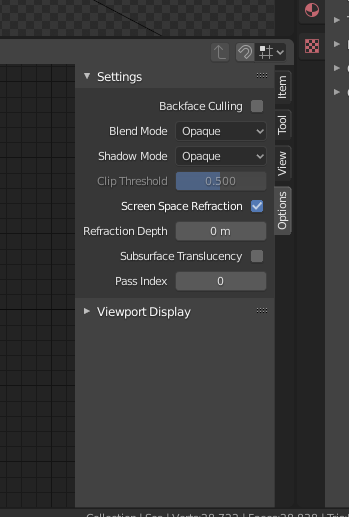
Select the options from the right menu bar and tick “Screen space refraction”
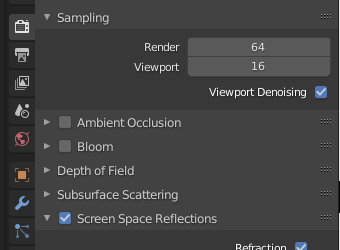
Then renderer tab and select “Screen space reflection”
Then add refraction
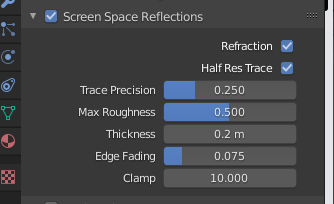
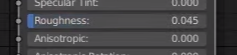
Reduce the roughness
Reduce the IOR index of refraction

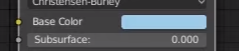
Change base colour of the Material
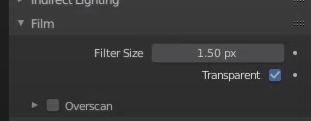
In the renderer menu I can also turn on the trnasparent option
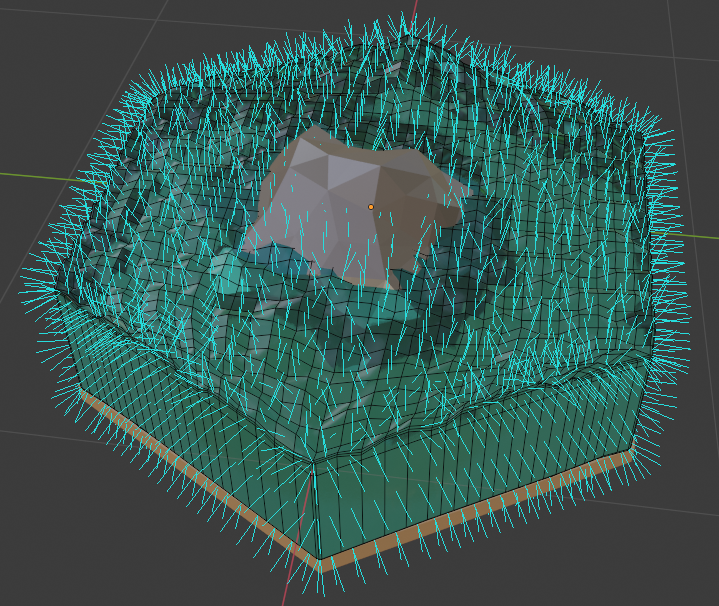
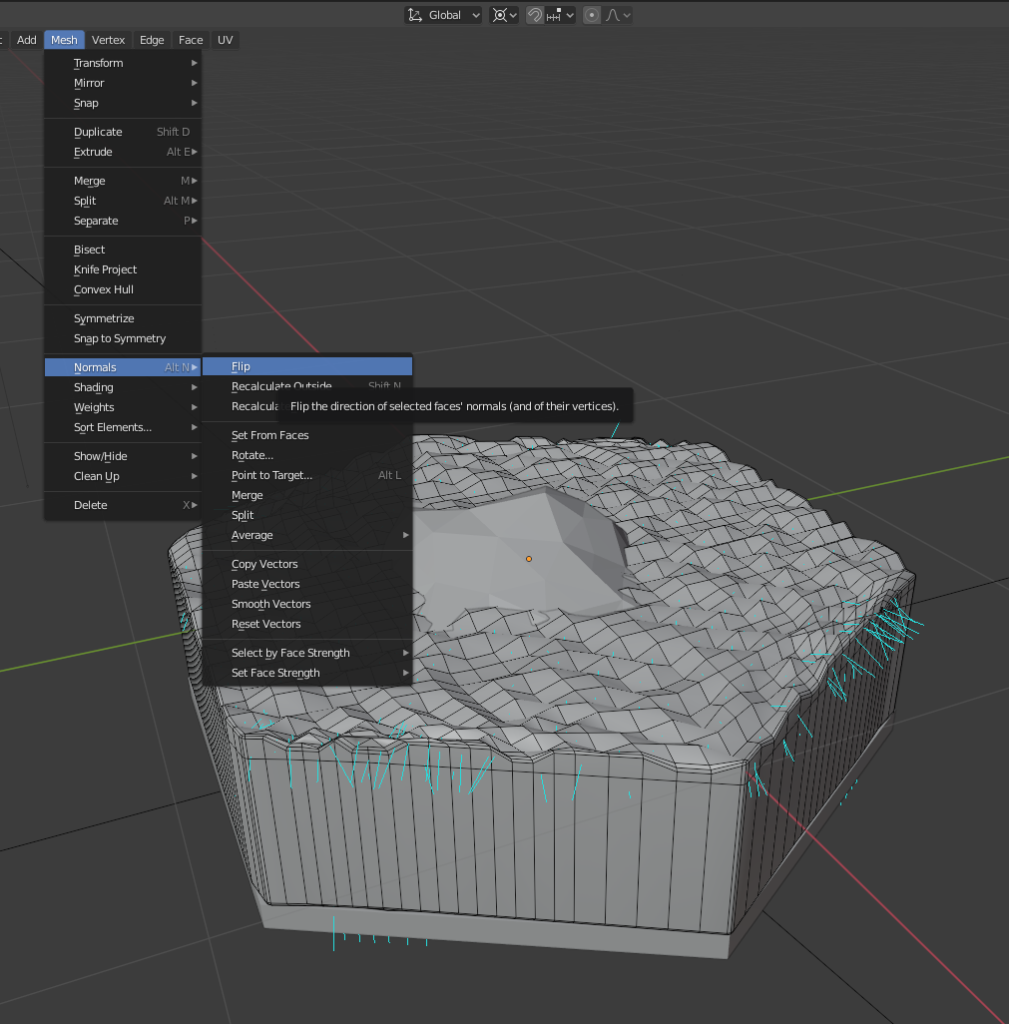
Flipping Normals
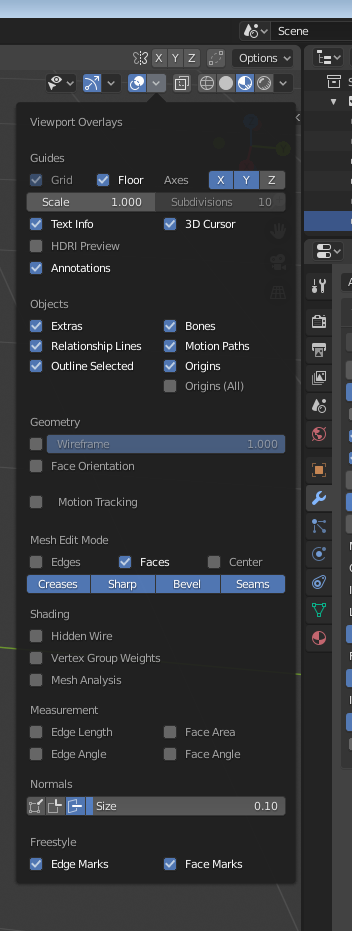
Click here
To flip
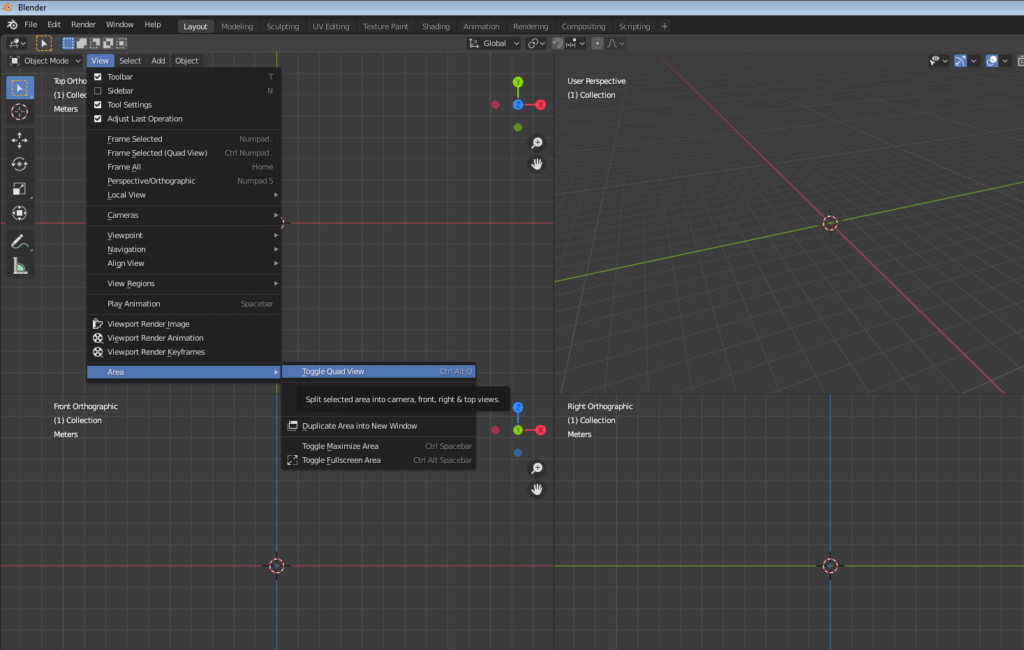
Quand view
ALT+ G = reset position to zero
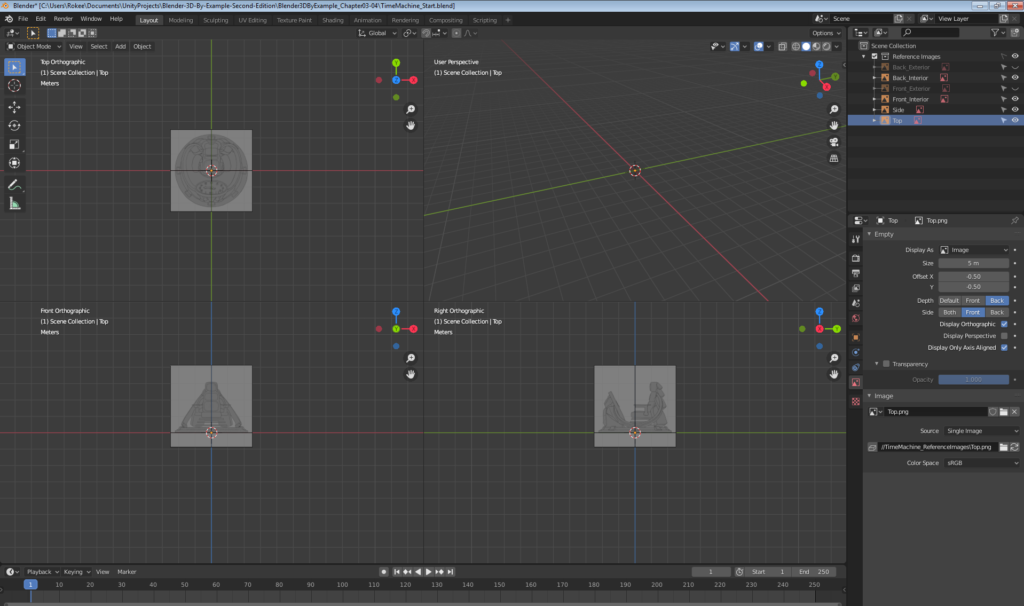
Reference images setup
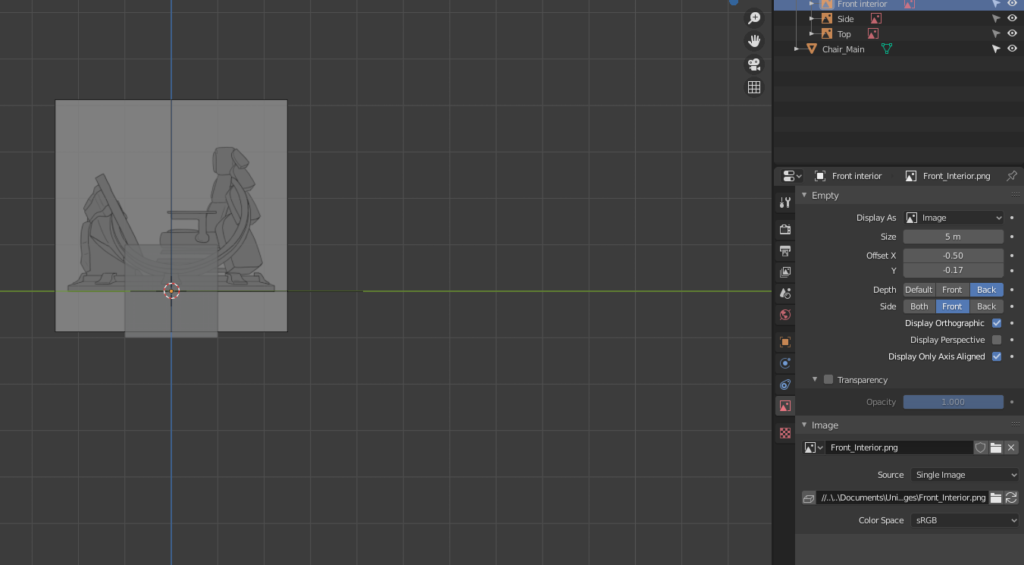
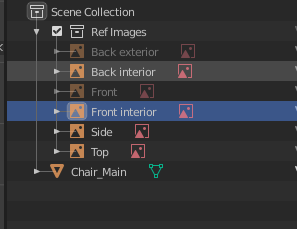
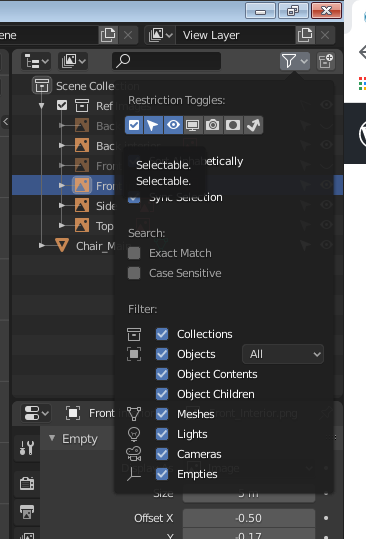
Lock image references
Reset 3D cursor = shift + S
Bridge edge loops

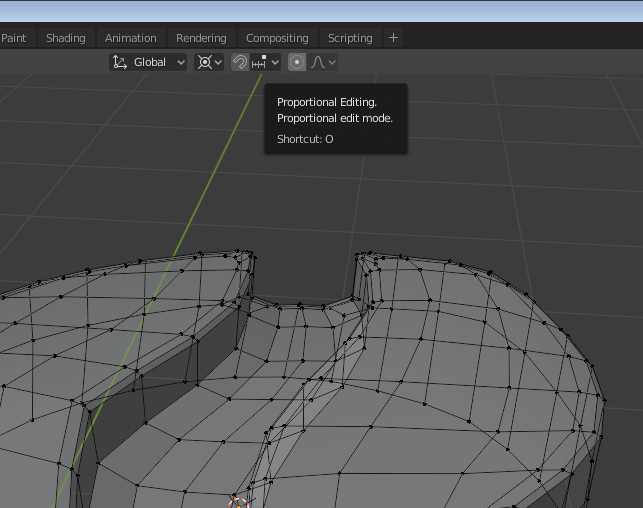
Proportional edges and use G to grab
Reducing the level of polygons
select the snapping tool and set it to vertex. Select a vertex and double G to pull it into another vertex
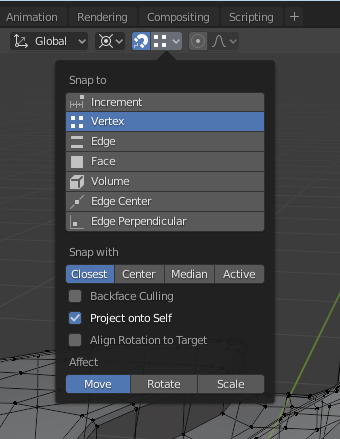
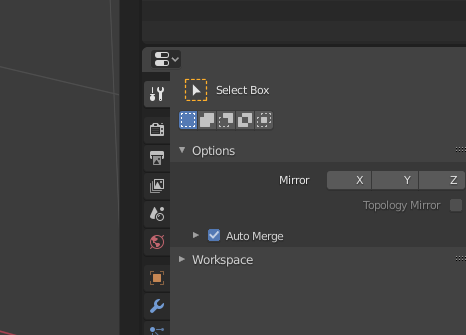
Select auto merge from the option panel in this way when two vertexes touch each other they will automatically merge together
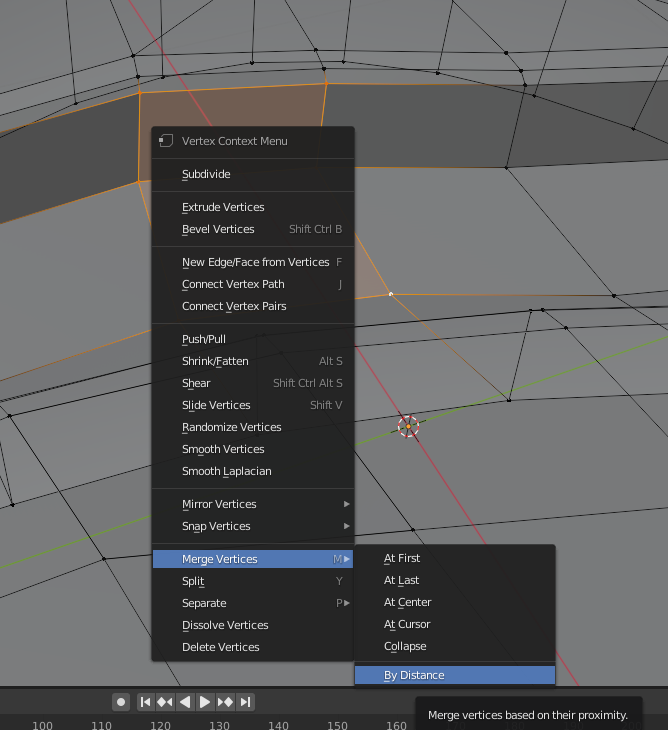
Join vertexes: select two and J to join
Merge, select the vertexes , then right mouse click and open the menu below
Making of a plank, Knife with K, delete faces and replace with new one F (once selected edges)
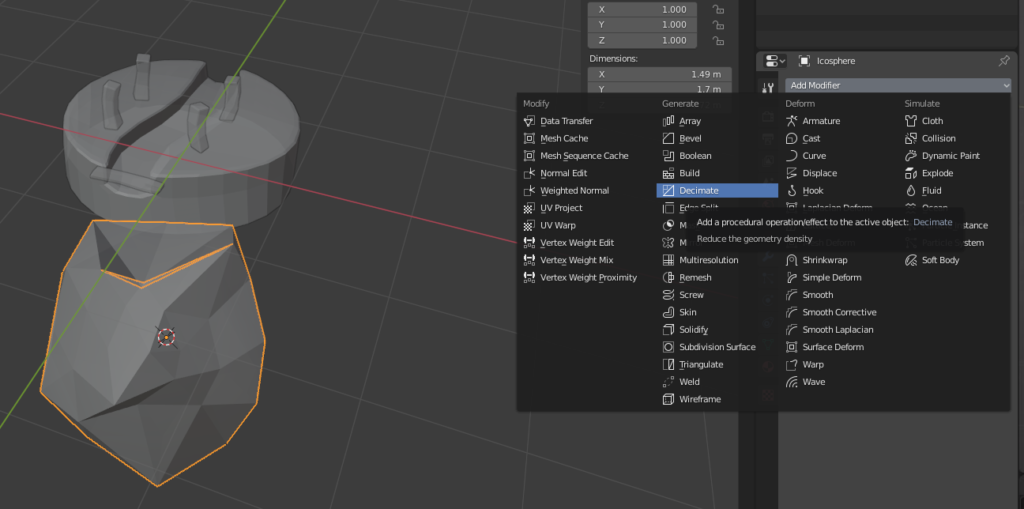
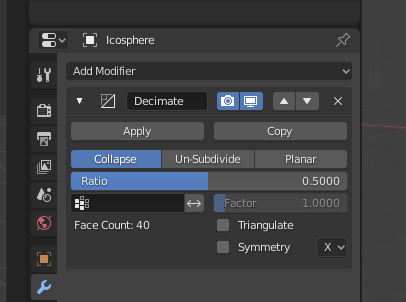
Decimate polygons of a icosphere for stones
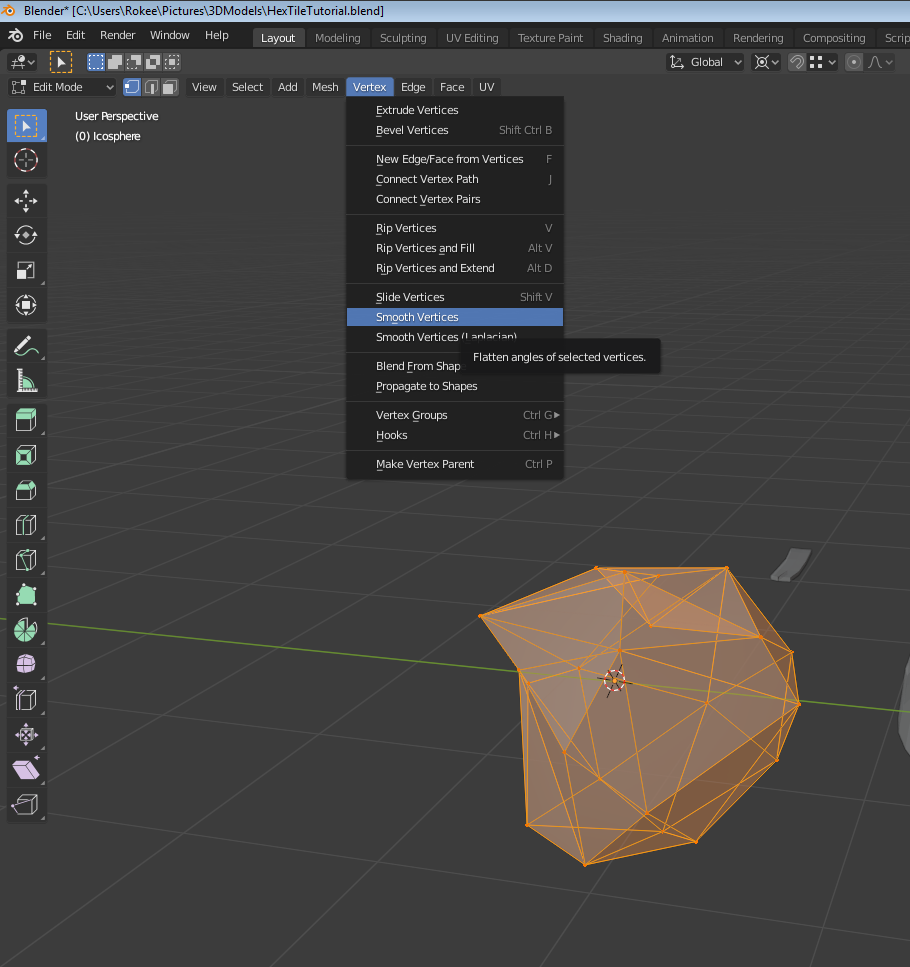
Also smooth vertexes
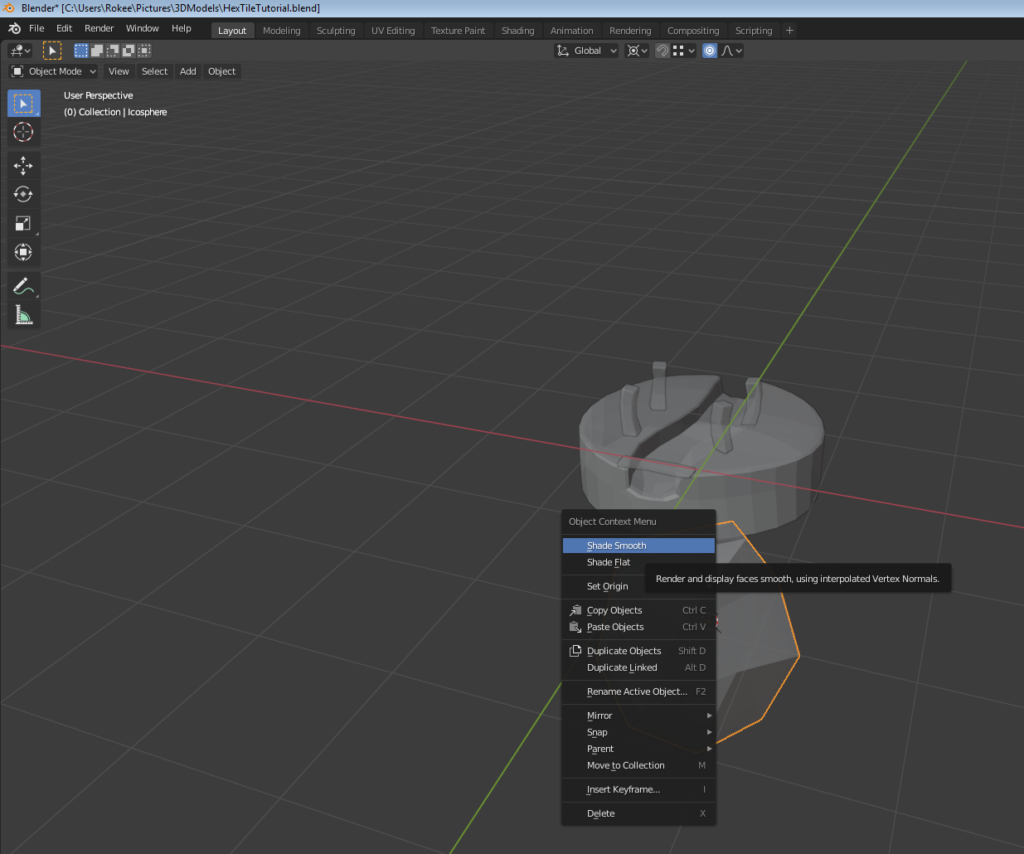
Then go to object mode and smooth shade
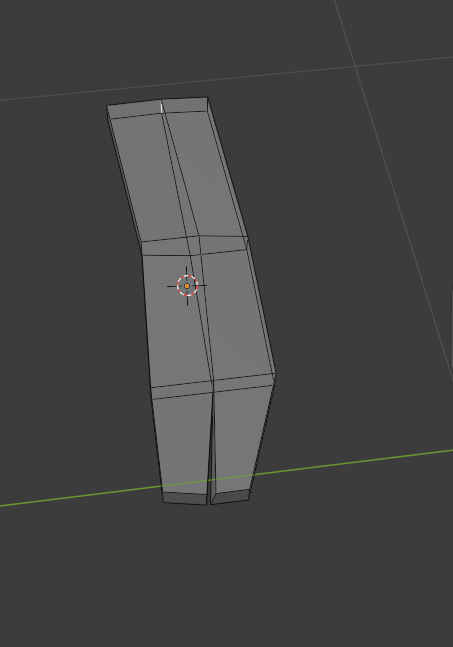
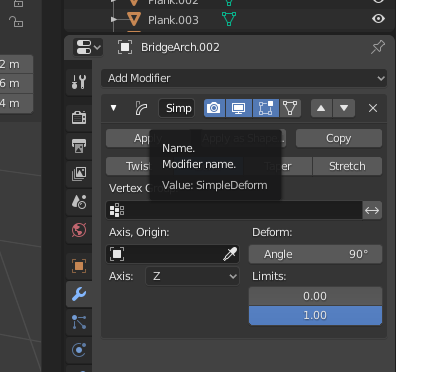
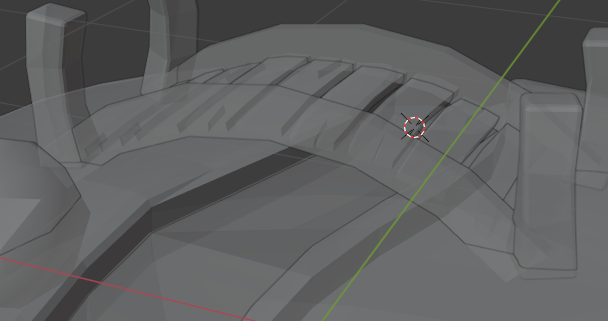
Simple deform to bend planks
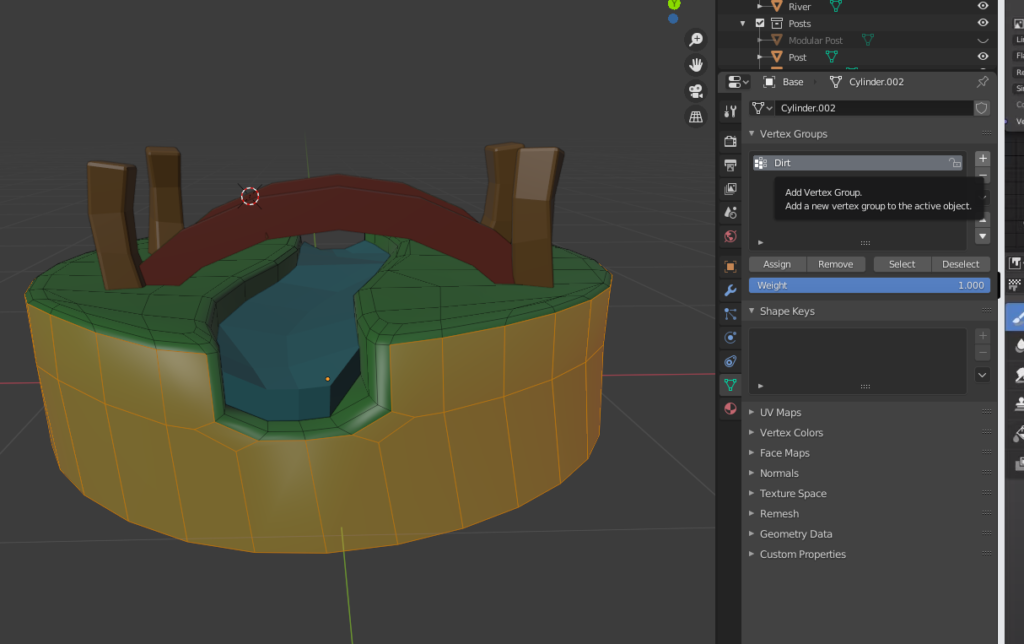
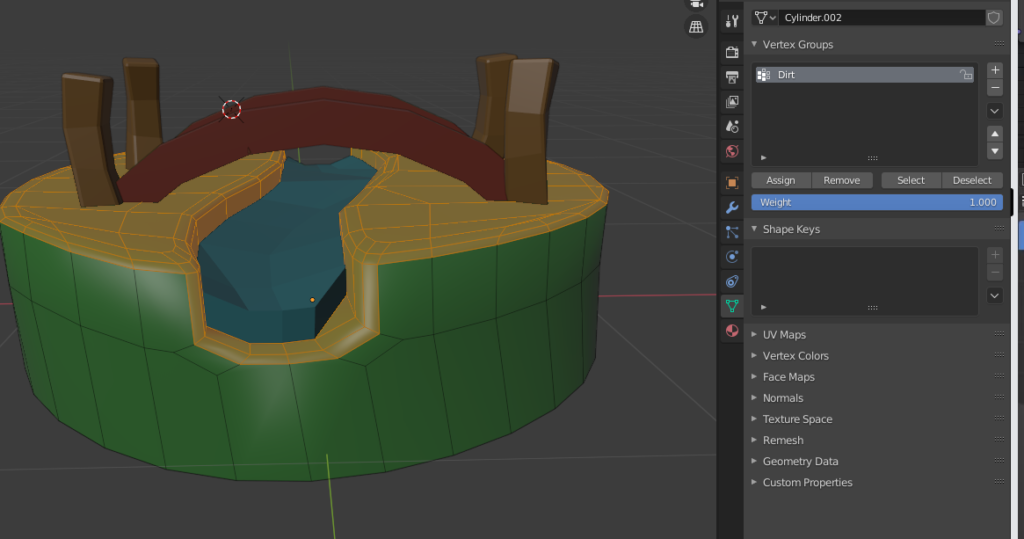
Create a vertex group
CTRL + I to select the inverse group vertexes
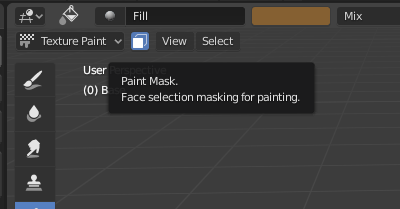
To enable the isolation painting click that button